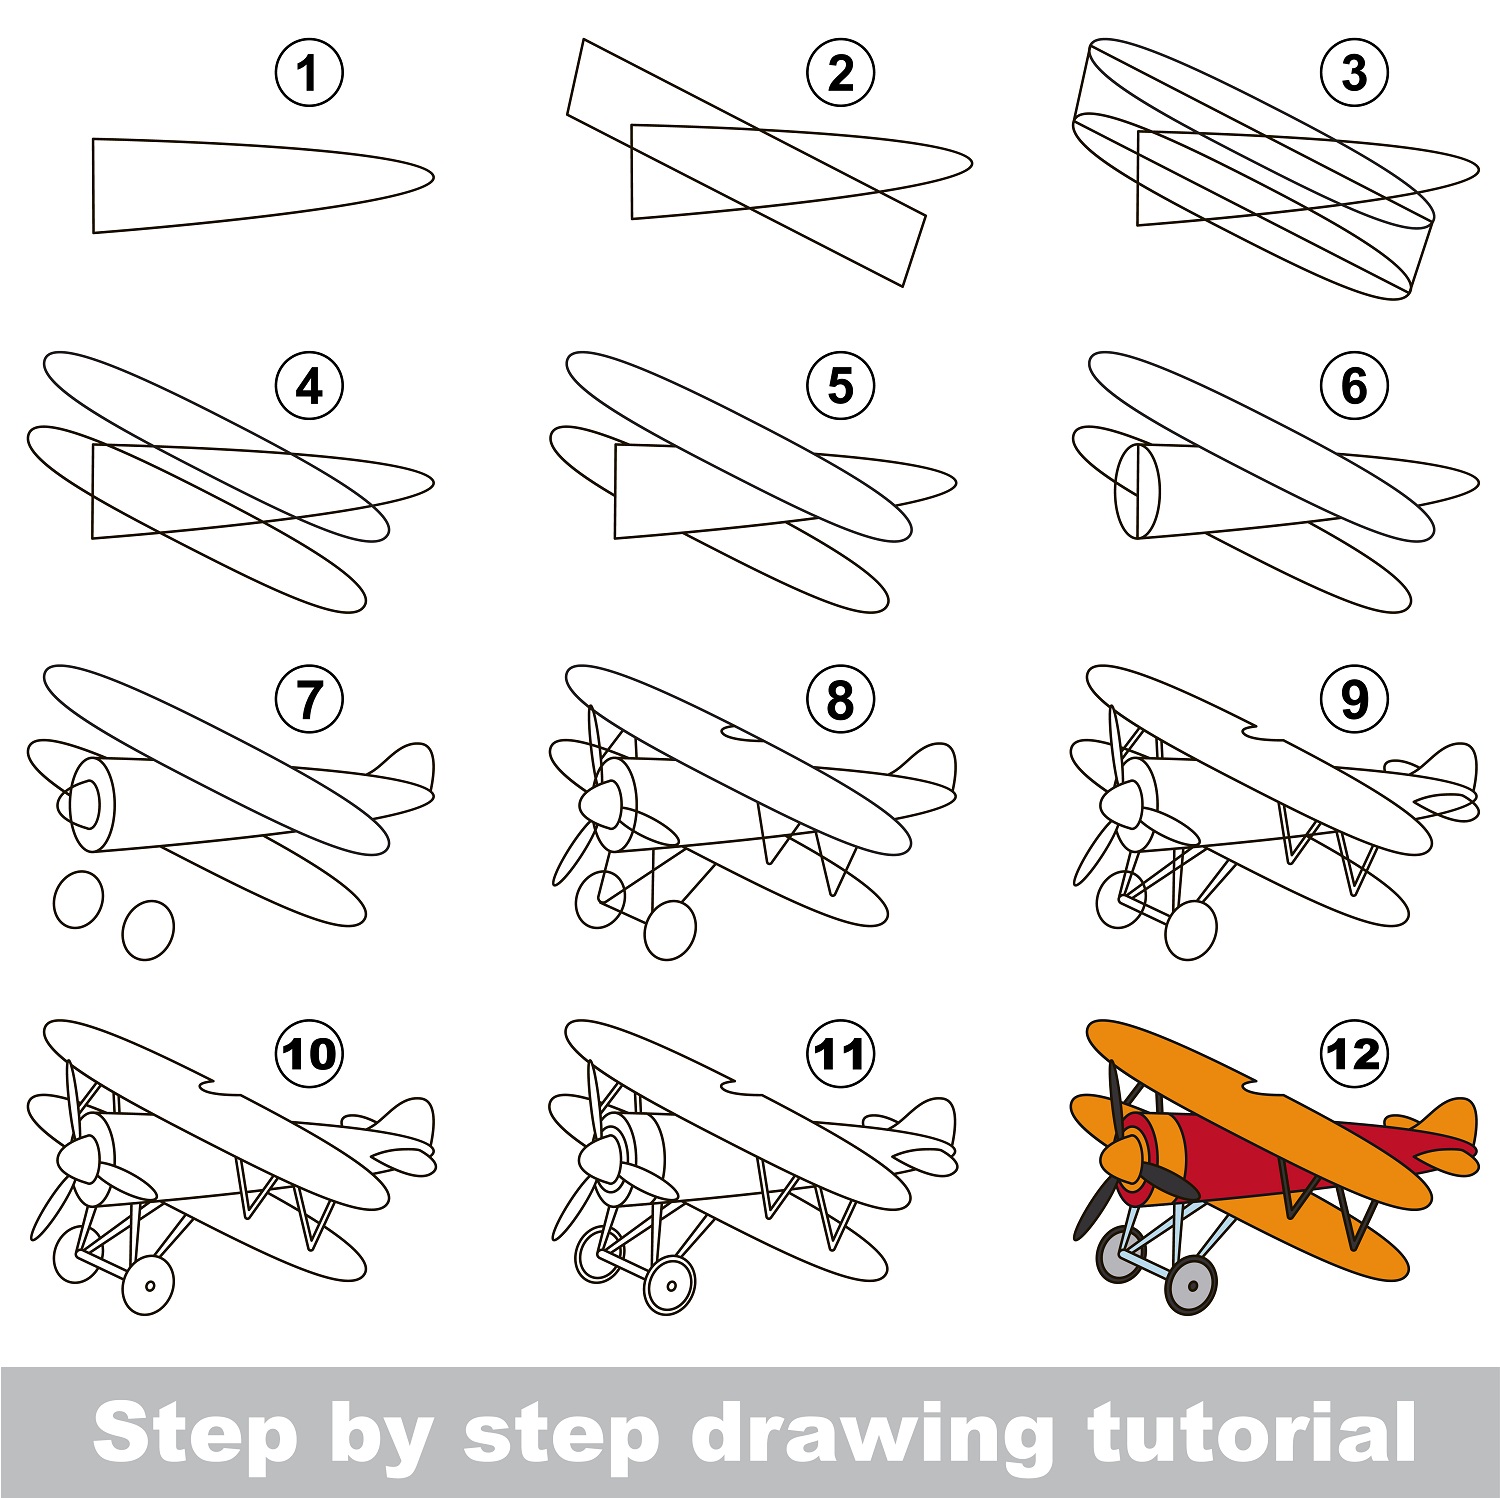
First, start by drawing a horizontal long rounded oval shape with a flat side on the left. Then, you want to draw a rectangle through your initial shape. On the top and bottom of the rectangle, draw an oval shape for the wings of the biplane. Remove some of the leftover lines from your initial shapes to show the body and wings of the biplane. Next, draw the propeller on the front of the plane and the wheels on the bottom of the plane. After that, draw the tail wings on the back of the biplane. Color in your biplane and you have completed your drawing!
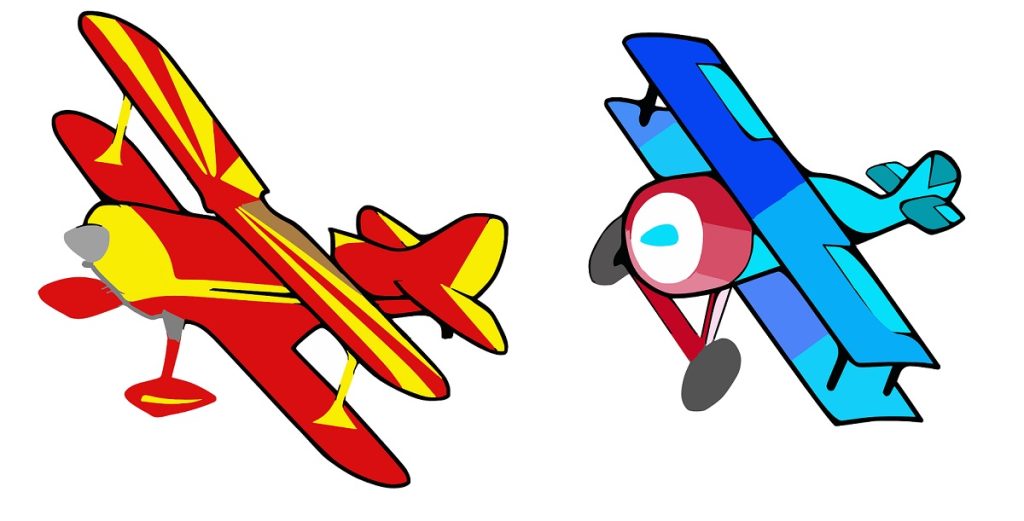
How to Draw a Biplane Step-by-Step for Beginners
In this tutorial, we’ll go over step-by-step instructions on how to create your very own biplane drawing. Whether you’re a beginner or an experienced artist, this guide will help you create a beautiful biplane drawing that you can be proud of.
Materials Needed
Before we begin, it’s important to gather all the necessary materials. You’ll need a pencil, eraser, paper, and a ruler. Make sure you have a comfortable and well-lit workspace to help you focus on your drawing.
Step 1 – Draw the Body of the Biplane
To start, draw a long, rectangular shape for the body of the biplane. Then, add a slightly curved line on each end to form the nose and tail. Make sure the nose is pointed and the tail is rounded. Once you have drawn the body, add a small, rectangular shape near the front for the cockpit.
Step 2 – Draw the Wings of the Biplane
Next, draw two sets of wings. The top set should be larger than the bottom set, with both sets starting at the body of the biplane. Draw a curved line for the top of each wing, then draw straight lines down to create the edges. For the bottom wings, draw two straight lines from the body of the biplane to create the edges. Then, connect the edges with a curved line to form the bottom of the wings.

Step 3 – Draw the Wheels of the Biplane
Now, draw the wheels of the biplane. Draw two circles on each side of the body, near the bottom. Then, add two more circles in the center of each wheel to represent the hubcap.

Step 4 – Draw the Propeller of the Biplane
For the propeller, draw a long, thin rectangle near the front of the body. Then, draw three curved lines extending from the rectangle to form the blades. Make sure the blades are evenly spaced apart and angled slightly upward.
Step 5 – Draw the Cockpit and Pilot of the Biplane
Next, draw the cockpit and pilot. Add two small circles near the front of the body to represent the gauges, then draw a curved line above them to form the top of the cockpit. Inside the cockpit, draw a small rectangle for the seat and a circle for the pilot’s head. Finally, add two curved lines for the arms and two small circles for the hands.
Step 6 – Add Details to the Body, Wings, Wheels, and Propeller of the Biplane
Now that you have the basic shape of the biplane, it’s time to add some details. Draw a small, rectangular shape on each wing for the ailerons, then add a few curved lines to show the flaps. Add a small, rectangular shape to the bottom of the body for the rudder. Then, draw a few lines on the wheels to show the spokes. Finally, add some curved lines to the propeller blades to show the rotation.
Step 7 – Add Shading to Make it Look Realistic
To make your drawing look more realistic, it’s important to add shading. Start by shading the body of the biplane with light strokes to show the curvature. Then, add shading to the wings, wheels, and propeller blades to give them depth. Finally, add shading to the cockpit and pilot to show the shadows.
Step 8 – Color in the Biplane
The final step is to color in the biplane. Choose the colors you want to use, and make sure to color inside the lines. Start with the body, wings, and tail, then move on to the wheels, propeller, and cockpit. Once you have finished coloring, your biplane drawing is complete!
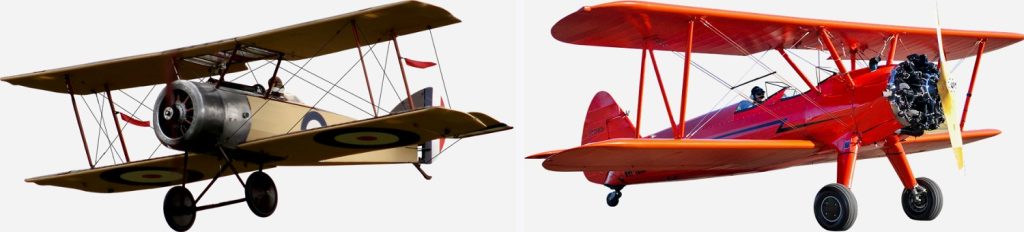
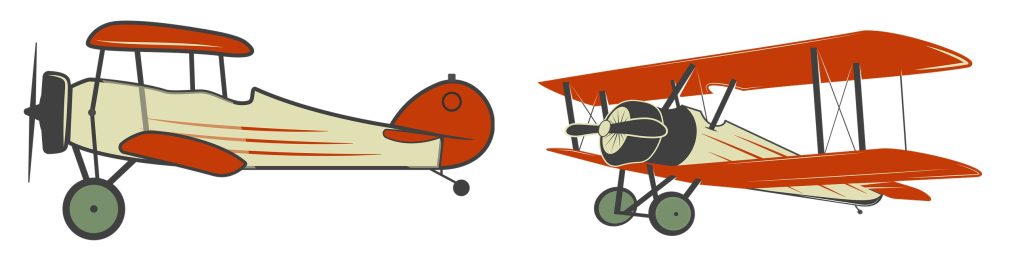
Tips for Drawing a Biplane
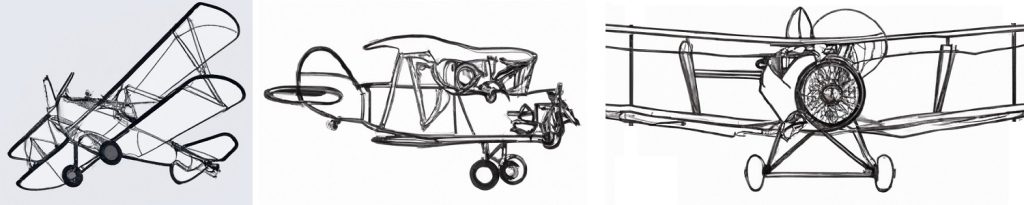
To draw a realistic biplane, begin by finding reference images of biplanes from different angles to understand their structure and proportions. Analyze the details such as the wings’ shape, engine placement, and landing gear. Start sketching the biplane using light lines to outline its basic shape and proportions. Then add more details such as the wing curvature, propeller angle, and cockpit shape. Add smaller details such as rivets and bolts to create depth. Shading is also crucial in creating a realistic drawing. Observe how light falls on the biplane and use shading techniques to create depth and form. Practice is the key to drawing a realistic biplane.
In Summary
Drawing a biplane may seem intimidating, but with these step-by-step instructions, you can create a beautiful and realistic biplane drawing that you can be proud of. Remember to take your time, use light strokes, and have fun with the process. Happy drawing!
