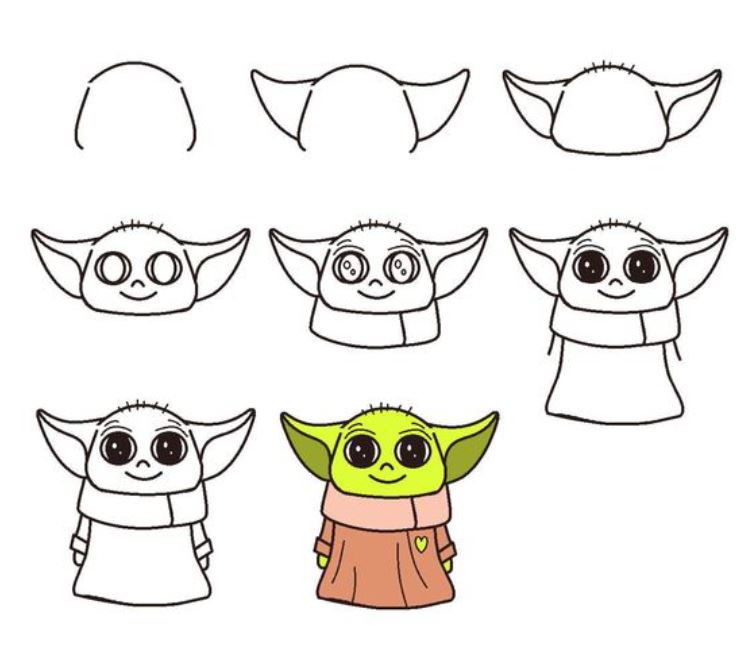
First, draw an open circle with a rounded portion at the top to make up the head. Off each side of the head, draw triangle shapes for the ears. The tip of the ears should be rounded. Third, you want to draw the inside portion of the ears by drawing two curved lines from his head into the corner of his ears. Next, draw a few small lines on the top center of his head for hair. Fourth, draw his face by drawing large circles for eyes with very large pupils, an upside down u for the nose, and a smiling mouth. Fifth, draw Grogu’s scarf and a cloak underneath. You can draw two arms on the side of his body inside the cloak with his hands on the outside of the cloak. Finish your picture by coloring baby yoda green and coloring his cloak brown.
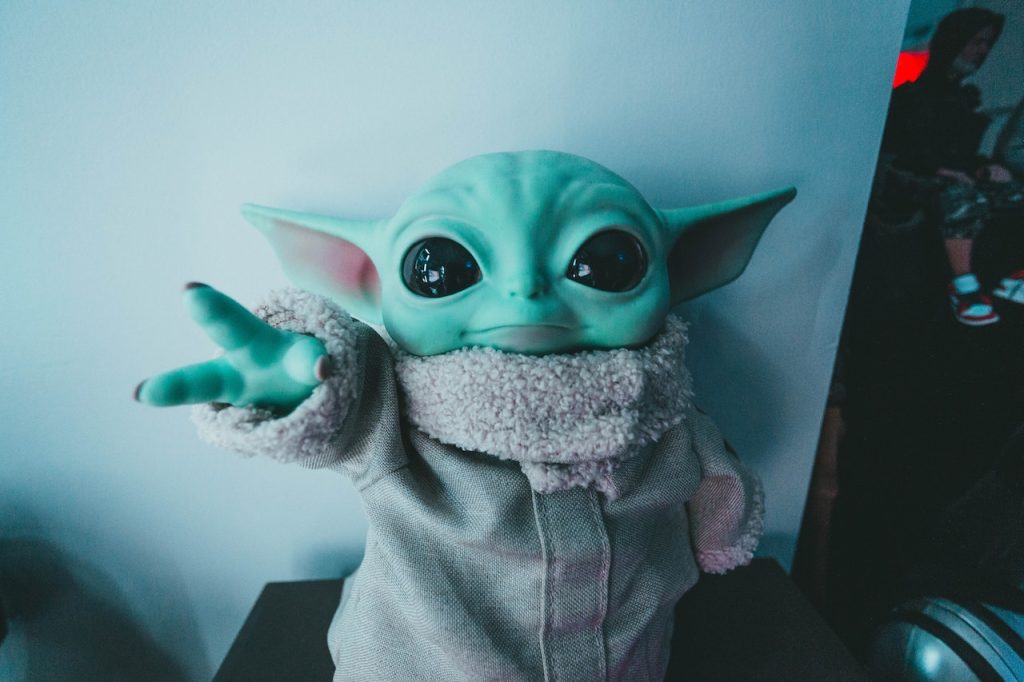
Step-By-Step Baby Yoda AKA Grogu Drawing Tutorial
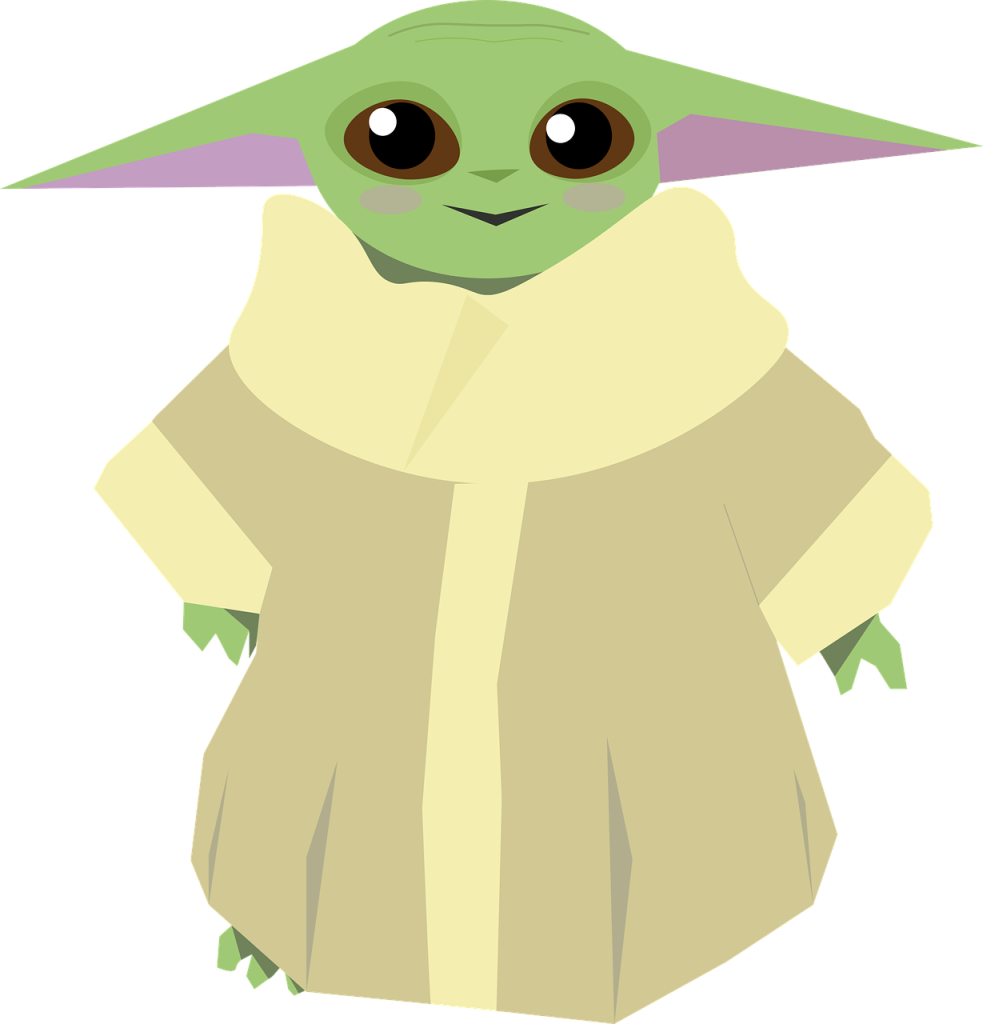
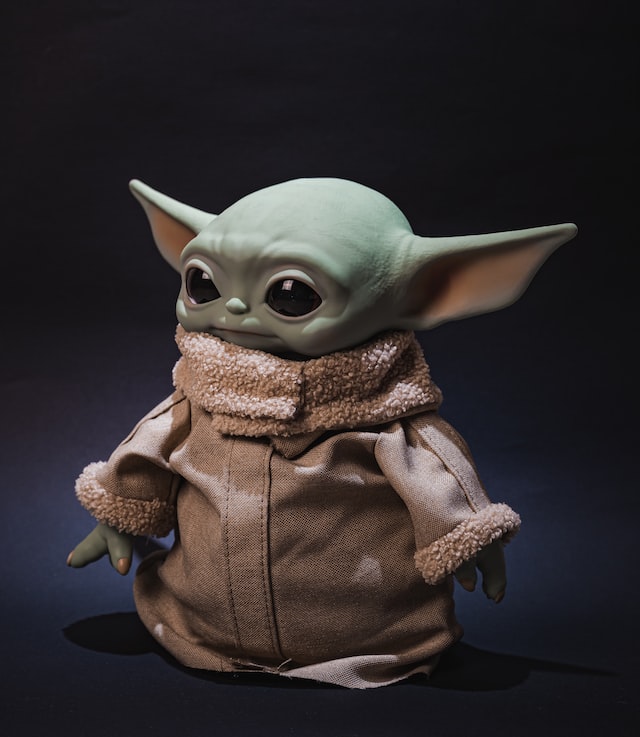
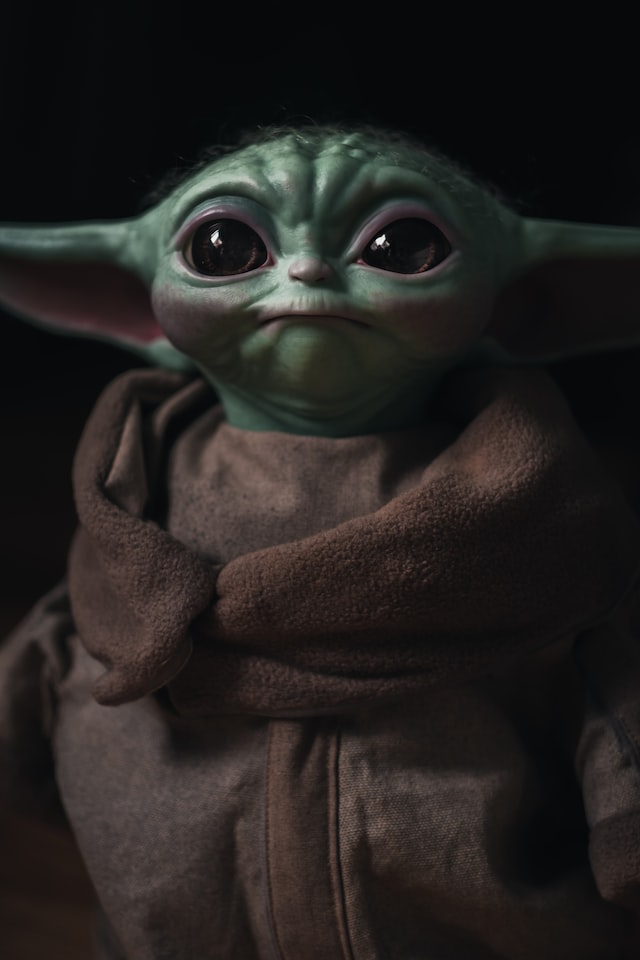
Drawing Baby Yoda has become popular for many Star Wars fans. This adorable character from the Disney+ series “The Mandalorian” has captured hearts all over the world with its big, expressive eyes, wrinkly skin, and oversized ears. In this guide, we’ll show you step-by-step how to draw Baby Yoda, so you can create your own adorable masterpiece.
Step 1 – Draw Baby Yoda’s Head
The first step in drawing Baby Yoda is to sketch out the shape of its head. Start by drawing a round shape that is slightly wider at the bottom than it is at the top. This will be the basis for the head. Next, draw a line down the center of the head, which will be used to help you place the eyes and nose later on.
Step 2 – Draw Baby Yoda’s Eyes
Next, it’s time to draw Baby Yoda’s eyes. These are one of the most distinctive features of the character, so it’s important to get them right. Start by drawing two large circles on either side of the center line that you drew in the previous step. Inside each of these circles, draw a smaller circle to represent the pupil. Finally, add some shading around the edges of the eye to give it some depth.
Step 3 – Draw Baby Yoda’s Ears
Baby Yoda’s ears are another distinctive feature that help to make it so adorable. To draw them, start by drawing a curved line that starts at the top of the head and curves outwards. This will be the basis for the ear. Next, draw a second curved line that starts at the bottom of the first line and curves back inwards, creating a teardrop shape. Finally, add some shading to the ear to give it some depth.
Step 4 – Draw Baby Yoda’s Nose and Mouth
Now it’s time to draw Baby Yoda’s nose and mouth. Start by drawing a small, upside-down triangle in the center of the face, just below the eyes. This will be the nose. Next, draw a small curved line just below the nose to represent the mouth. Finally, add some shading around the nose and mouth to give them some depth.
Step 5 – Draw Baby Yoda’s Cloak
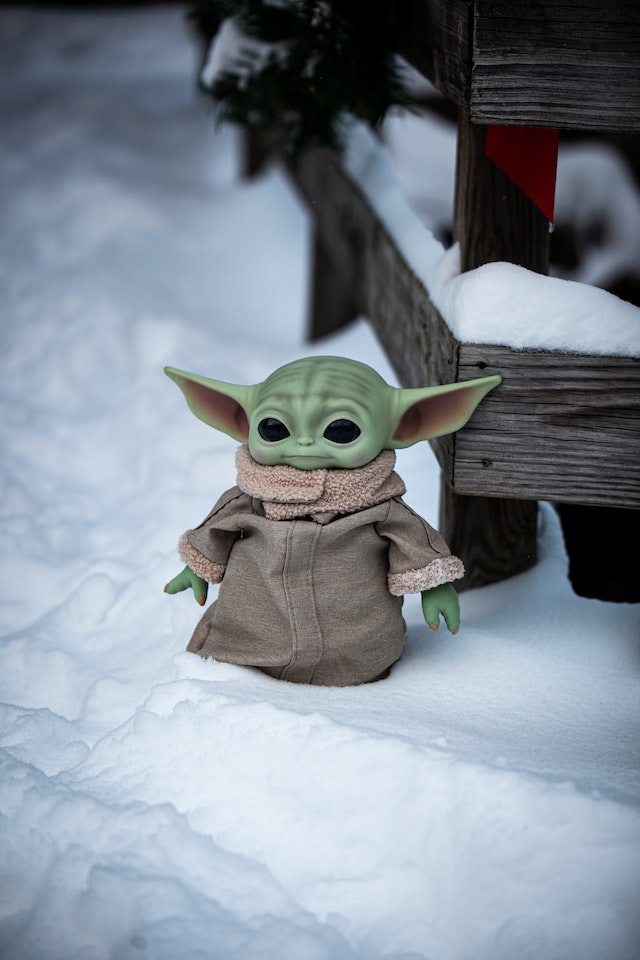
Baby Yoda is often seen wearing a brown cloak, so it’s important to include this in your drawing. Start by drawing a curved line that starts at the bottom of the head and curves outwards to create the shape of the cloak. Next, draw a second curved line that starts at the bottom of the first line and curves back inwards, creating a teardrop shape. Finally, add some shading to the cloak to give it some depth.
Step 6 – Draw Baby Yoda’s Hands Coming Out of the Cloak
To make your drawing even more adorable, you can draw Baby Yoda’s hands coming out of the cloak. Start by drawing two curved lines that come out from the bottom of the cloak. These will be the arms. Next, draw two small circles at the end of each arm to represent the hands. Finally, add some shading to the hands to give them some depth.
Step 7 – Add Details to Baby Yoda
Now that you have the basic outline of Baby Yoda, it’s time to add some details to make it come to life. Start by adding some wrinkles and folds to the skin, especially around the eyes and mouth. Next, add some shading to the skin to give it some depth. Finally, add some details to the cloak, such as folds and creases.
Step 8 – Color Baby Yoda
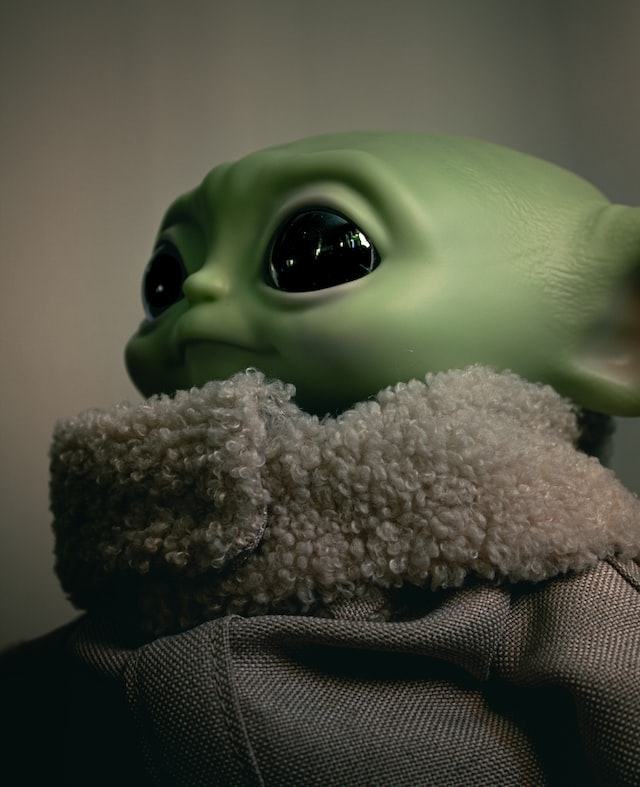
The final step in drawing Baby Yoda is to add some color. Start by coloring the skin with a light green color. The eyes should be a dark color and the inside of the ears are pink. Finally, color the cloak of Baby Yoda brown to complete the drawing.
1 Tip For Drawing Baby Yoda
One tip for drawing Baby Yoda would be to pay attention to the proportions of the character. Baby Yoda’s head is relatively large compared to his body, so make sure that you capture that in your drawing. This will help give your drawing a more accurate and realistic look.
How to Draw Baby Yoda’s Robes
One drawing suggestion for Baby Yoda’s robes is to focus on the fabric’s folds and creases. To give your drawing a more realistic appearance, it’s crucial to accurately depict the movement and texture of the robes. Lines can be used to show the direction of the folds, and cross-hatching or hatching can be used to give the fabric depth and texture. Study the concept art for the show or the reference photos of baby Yoda to get a better understanding of what the robes should be like.
In Summary
Thank you for reading this tutorial on how to draw Baby Yoda step-by-step for beginners. We hope you found this guide useful and that it has inspired you to continue practicing your drawing skills. If you have any questions or feedback, feel free to leave a comment below. Happy drawing!

