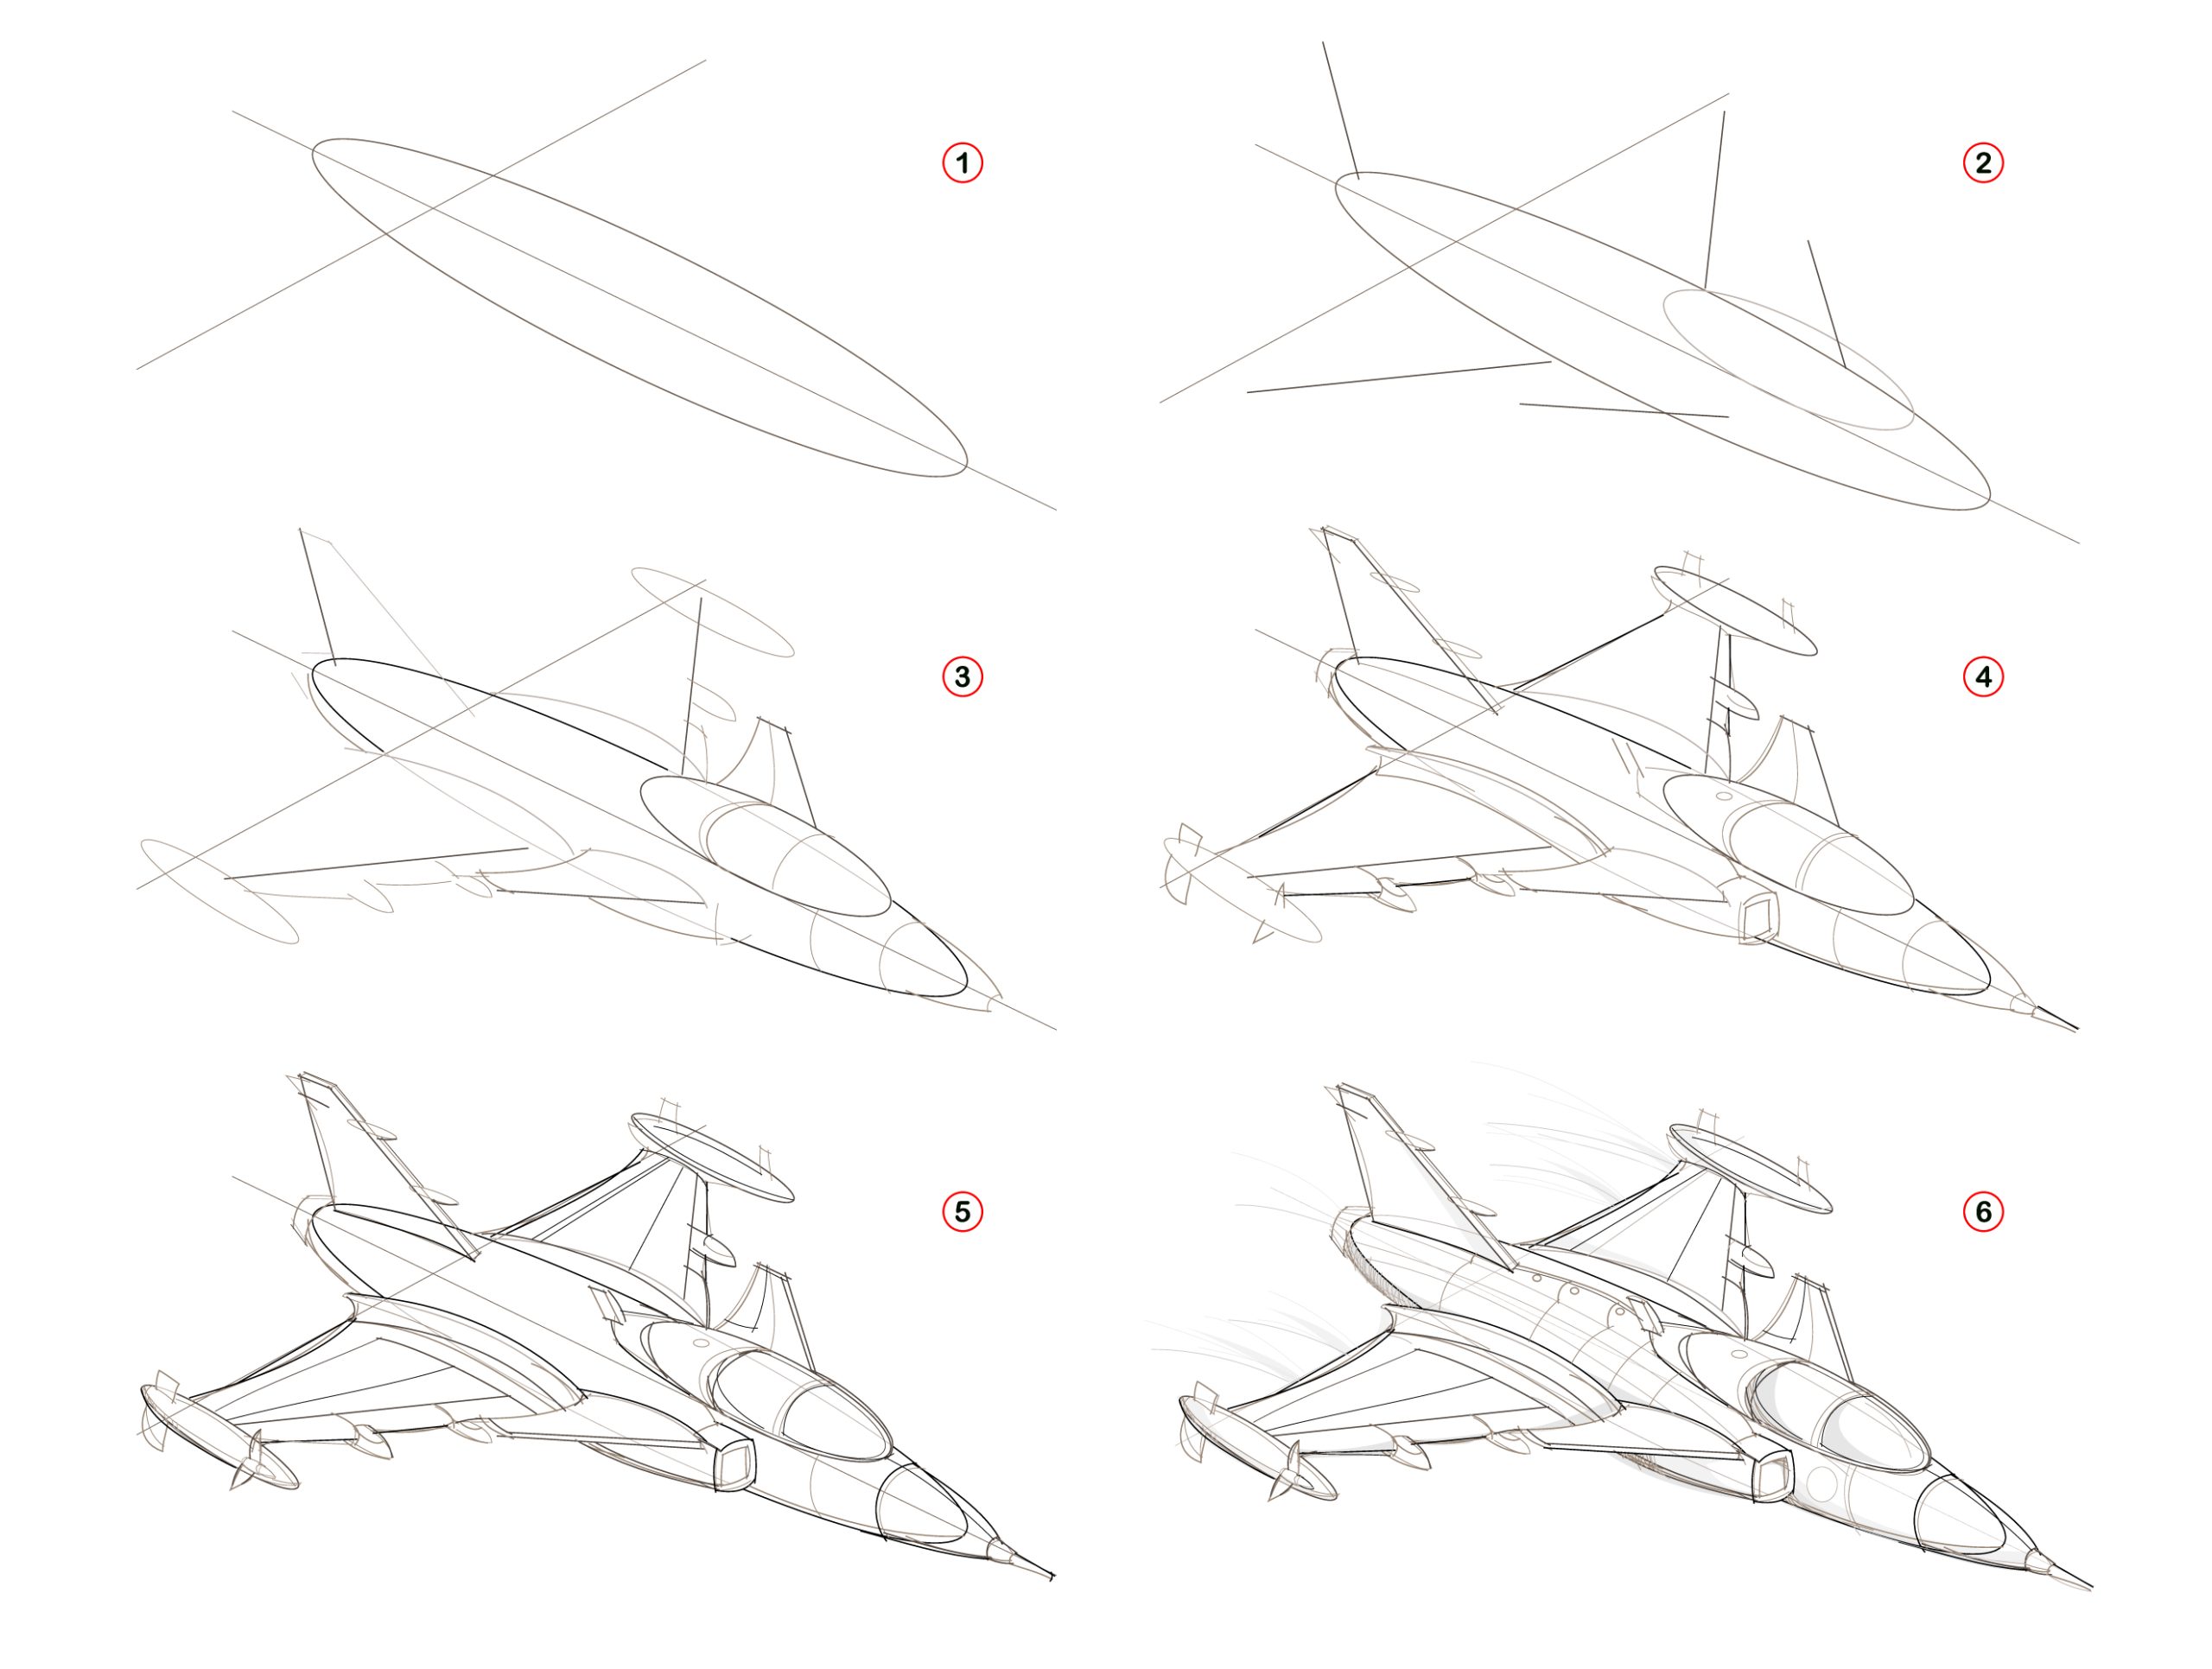
First, draw the body of the Jet by drawing a long oval shape. Your first shape should look similar to a surfboard. Draw a long line through the center of the first shape and a second perpendicular line near the back of the oval shape. Second, draw the cockpit by drawing a rounded shape on top of the oval and start drawing the wings of the fighter jet. The fighter jet will have large wings on the side along with a smaller set of wings on the side as well. Next, draw the vertical stabilizer, which is the tail wing that is on the backside of the plane on the top. The front of the plane should have a sharp point and the large wings should have missiles on the side. You can also draw additional details such as guns on the wings, lines on the cockpit, an air brake in the center of the plane, engines on the backside of the plane, the left and right rudder on the back of the plane, and landing gear on the bottom of the jet.
Draw a Fighter Jet in 4 Steps
Step-By-Step Fighter Jet Drawing Tutorial
Below, you will see detailed step-by-step fighter jet drawing instructions to make drawing it easy. While fighter jets have a lot of details, you just need to focus on one shape at a time and improve your sketch.
Why Draw a Fighter Jet?
Drawing is a great skill that can be used in many areas, such as art, design, architecture, and engineering. Drawing is also a great way to express creativity and imagination. Moreover, drawing can be relaxing and therapeutic.
Purpose of the Fighter Jet Drawing Tutorial
This tutorial aims to teach you how to draw a fighter jet. You will learn how to draw basic shapes, sketch the fighter jet, add details, shade, and color the fighter jet. This tutorial is suitable for beginners who want to learn how to draw a fighter jet.
Materials Needed
Pencil
Eraser
Drawing paper
Ruler
Compass
Reference images
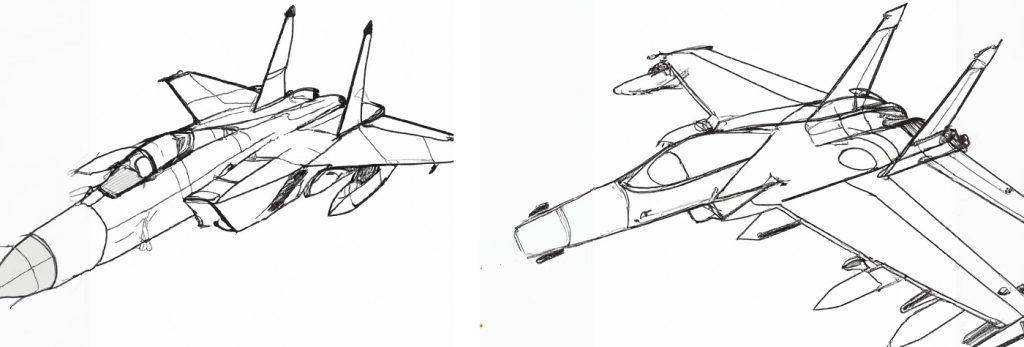
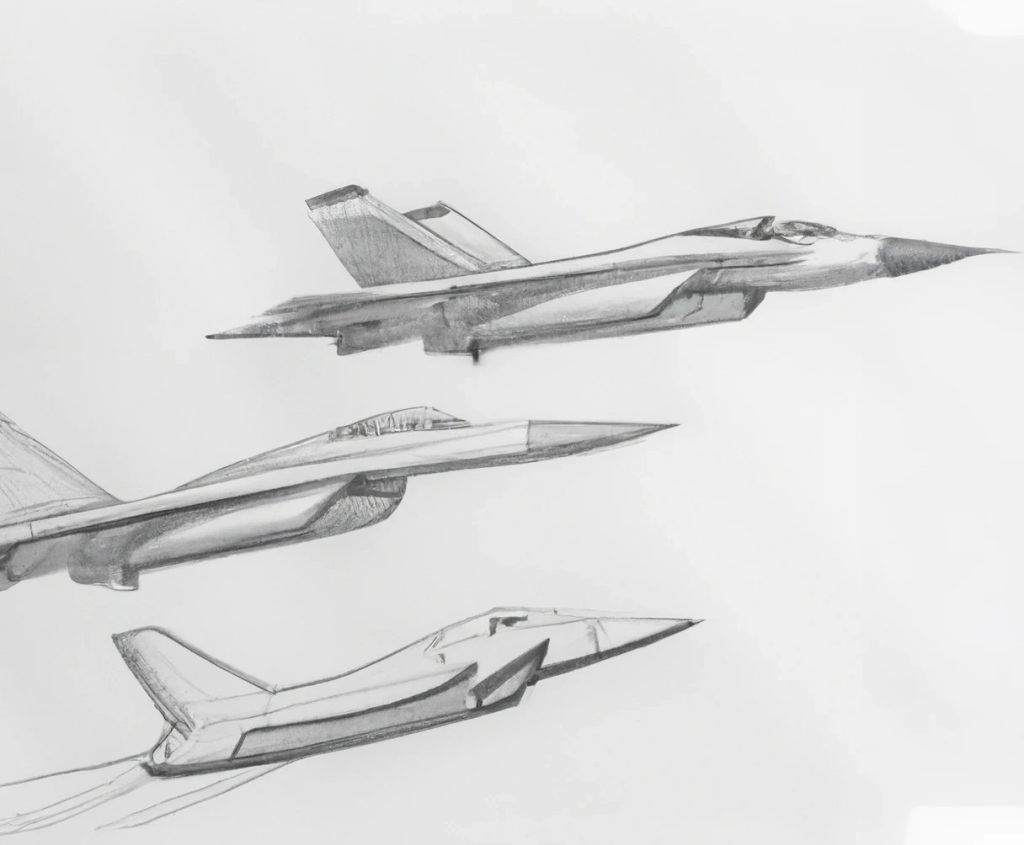
You can use reference images of fighter jets as a guide for your drawing. We have several images throughout the blog post that will help you see the different details of the jets.
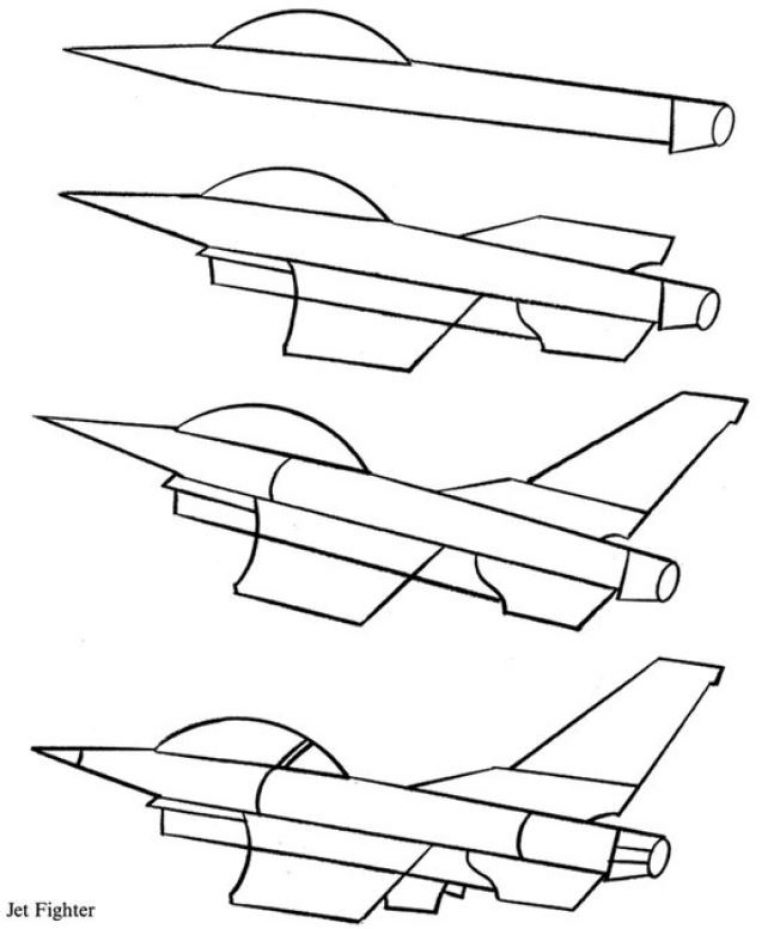
Step 1 – Draw an Oval for the Body of the Jet
Start by drawing an oval for the body of the fighter jet. You can use a ruler to draw straight lines and draw rounded shapes at the ends of the straight line. Your oval should be long and thin rather than short and thick so the body looks more realistic.
Step 2 – Draw 2 Triangles on the Side of the Body for the Wings of the Jet
Next, draw two triangles for the wings of the fighter jet. The triangles should be attached to the bottom portion of the oval you drew for the body of the jet. Make sure the triangles are symmetrical. The two wings will each be triangle shapes and they go towards the back of the jet.
Step 3 – Draw Circles for the Engines
Draw two circles for the engines of the fighter jet. The circles should be attached to the sides of the oval. The engines can be placed toward the center of the body of the jet.
Step 4 – Draw a Trapezoid for the Tail
Finally, draw a trapezoid for the tail of the fighter jet. The trapezoid should be attached to the back of the oval. The tail is also referred to as the vertical stabilizer. It should be placed on the back of the body of the jet.
Step 5 – Add Details to the Fuselage
Sketch the fuselage of the fighter jet by adding more details to the oval shape. You can draw lines along the fuselage to make it look more realistic and 3D. The fuselage is the main body of an aircraft.
Step 6 – Add Details to the Wings
Sketch the wings of the fighter jet by adding more details to the triangle shapes. Draw the shape of the wing flaps and the ailerons. In addition, you can draw missiles on the sides of the wings and additional shapes to the long sides of the triangles.
Step 7 – Draw the Cockpit and Canopy
Sketch the cockpit and canopy of the fighter jet by adding more details to the cockpit shape. Draw the shape of the glass canopy and the pilot. You can draw a line through the cockpit to show where the pilot actually sits. Use a pencil to draw the shape of the pilot and the cockpit instruments.
Step 8 – Draw the Engines and Exhausts
Sketch the engines and exhausts of the fighter jet by adding more details to the jet. Draw the shape of the intake and the exhaust nozzle.

Step 9 – Draw Panel Lines and Rivets
Add panel lines and rivets to the fighter jet to make it look more realistic. Use a pencil to draw thin lines and dots.
Step 10 – Draw Missiles and Bombs
Add missiles and bombs to the fighter jet to make it look more powerful. Use a pencil to draw the shape of the missiles and bombs.

Step 11 – Draw Landing Gear
Add the landing gear to the fighter jet to make it look more functional. Use a pencil to draw the shape of the landing gear.
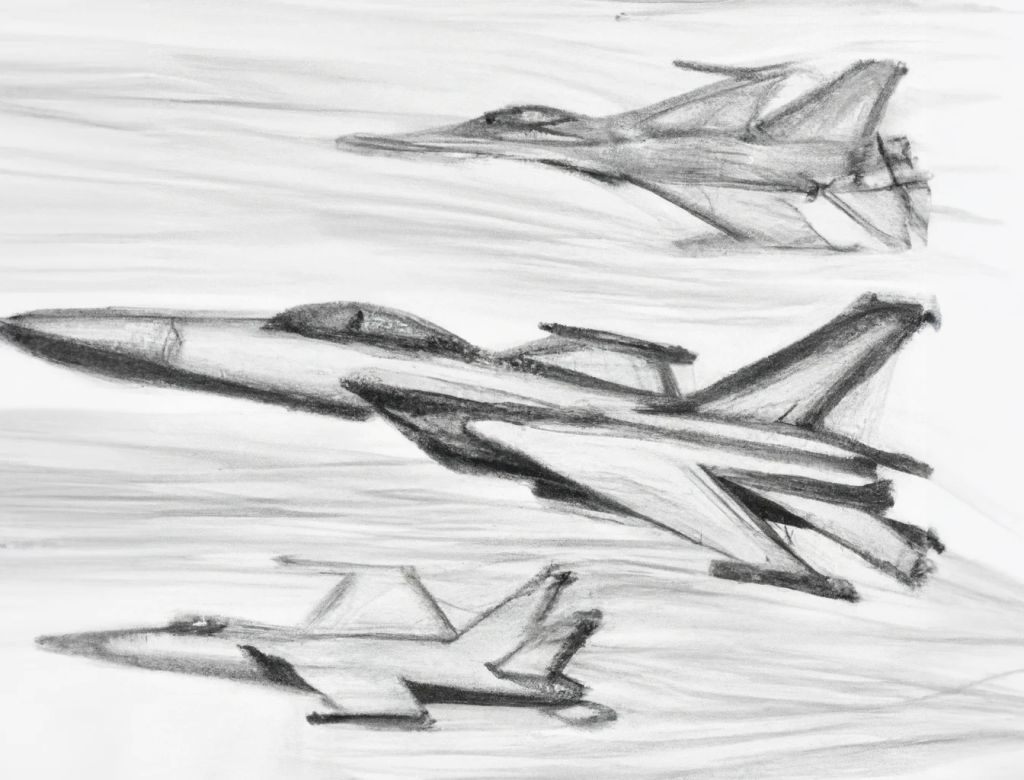
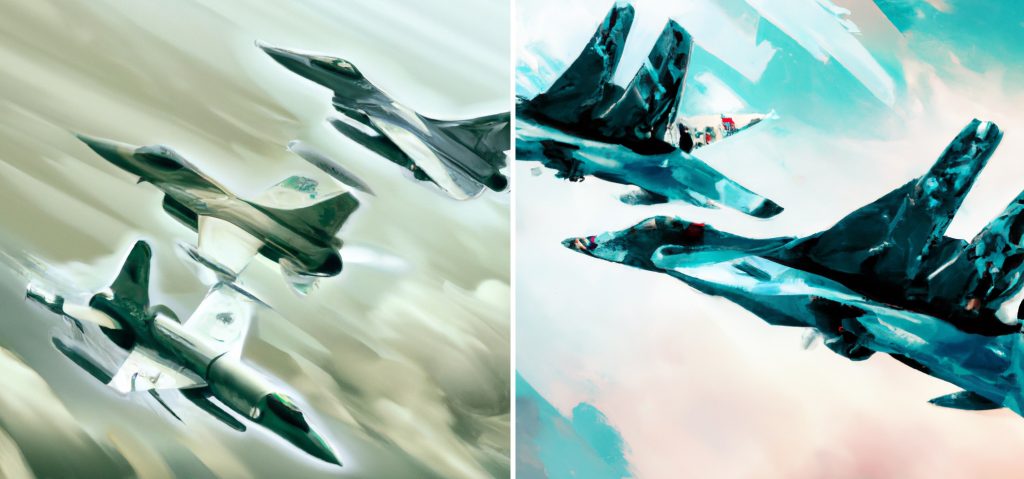
Step 12 – Add Shadows and Highlights to your Fighter Jet
After you’ve finished sketching and adding details to your fighter jet, it’s time to add shadows and highlights to make it look three-dimensional. Use a pencil to shade the areas that are darker and leave the areas that are lighter. This will give your fighter jet depth and dimension.
Step 13 – Choosing a Color Scheme
Choose a color scheme for your fighter jet. You can use the colors of the reference image or create your own color scheme. Consider the environment where the fighter jet will be used, such as blue skies or desert landscapes. This will help you choose the right colors.
Step 14 – Apply Base Colors
Once you’ve chosen your color scheme, apply the base colors to your fighter jet. Use colored pencils, markers, or paint to apply the colors. Start with light colors and gradually build up to darker colors. Be sure to color within the lines.
Step 15 – Add Details with Color and Shading
After you’ve applied the base colors, it’s time to add details with color. Use darker shades to add shadows and lighter shades to add highlights. Use different shades to add texture and depth to your fighter jet. You can also add color to the missiles, bombs, and landing gear.

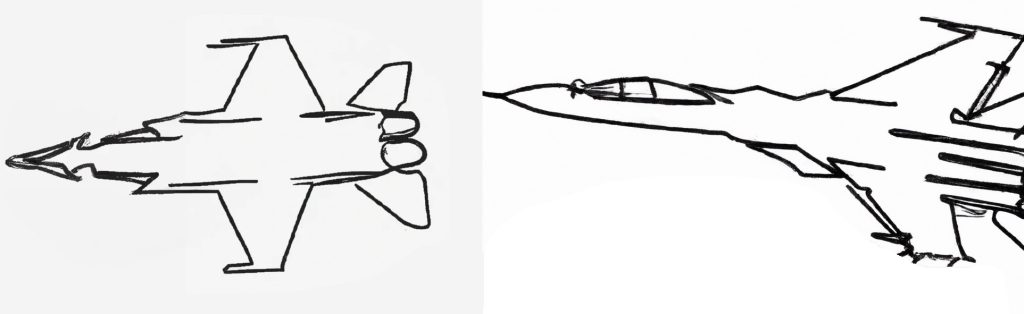
Details of the Fighter Jet You Need to Draw
- Cockpit: The cockpit is where the pilot sits and controls the fighter jet. It’s typically located near the front of the plane and can be round or angular in shape.
- Fuselage: The fuselage is the main body of the fighter jet. It’s usually long and narrow, and it contains the engine, weapons, and other important components.
- Wings: Fighter jets have two wings, one on each side of the fuselage. The wings are typically swept back and have a triangular shape.
- Engines: Fighter jets are powered by jet engines, which are located on either side of the fuselage. The engines are usually round or oblong in shape and have exhaust nozzles at the back.
- Tail: The tail of a fighter jet includes the vertical stabilizer and the horizontal stabilizers. The vertical stabilizer is located at the back of the fuselage and is typically tall and narrow. The horizontal stabilizers are located near the top of the tail and are usually flat.
- Landing gear: Fighter jets have landing gear that allows them to take off and land. The landing gear includes the wheels and struts that support the fighter jet on the ground.
Conclusion
It may take a few tries, but if you keep at it and practice every day, you will eventually get there. The next step is to learn how to draw different types of planes and helicopters.
In this tutorial, you’ve learned how to draw a fighter jet using basic shapes, sketching techniques, and adding details. You’ve also learned how to shade and color your fighter jet to make it look more realistic. Drawing takes practice, so don’t be discouraged if your first attempt doesn’t turn out the way you want it to. Keep practicing and you’ll improve your skills. Drawing a fighter jet can be challenging, but with practice and patience, you can create a great piece of art. Remember to have fun and enjoy the process.
