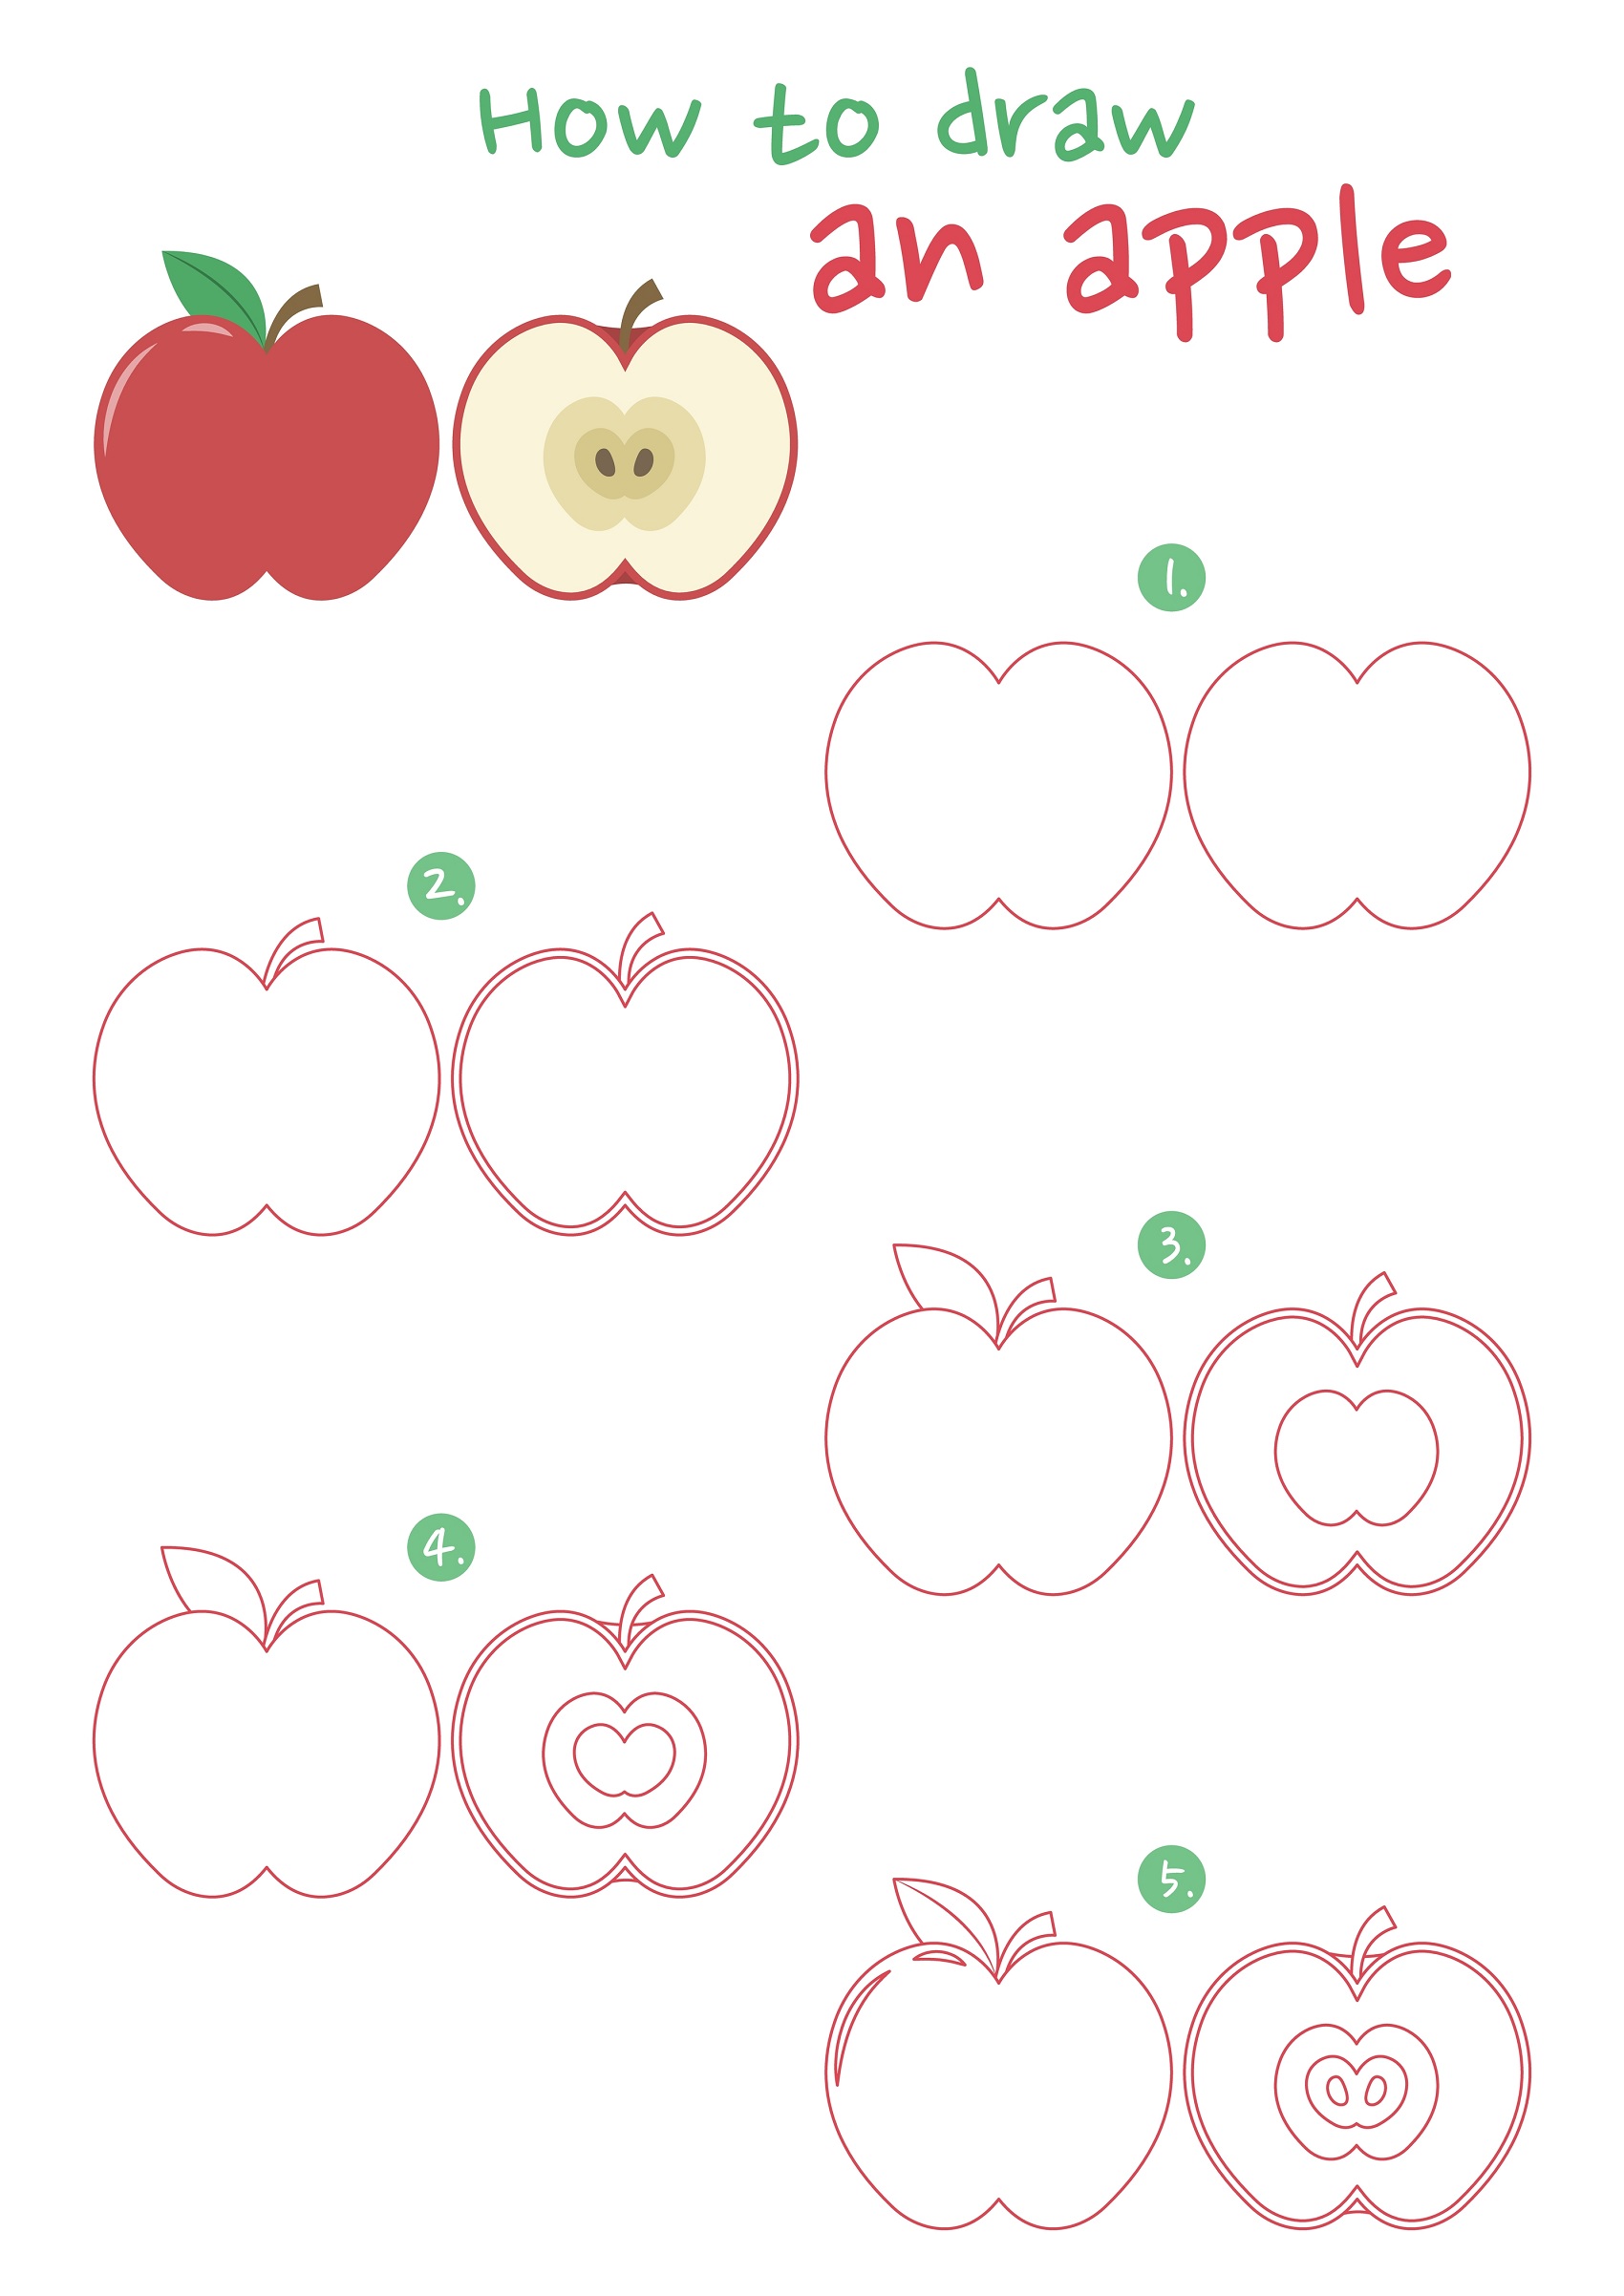
Drawing apples can be a difficult task when you first get started. If you want to show kids an easy tutorial for drawing an apple, you have come to the right place. We have a step-by-step guide below for the outside of an apple and the inner core. In addition, use the reference images throughout the blog post.
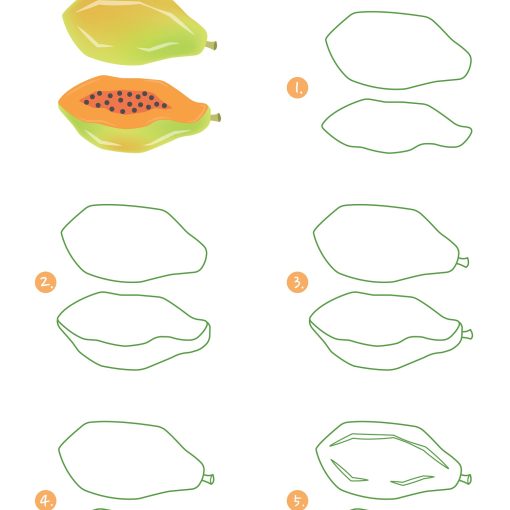
Step 1 – Draw the Outline of the Apple
The first step to drawing an apple is to draw its outline. You can use a pencil or a pen to sketch the apple’s shape. Start by drawing a circle or an oval shape. Make sure it’s not too big or too small, as the size of the apple will determine the rest of its features. Then, draw a curved line at the top and bottom of the circle. This will create the apple’s contours.
Step 2 – Draw the Stem of the Apple
Now that you’ve drawn the outline of the apple, it’s time to add the stem. Draw a thin, curved line at the top of the apple. The stem should be attached to the apple’s contour line. Add a small oval shape at the end of the stem. This will be the apple’s calyx.
Step 3 – Draw the Leaf on the Stem of the Apple
An apple isn’t complete without a leaf. Draw a small triangle shape on one side of the stem. This will be the base of the leaf. Then, draw two curved lines from the base of the leaf to its top. The leaf should be pointed at the end. Add a few veins on the leaf to make it more realistic.
Step 4 – Add Details to the Skin of the Apple
The next step is to add details to the apple’s skin. Draw small, curved lines around the apple’s outline. These lines will create the apple’s skin texture. Don’t forget to draw a small highlight on the apple’s surface. This will create the illusion of reflection.

Step 5 – Add Shading and Details to Make Your Apple Realistic
Now that you’ve added details to the apple’s skin, it’s time to add shading to create a three-dimensional effect. Shade the apple’s sides to create depth. Use a darker tone for the shadowed areas and a lighter tone for the highlighted areas. You can use a pencil, pen or digital tool to do this. Don’t forget to add a shadow under the apple to make it look like it’s resting on a surface.
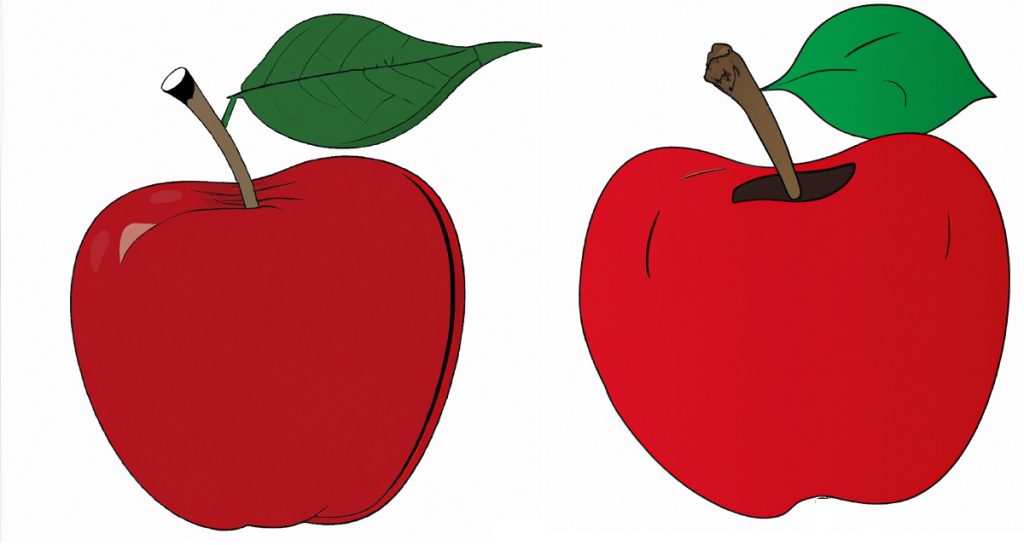
Step 6 – Color the Apple Red, the Stem Brown, and the Leaf Green
The final step is to color the apple. Use a shade of red to color the apple. You can use a darker tone for the shadowed areas and a lighter tone for the highlighted areas. Color the stem brown and the leaf green. Use darker tones for the shadowed areas and lighter tones for the highlighted areas. Add a bit of shading to the apple to make it look more realistic.
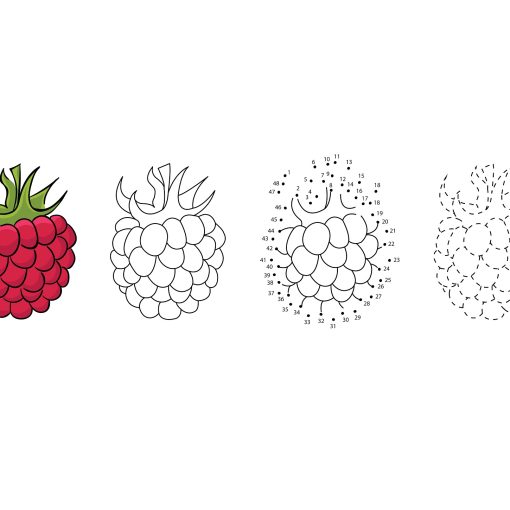
How to Draw the Inside of an Apple
Drawing an apple core or the inside of the apple may seem like a simple task, but it can be a challenge for those who are new to drawing or have limited experience in sketching. Whether you’re an art student or just looking for a fun activity, this step-by-step guide will help you draw a half cut apple with ease.
Step 1 – Draw the Outline of the Apple Core
The first step in drawing an apple core is to sketch the outline of the core. Start by drawing a circular shape to represent the overall shape of the apple. Then, add a vertical line that goes down the center of the apple to represent the core.
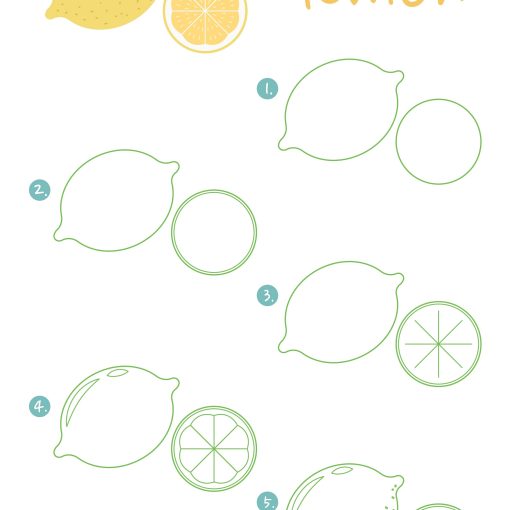
Step 2 – Draw the Inner Core of the Apple
Next, draw the inner core of the apple by drawing the same shape as the outline, but slightly smaller. This will create a border around the core of the apple. Make sure to keep the lines straight and symmetrical.
Step 3 – Draw Another Inner Shape Inside the Core of the Apple
To create the texture of the apple core, draw another inner shape inside the core of the apple. This shape should be smaller than the previous one and should be placed slightly off-center to create a more realistic look.
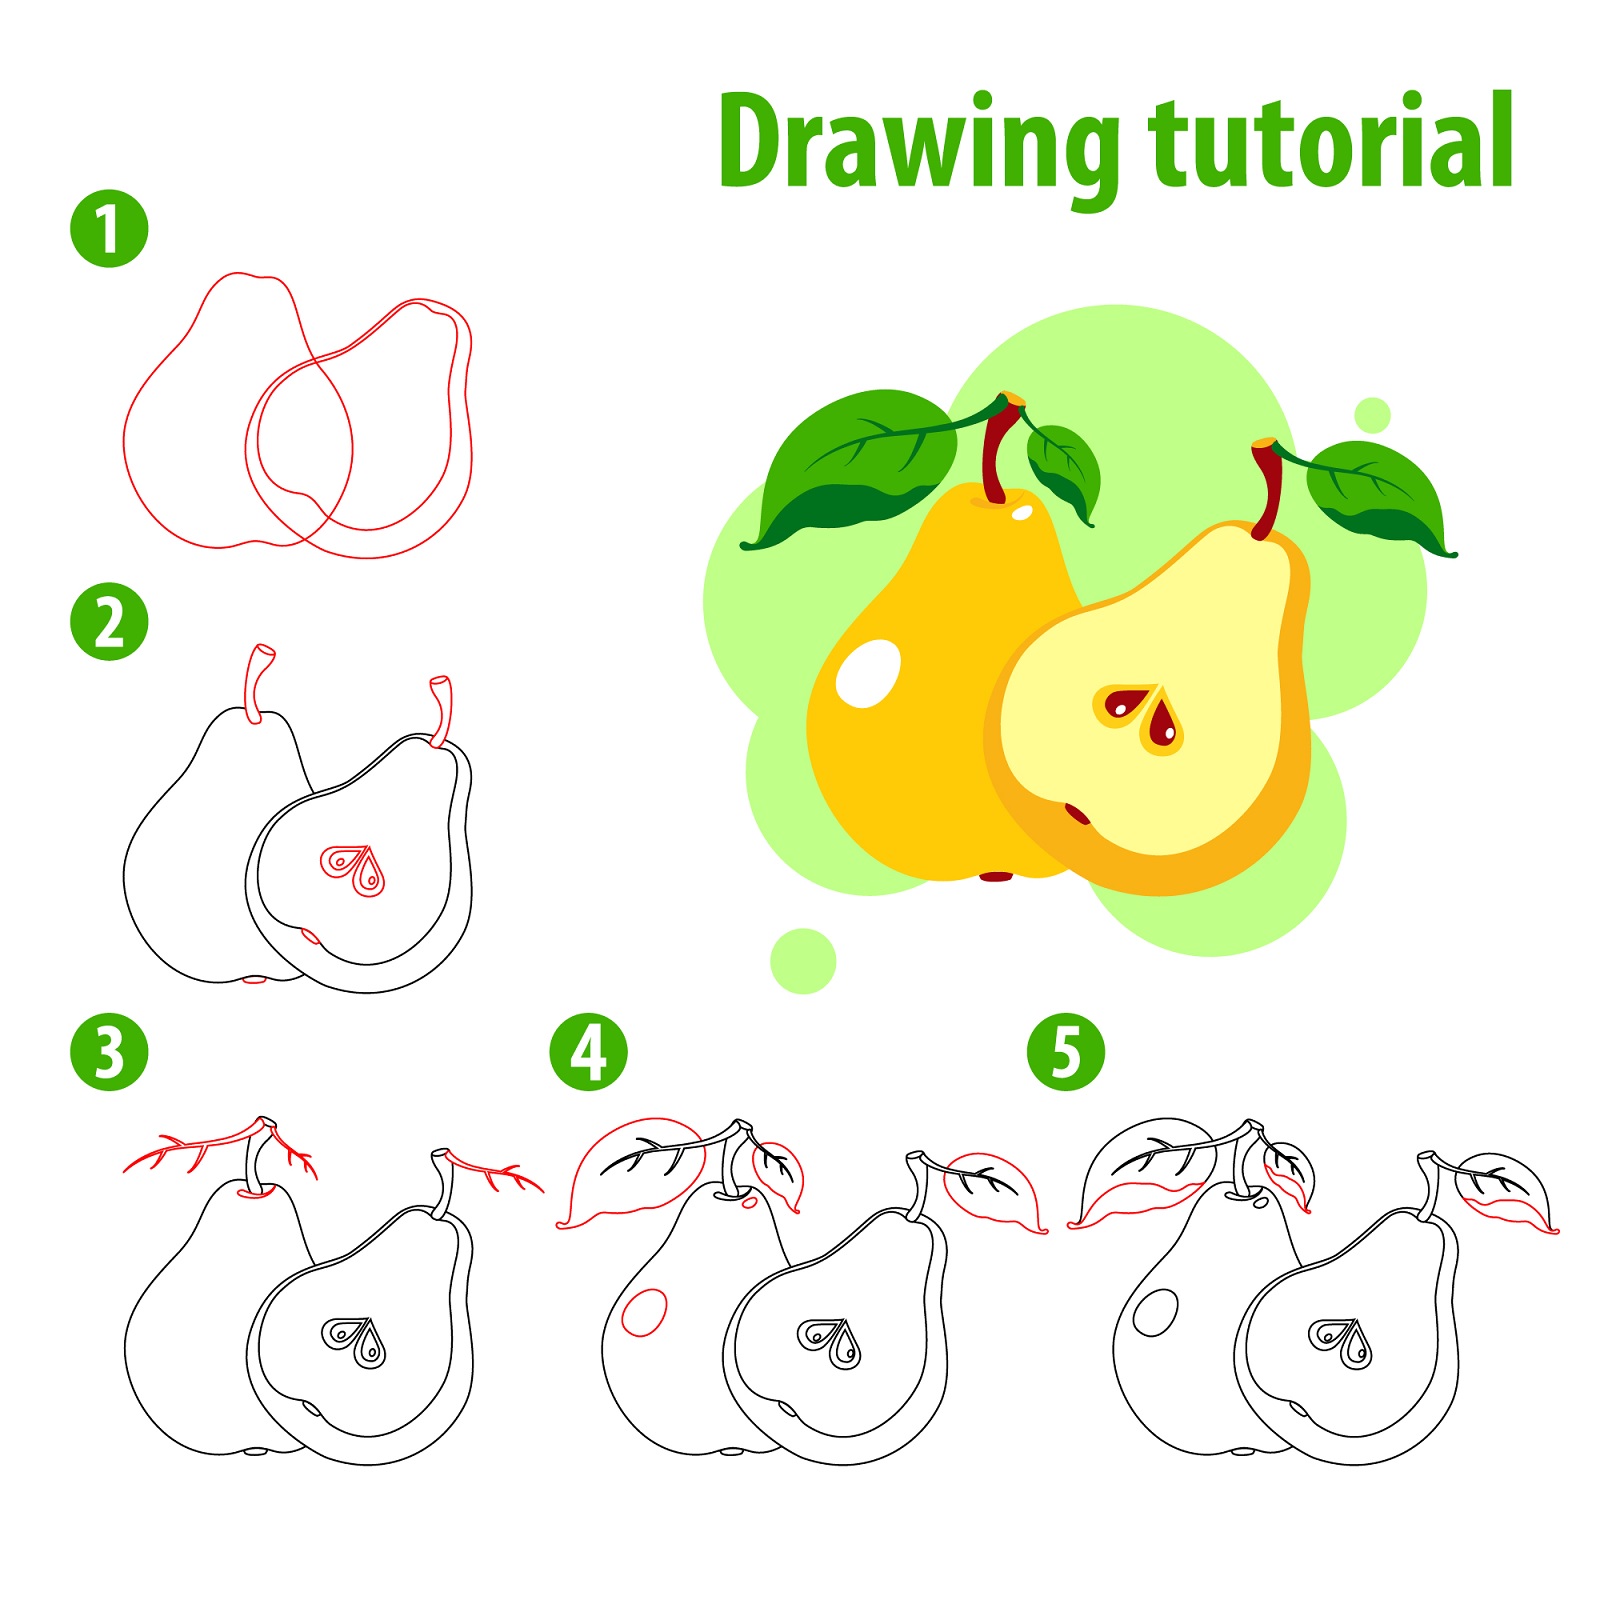
Step 4 – Draw the Stem of the Apple
Now it’s time to add the stem of the apple. Draw a thin, curved line that extends from the top of the apple. Make sure the stem is in proportion to the size of the apple.
Step 5 – Draw the Leaf on the Stem of the Apple
Add a leaf to the top of the stem by drawing a small, curved shape with pointed ends. The leaf should be smaller than the apple to keep the drawing in proportion.
Step 6 – Add Details Such as the Seeds
To add more detail to the apple core, draw small ovals inside the inner core to represent the apple seeds. Make sure to space them out evenly and keep the size consistent.
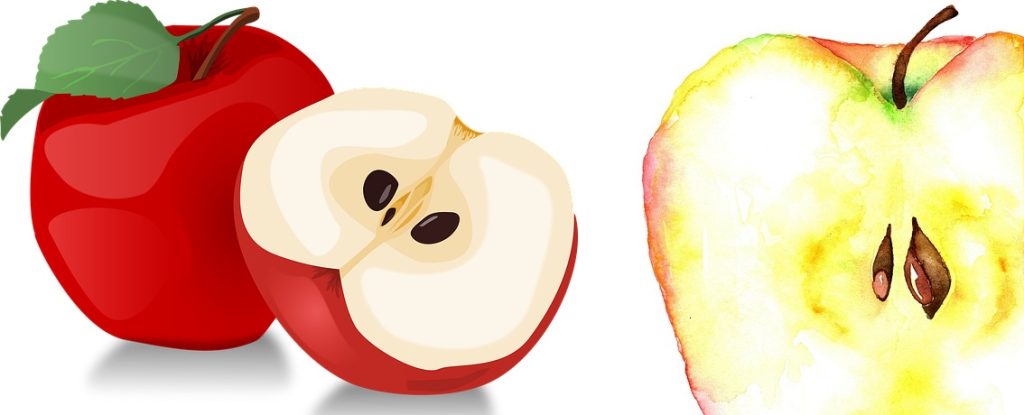
Step 7 – Color the Outline of the Apple Red, the Core of the Apple Beige, and the Inner Portion of the Core Light Brown
Finally, it’s time to color the apple core. Use a red color for the outline of the apple, a beige color for the core of the apple, and a light brown color for the inner portion of the core. You can also add shading to create a more three-dimensional look.
What is an Apple and How are they Used?
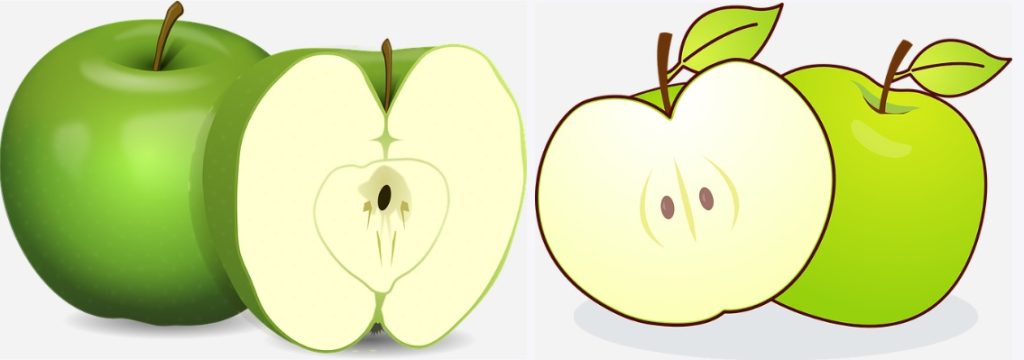
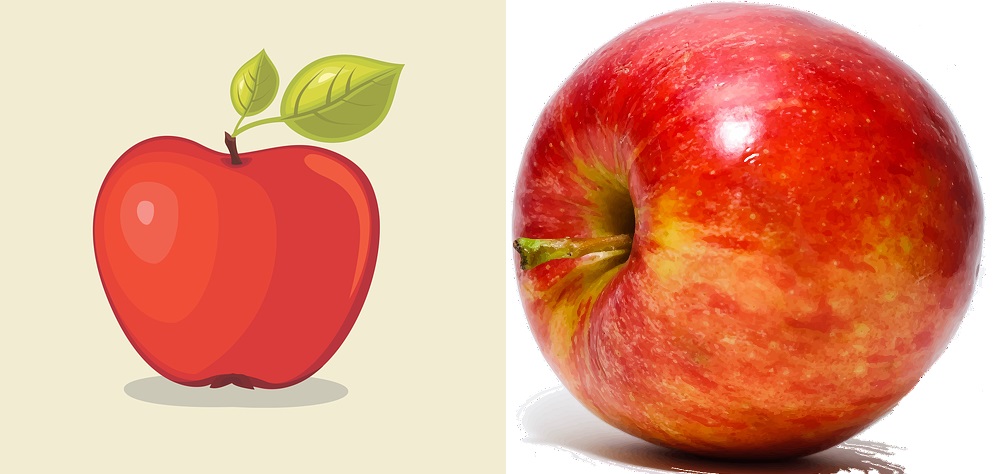
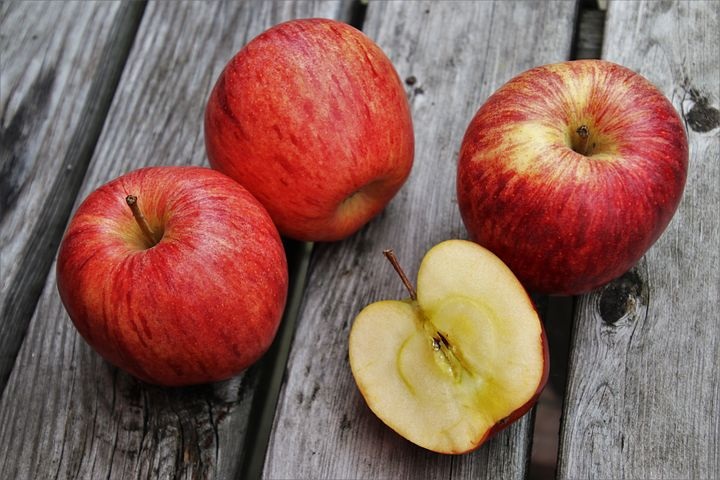
An apple is a type of fruit that is commonly grown in temperate regions around the world. It has a round or oval shape, and is typically between 2-4 inches in diameter. Apples are typically green, yellow, or red in color, and have a firm, juicy flesh that is sweet or tart in taste. They are a good source of fiber, vitamins, and minerals, making them a popular and healthy snack choice. Apples can be eaten raw, cooked, or used in a variety of recipes, including pies, sauces, and juices. They are also commonly used in the production of apple cider and apple vinegar.
Different Parts of an Apple
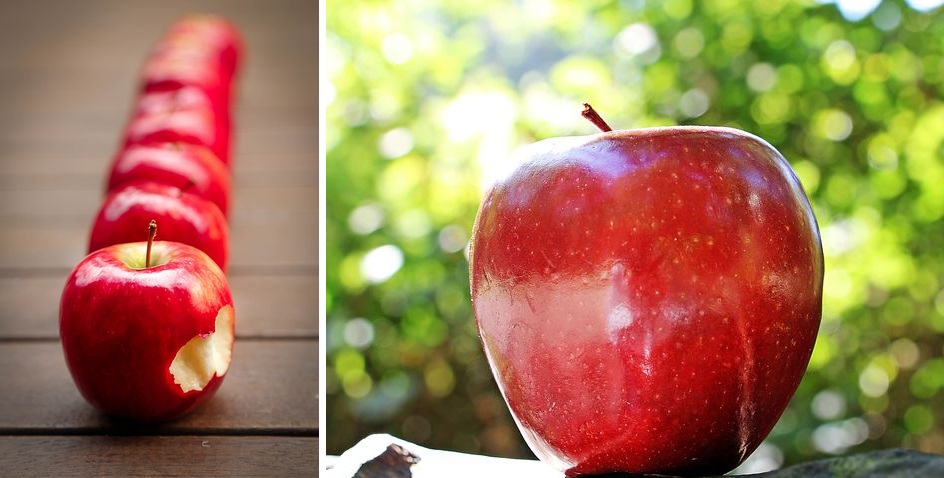
- Skin: The outer layer of the apple, which is typically thin and smooth. The color of the skin varies depending on the variety of apple, and can be green, yellow, or red.
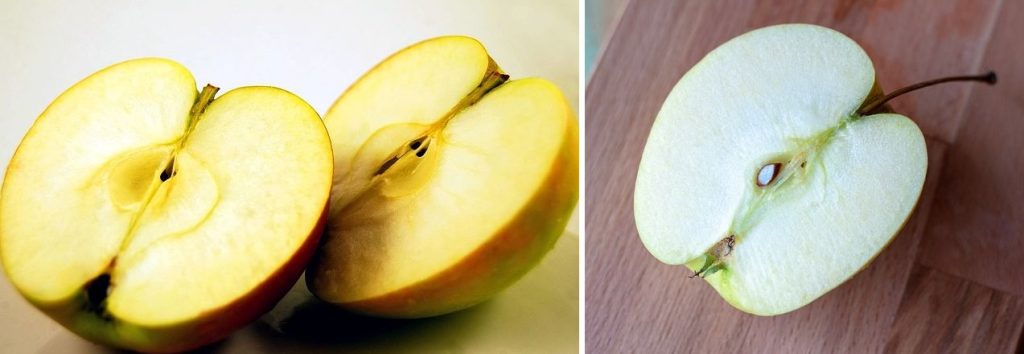
- Flesh: The edible part of the apple that is located beneath the skin. It is typically juicy and firm, and ranges in color from white to yellow.
- Core: The central part of the apple that contains the seeds. It is typically tough and woody in texture, and is not eaten.
- Seeds: The small, brown, oval-shaped structures located inside the core of the apple. Each apple can contain several seeds.
- Stem: The small, woody structure that attaches the apple to the tree. It is typically removed before the apple is eaten.
- Calyx: The star-shaped structure at the bottom of the apple where the stem is attached. It is typically removed before the apple is eaten.
In Summary
Drawing an apple may seem like a daunting task, but with these simple steps, anyone can create a realistic apple. Remember to start with the outline, add the stem and leaf, and then add details to the skin. Shading is key to making your apple look three-dimensional, and coloring is the final step to bring it to life. With practice, you can create an apple that looks good enough to eat!
