Follow our easy tutorial and you will have your own mouse drawing! This is a great instructional article to teach kids how to draw a mouse.
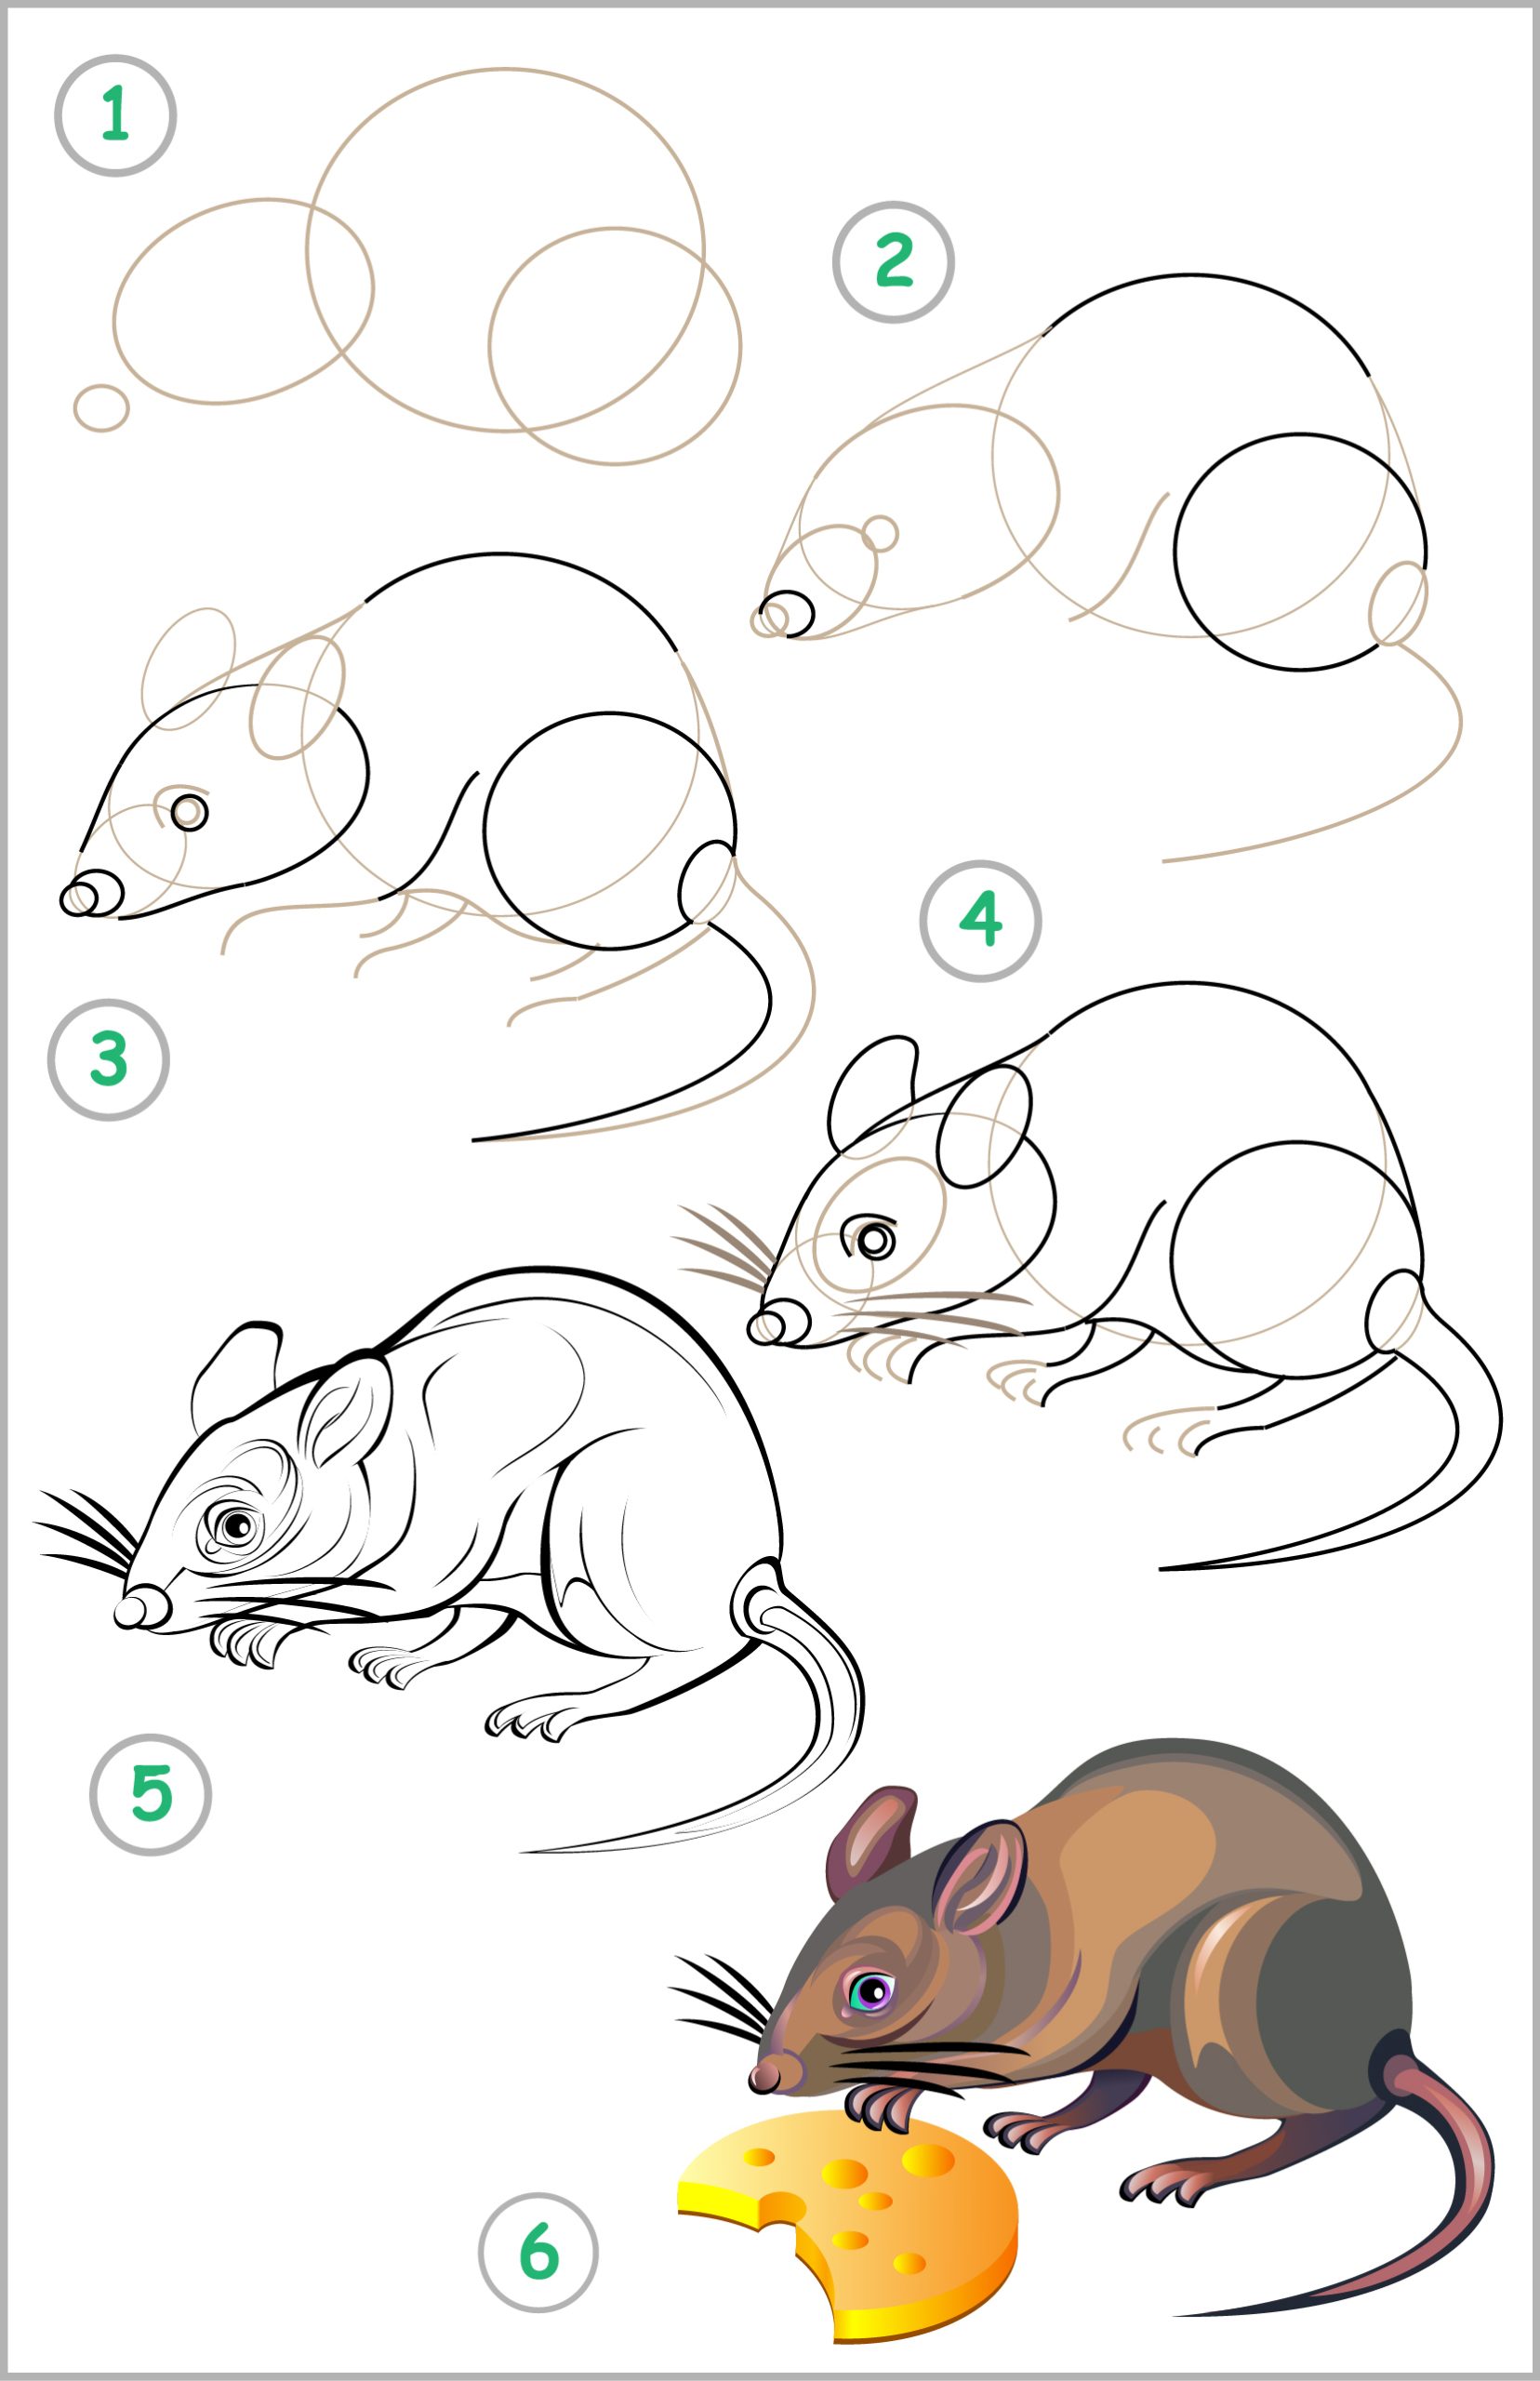
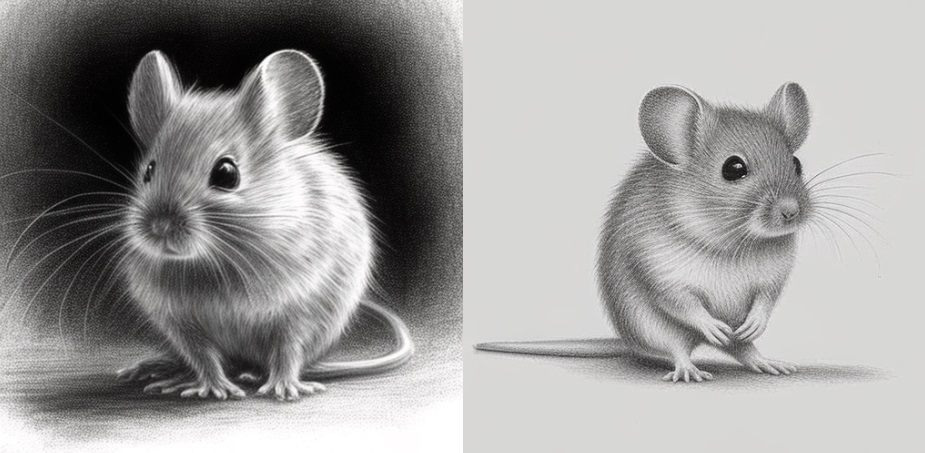
How to Draw a Realistic Mouse in 6 Steps
Step-By-Step Easy Mouse Drawing Tutorial
Drawing is an excellent way to express yourself and bring your ideas to life. Whether you’re a professional artist or just someone looking to create something new, learning how to draw a mouse can be a fun and rewarding experience. In this guide, we’ll show you step-by-step how to draw a mouse that looks cute and realistic.
Step 1 – Draw the Head of the Mouse
To start, draw a small circle at the top of your paper. This will be the head of the mouse.
Step 2 – Draw the Neck of the Mouse
From the bottom of the circle, draw a small curve that extends downward. This will be the neck of the mouse.
Step 3 – Draw the Body of the Mouse
Next, draw a large oval shape that extends down from the neck. This will be the body of the mouse.
Step 4 – Draw the Legs and Feet of the Mouse
Now it’s time to draw the legs and feet of the mouse. Draw four small lines extending from the bottom of the body. Then, add small ovals at the end of each line to create the feet.
Step 5 – Draw the Tail of the Mouse
Draw a long, thin line extending from the back of the mouse’s body. This will be the tail of the mouse.
Step 6 – Draw the Ears of the Mouse
Draw two small triangles on the top of the mouse’s head. These will be the ears of the mouse.
Step 7 – Draw the Eyes, Nose, Mouth, and Whiskers of the Mouse
Now it’s time to add some character to your mouse. Draw two small circles for the eyes, and add two smaller circles inside each one to create the pupils. Draw a small triangle for the nose, and a tiny curve for the mouth. Finally, add some curved lines on the sides of the mouse’s face to create the whiskers.

Step 8 – Add Details Such as Hair and Shading
To add more detail and dimension to your mouse, you can add some hair and shading. Use short, curved lines to create the fur on the mouse’s body, and add some shading on the underside of the body and legs to create a sense of depth.
Step 9 – Color Your Mouse Drawing
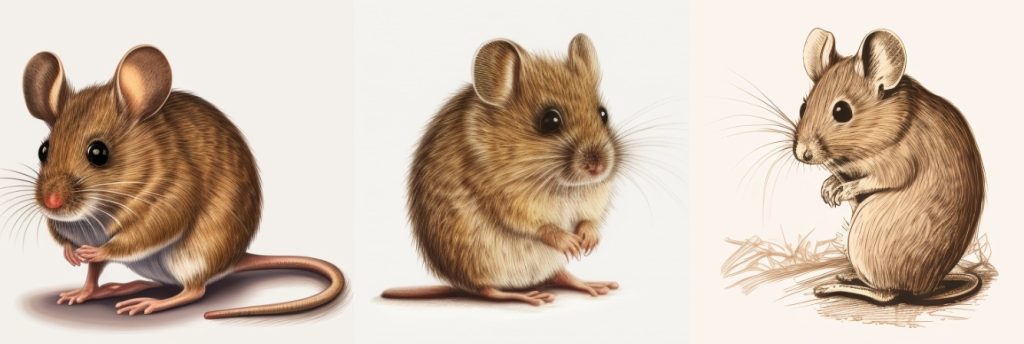
Finally, you can color your mouse drawing. Mice come in many different colors, so feel free to get creative with your coloring choices. If you see a mouse it may be white, light brown, gray, dark brown, black, and/or silver. Reference some of our photos to see different colors.
Parts of a Mouse You Need to Draw
When drawing a mouse, there are several key parts of the creature that you’ll need to include to make your drawing recognizable. Here’s a list of the main components:
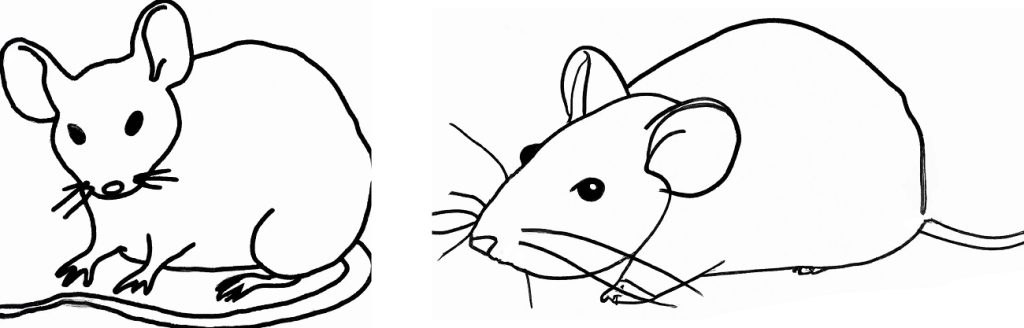
1. Head:
The head of a mouse is somewhat circular but comes to a slight point near the nose. The eyes are usually small and bead-like, and the ears are relatively large, round, and positioned toward the top of the head.
2. Body:
The body of a mouse is smaller at the front and gradually becomes larger towards the back. It’s somewhat oval in shape.
3. Legs and Feet:
Mice have four legs with tiny feet at the end of each. The hind legs are larger than the front ones. Each foot has small toes.
4. Tail:
One of the defining characteristics of a mouse is its long, thin tail. The tail is usually about the same length as the body or even longer.
5. Whiskers:
Don’t forget the whiskers! Mice have long, thin whiskers that come out from the side of their nose.
6. Fur:
While it’s not a separate part, remember that mice have fur covering their bodies. You can represent this by adding texture to your drawing.
Tips For Drawing a Realistic Mouse
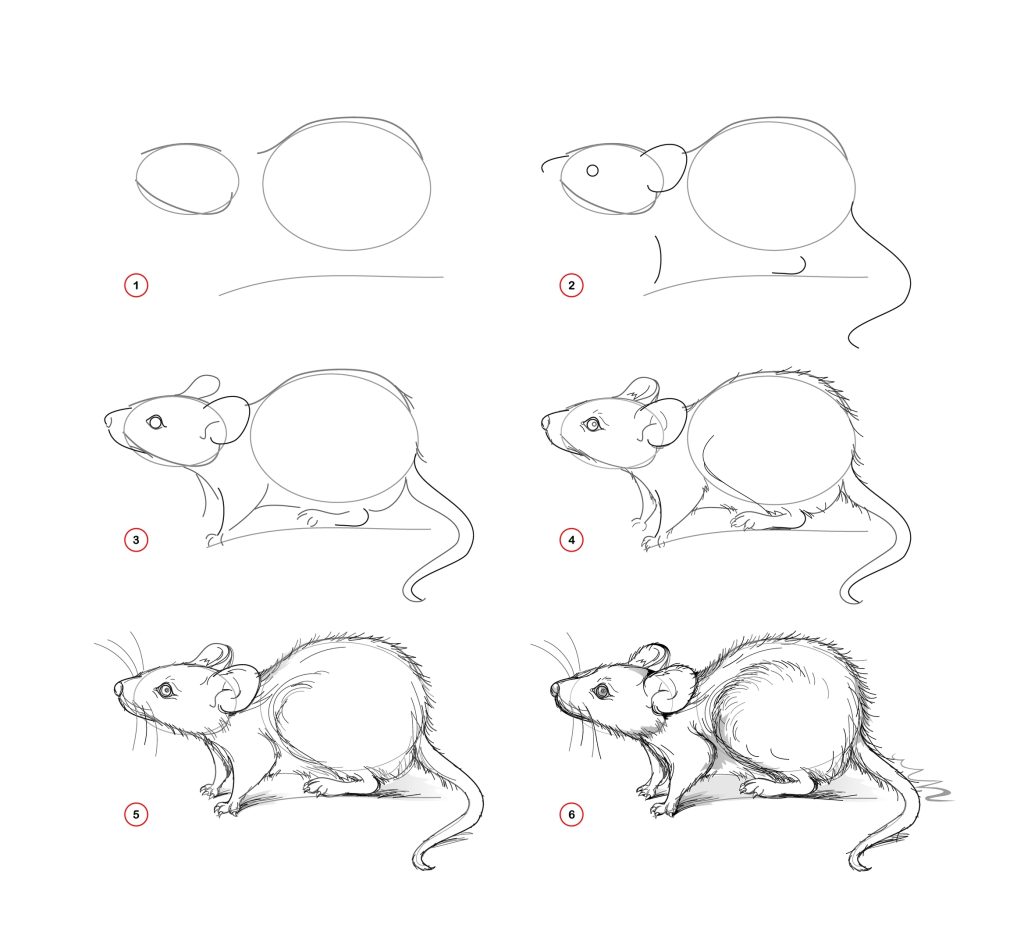
Creating a realistic drawing of a mouse requires a keen eye for detail and a thorough understanding of the animal’s anatomy and proportions. To get started, it’s important to review reference images of mice to gain insight into their body shape, head structure, and fur patterns. Starting with basic shapes, gradually add more intricate details, such as the snout, paws, and ears. The whiskers should be drawn with great care and precision, as they are thin and delicate. Shading techniques can be used to create depth and dimension, while experimenting with different types of pencils can achieve a variety of textures and tones. Above all, it’s essential to take time and work slowly to create a truly lifelike mouse drawing.
What is a Mouse?
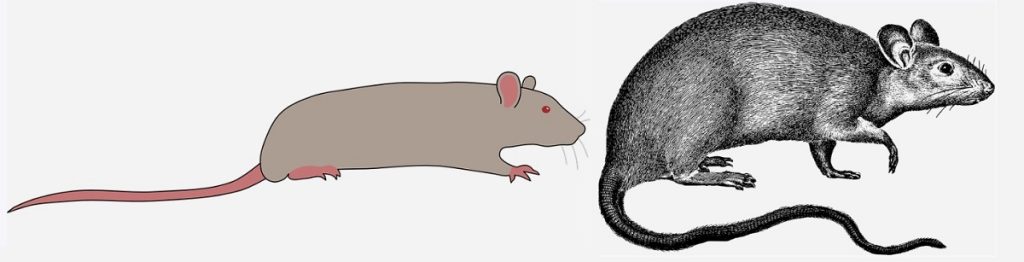
A mouse is a small, furry rodent with a pointed snout, small rounded ears, and a long, thin tail. They are found all over the world and are often considered pests because they can cause damage to crops and structures.
What Does a Mouse Look Like?
Mice are typically brown or gray in color, but they can also be white or black. They have sharp claws on their feet and are excellent climbers, which allows them to easily navigate through various environments.
In terms of size, mice are relatively small, with an average length of 3-4 inches (not including their tail) and a weight of about 0.5-1 ounce. They have a distinctive shape, with a small head and large ears compared to their body size. Mice are known for their quick movements and ability to squeeze through small spaces.
In Summary
By following these simple steps, you can create a cute and realistic mouse drawing that is sure to impress. Whether you’re using it as a starting point for a larger art project or just drawing for fun, this guide is a great way to get started.