Have you ever wanted to learn how to draw a papaya? Whether you’re interested in drawing whole papayas or sliced papayas, you’ve come to the right place. This papaya drawing tutorial is just what you need to bring this tropical fruit to life on your paper. We will break down the process of drawing papayas into simple steps so you can create your own illustration with ease. Grab the materials below and let’s get started!
How to Draw a Whole Papaya
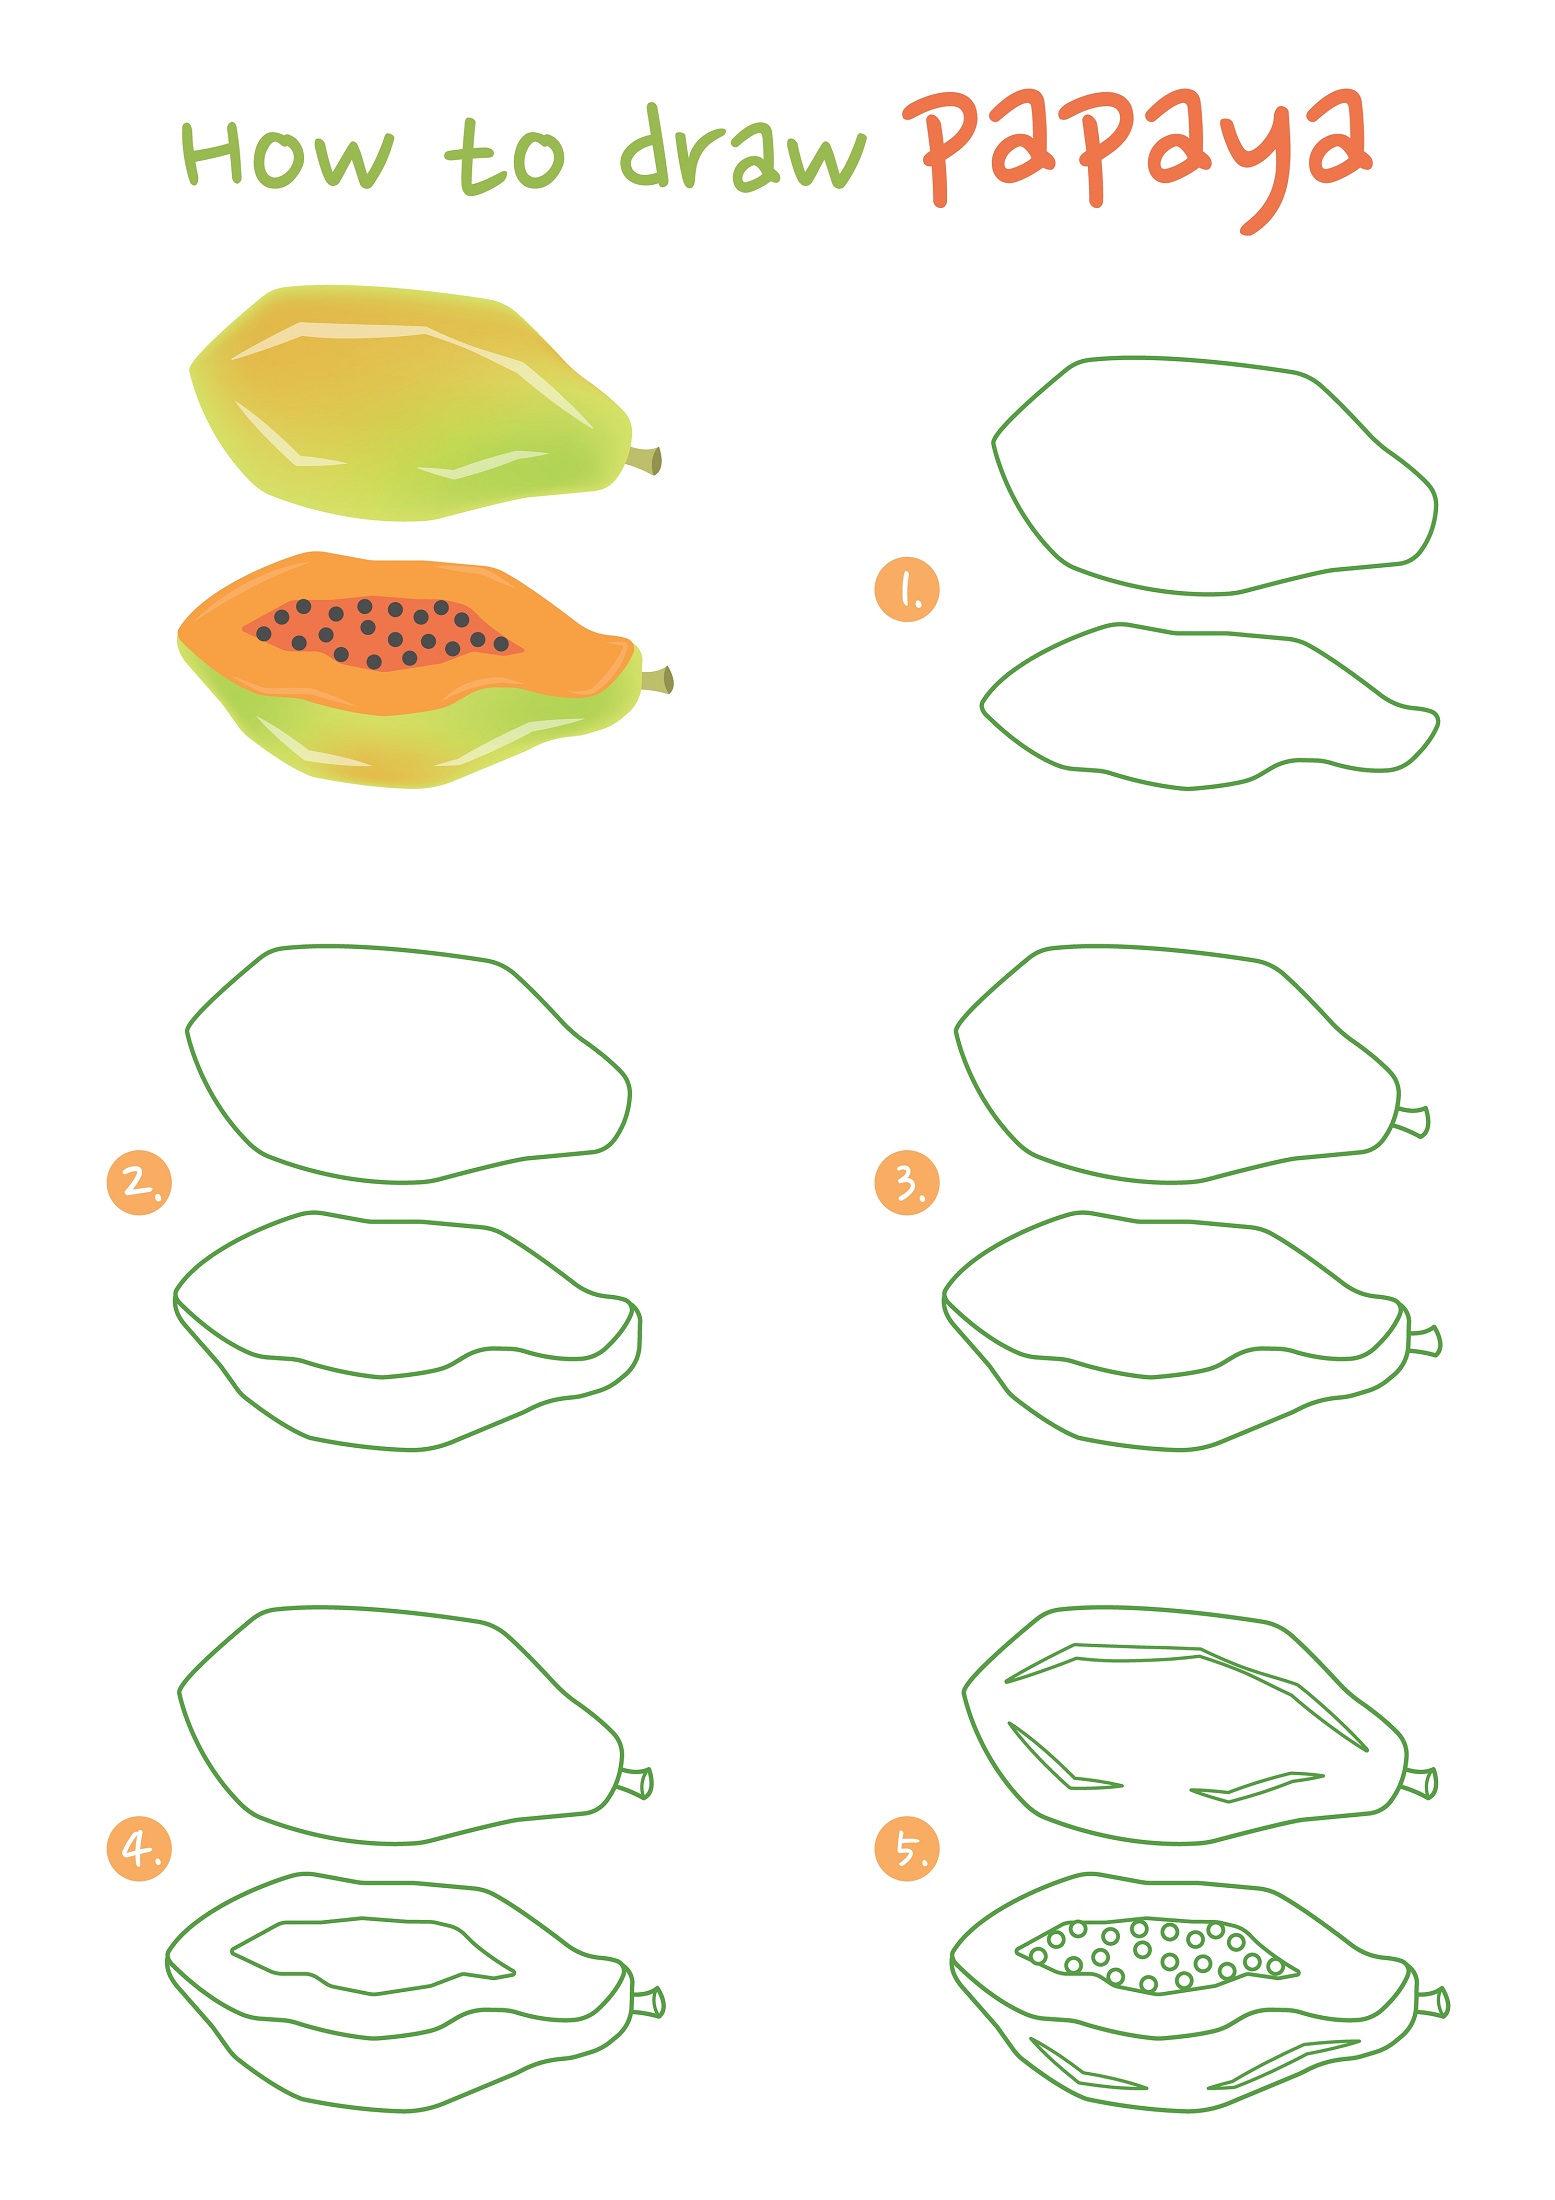
Step 1: Draw the Basic Shape of a Papaya
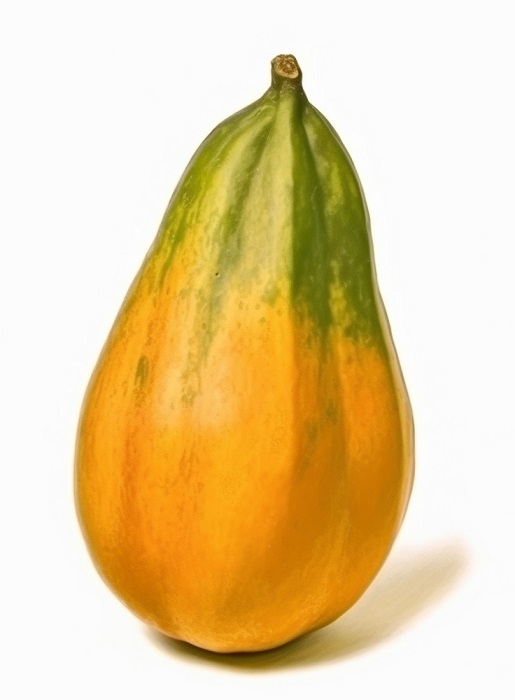
To begin, you want to sketch the basic form of the papaya. Start by drawing an elongated oval, slightly more narrow at the top and a bit wider at the bottom, just like the shape of a real papaya. This will be the main body of your papaya, and it’s okay if it’s not perfect – real papayas aren’t always perfectly shaped!
Step 2: Draw the Stem of the Papaya
Now, let’s add a tiny detail that makes the papaya look more authentic – the stem. At the very top of your papaya, draw a tiny circle or a squashed oval to represent the stem. Remember, papaya stems are often quite small and not always very noticeable, so keep this detail small and subtle.
Step 3: Add Texture and Details to the Papaya Skin
Next, you’ll want to add some texture to your papaya drawing to make it look more realistic. Despite its smoothness, a papaya’s skin can show slight variations in texture and color. To represent this, add short, faint lines here and there on the surface of the papaya. Remember, the lines shouldn’t be too long or too many as real papayas typically don’t have pronounced vertical lines.
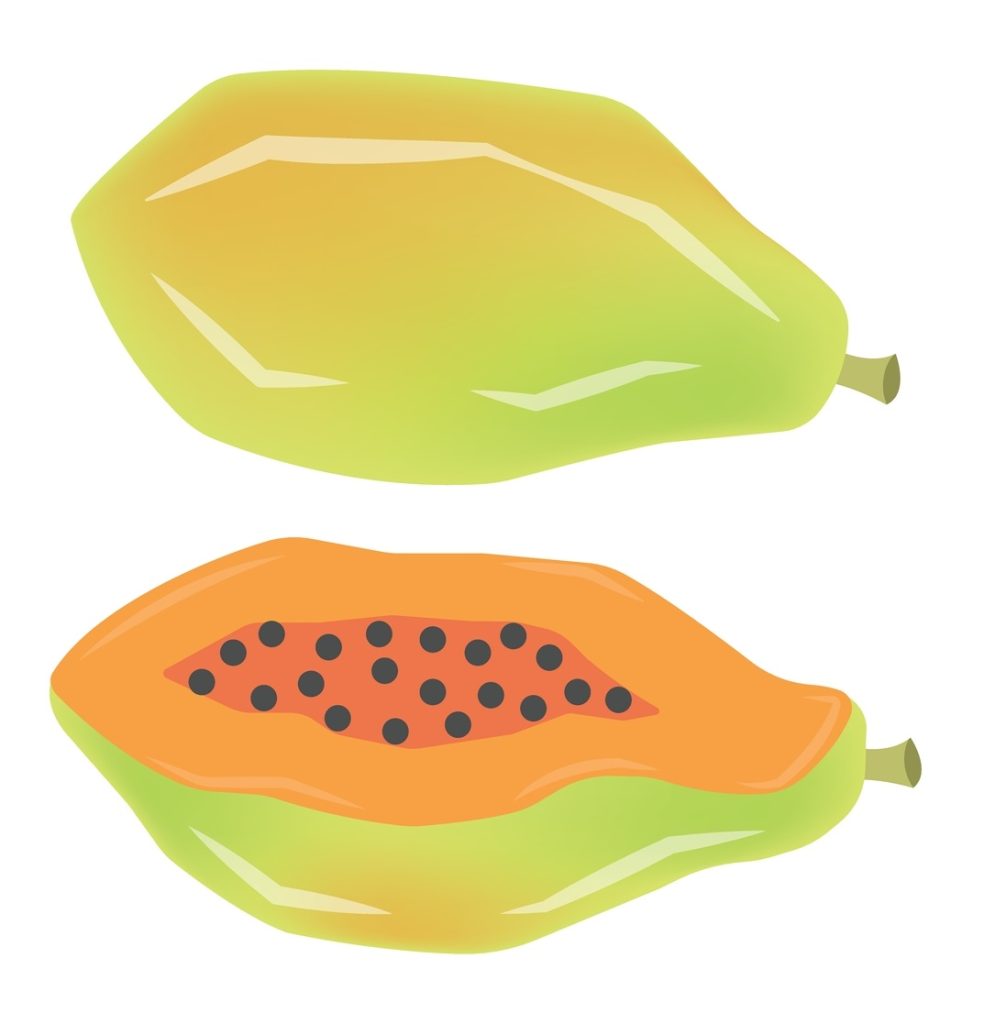
Step 4: Color Your Whole Papaya Drawing
It’s time to bring your papaya to life! Start coloring your papaya using a combination of greens for an unripe one, or hues of yellow and orange for a ripe one. For the stem, use a shade of brown. Feel free to experiment with different tones to give your papaya a vibrant, realistic look.
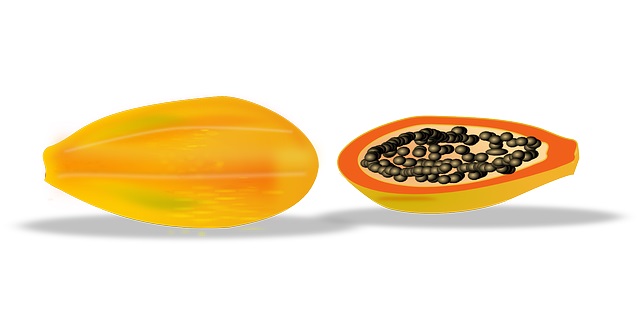
Papaya Drawing
How to Draw a Sliced Papaya
Step 1: Draw the Shape of a Papaya First
Draw an oval shape that is slightly wider at the bottom than the top. This will represent your papaya cut in half.
Step 2: Draw the Inner Portion of the Papaya Where the Seeds Are
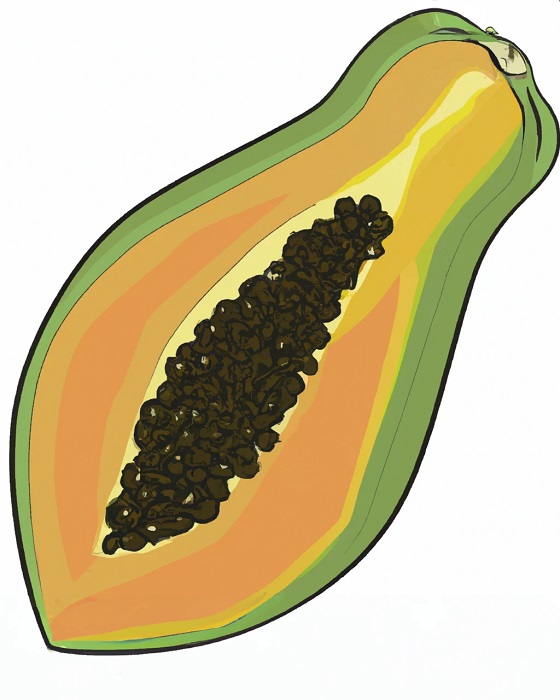
Inside your initial oval, draw a smaller oval to represent the inside of the papaya. The oval should be pointed at the top and bottom but rounded on the sides to look more realistic.
Step 3: Draw the Papaya Seeds
Here comes a fun part: drawing the seeds. Within the smaller oval shape, scatter many tiny circles or ovals. These are your papaya seeds, so don’t be shy about adding quite a few!
Step 4: Color Your Sliced Papaya Drawing
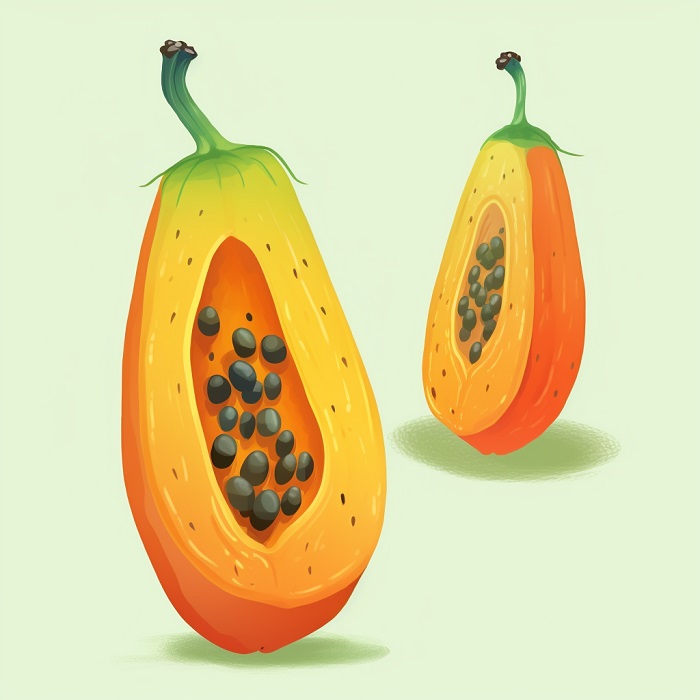
Just like with the whole papaya, add color to your halved papaya. Use green, yellow, or orange for the outer skin, bright orange for the inner flesh, and dark gray or black for the seeds.
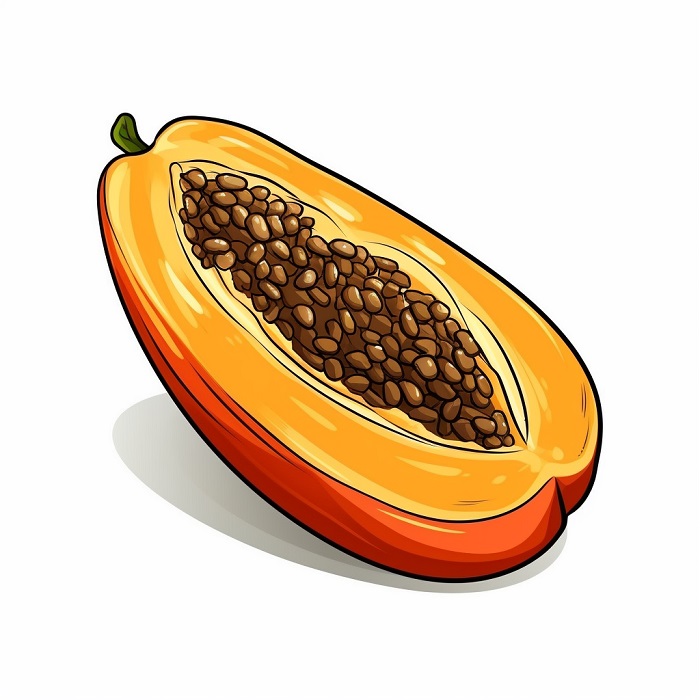
Sliced Papaya Drawing
FAQs about Drawing Papayas
What is a Papaya?
A papaya is a tropical fruit that originates from Central America but is now grown in many other parts of the world. It is known for its sweet taste, nutritional value, and numerous health benefits.
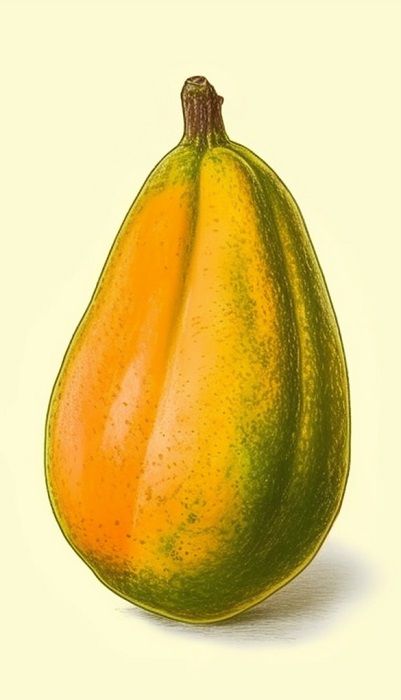
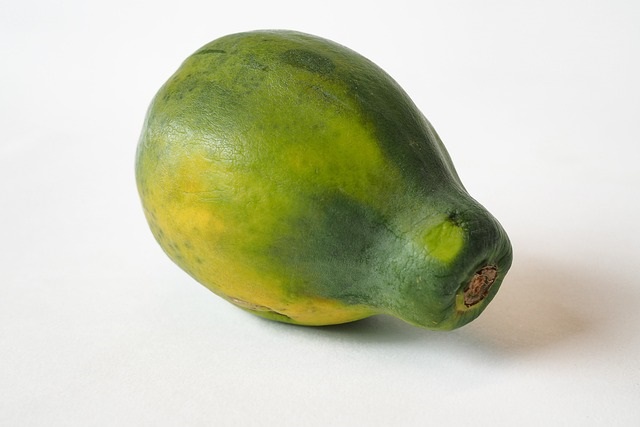
What Color are Papayas?
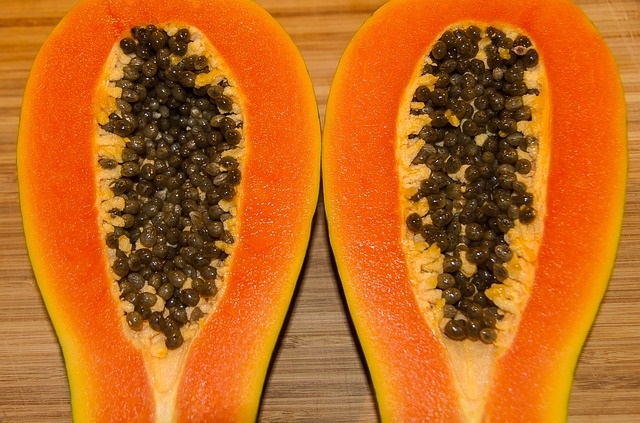
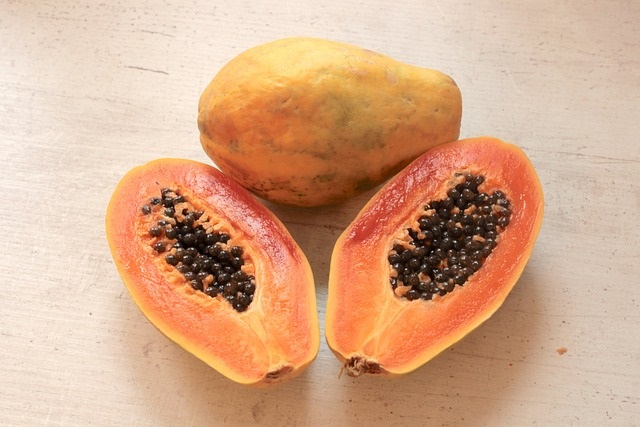
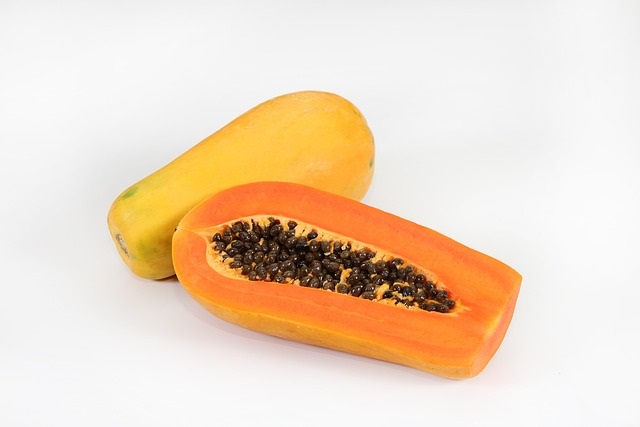
Papayas are green when unripe, but they turn yellow to orange when fully ripe. The inside flesh of a ripe papaya is usually a vibrant orange color, with small black seeds at the center.
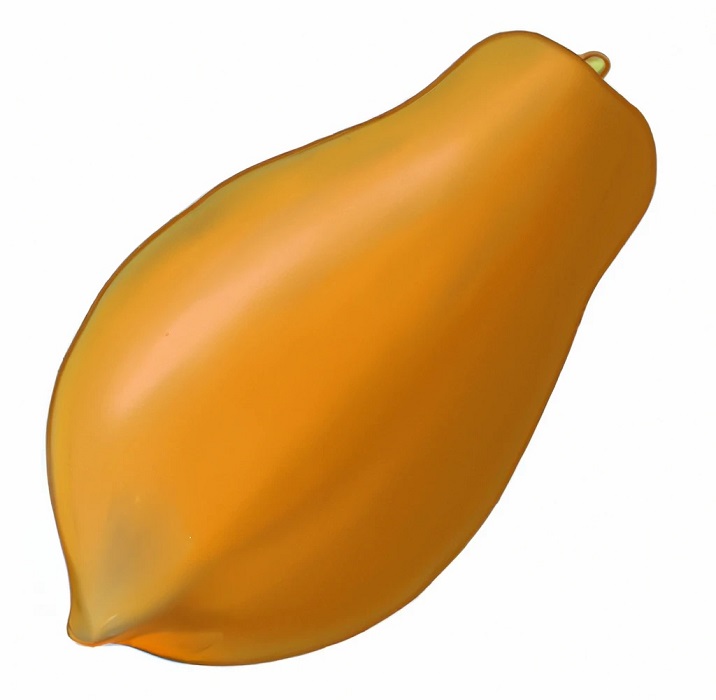
What does a Papaya look like?
A papaya is oval or pear-shaped and can be quite large in size. It has a smooth skin that changes color as it ripens. The inside of a papaya is filled with juicy flesh and a cluster of black seeds in the center.
Who should draw a Papaya?
Anyone can draw a papaya, from professional artists to beginners, and even kids. Drawing fruits like a papaya is a great way to practice sketching basic shapes, shading, and color blending.
How can I teach kids to draw Papayas easily?
To teach kids to draw a papaya, start with the basic shape, which is an oval or a pear shape. Then guide them to sketch the outline of the papaya and add the details, like the stem at the top and the lines on the skin. Finally, they can color it using shades of green, yellow, or orange, depending on the ripeness of the papaya. Providing them with images of papaya or a real papaya to observe can be helpful.
Parts of a Papaya You Need to Draw
1. Papaya Skin
The skin or peel of papaya is a thin, waxy layer that protects the inner fruit. It’s typically green when unripe and turns a vibrant orange or yellow when the fruit is ripe. The skin is usually discarded before eating.
2. Papaya Flesh
This is the part of the papaya we typically eat. It’s a soft, juicy pulp that is rich in flavor. The flesh is orange in color, although it can be pink or gold in some varieties.
3. Papaya Seeds
Located at the center of the fruit, papaya seeds are surrounded by a gel-like substance. The seeds are small, round, and black. While they are edible and have a sharp, peppery flavor, they’re often removed and discarded because of their bitter taste.
4. Papaya Cavity
The cavity is the hollow center part of the fruit where the seeds are located. Once the seeds are scooped out, the cavity can be filled with other fruits or ingredients if desired.
5. Papaya Stem
The stem is the part that connects the papaya to the tree. When you buy a papaya from the store, a small stub of the stem usually remains on the top of the fruit.
6. Papaya Leaves
While not part of the papaya fruit itself, papaya leaves are a significant part of the plant. They are large with a unique, finger-like shape. In some cultures, the leaves are used for their medicinal properties.
How to Draw a Papaya Videos
Video #1
Video #2
External Resources to Help Draw a Papaya
- How to Draw a Papaya – Easy Drawing Tutorial on YouTube
- Papaya Drawing
- How to Draw Papaya
- Papaya Step-By-Step Drawing for Kids
Conclusion
You’ve just finished our guide on how to draw whole and sliced papayas. We hope you had fun and are proud of the cool artwork you created. The secret to getting really good at drawing is just to do it a lot, so keep going! Don’t stop here – there’s always more to learn and draw. This was just your first step with our papaya drawing tutorial.