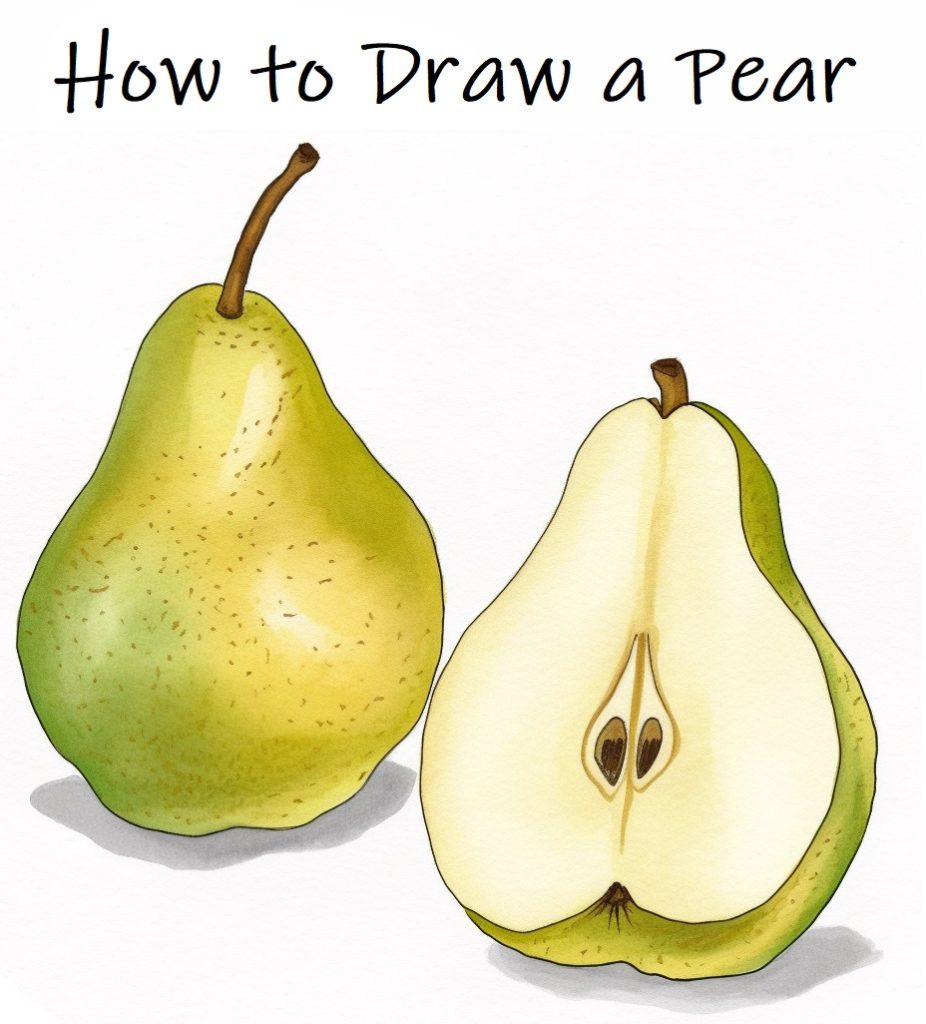
Welcome to our fun and easy guide on “how to draw whole pears and sliced pears”. Whether you’re a seasoned sketcher looking for a fresh challenge or a beginner with a pencil, you’ve landed on the right page. This step-by-step pear drawing tutorial is designed for you to enjoy and learn. By following our simple instructions, you can easily create a pear illustration.
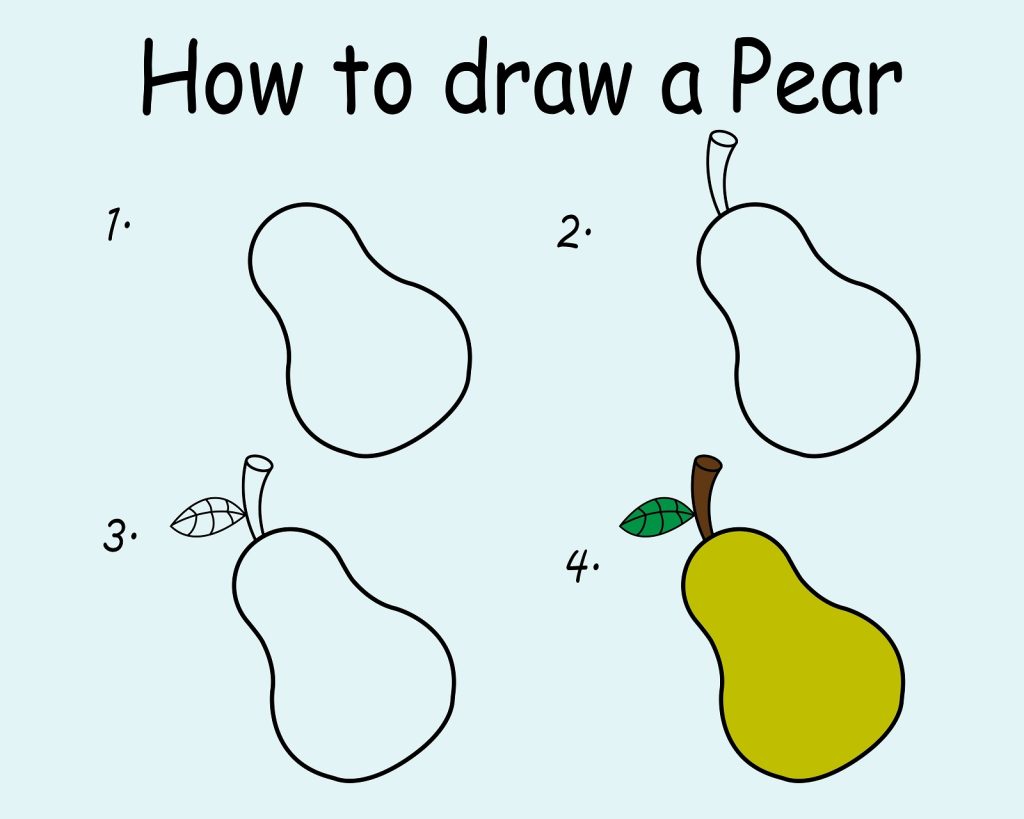
How to Draw a Whole Pear Step-By-Step
Step 1: Draw the Basic Shape of a Pear
Start by drawing an oval that is a bit wider at the bottom. This will form the basic shape of your pear.
Step 2: Fine-Tune the Shape
Pears often have a small bump at the top. Add a small curved line to represent this bump. The bottom of the pear should also curve outward a bit more than the top.
Step 3: Draw the Stem
At the top of your pear, draw a small curved line upwards for the stem. Make the stem thicker at the base and thinner at the top.
Step 4: Draw the Leaf
On one side of the stem, draw a small leaf. To do this, start with a line for the center of the leaf, and then draw two lines on either side of it to create the leaf shape.
Step 5: Adding Texture
Draw gentle curved lines from the top to the bottom of the pear to suggest its texture. These lines should curve slightly with the shape of the pear.
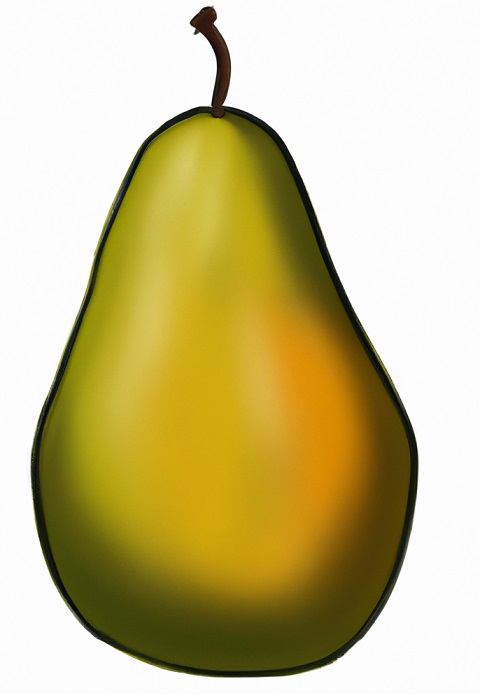
Step 6: Coloring Your Pear
Color your pear using shades of green or yellow depending on how ripe you want your pear to be. Don’t forget to color the stem brown and the leaf green.
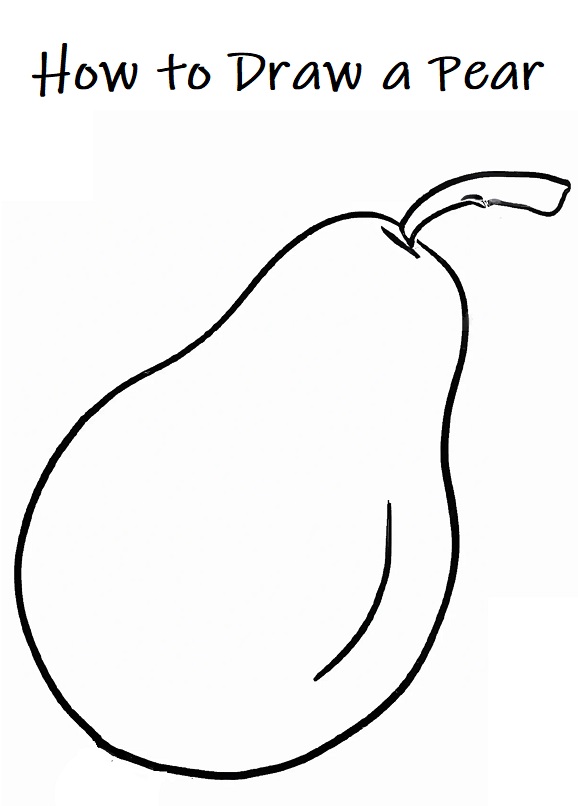
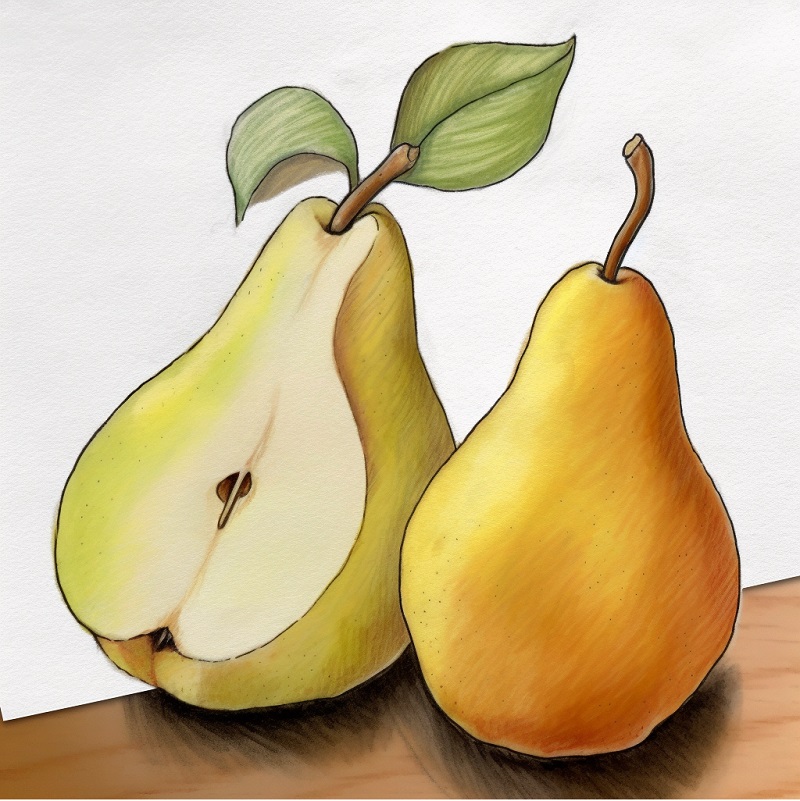
Pear Drawing
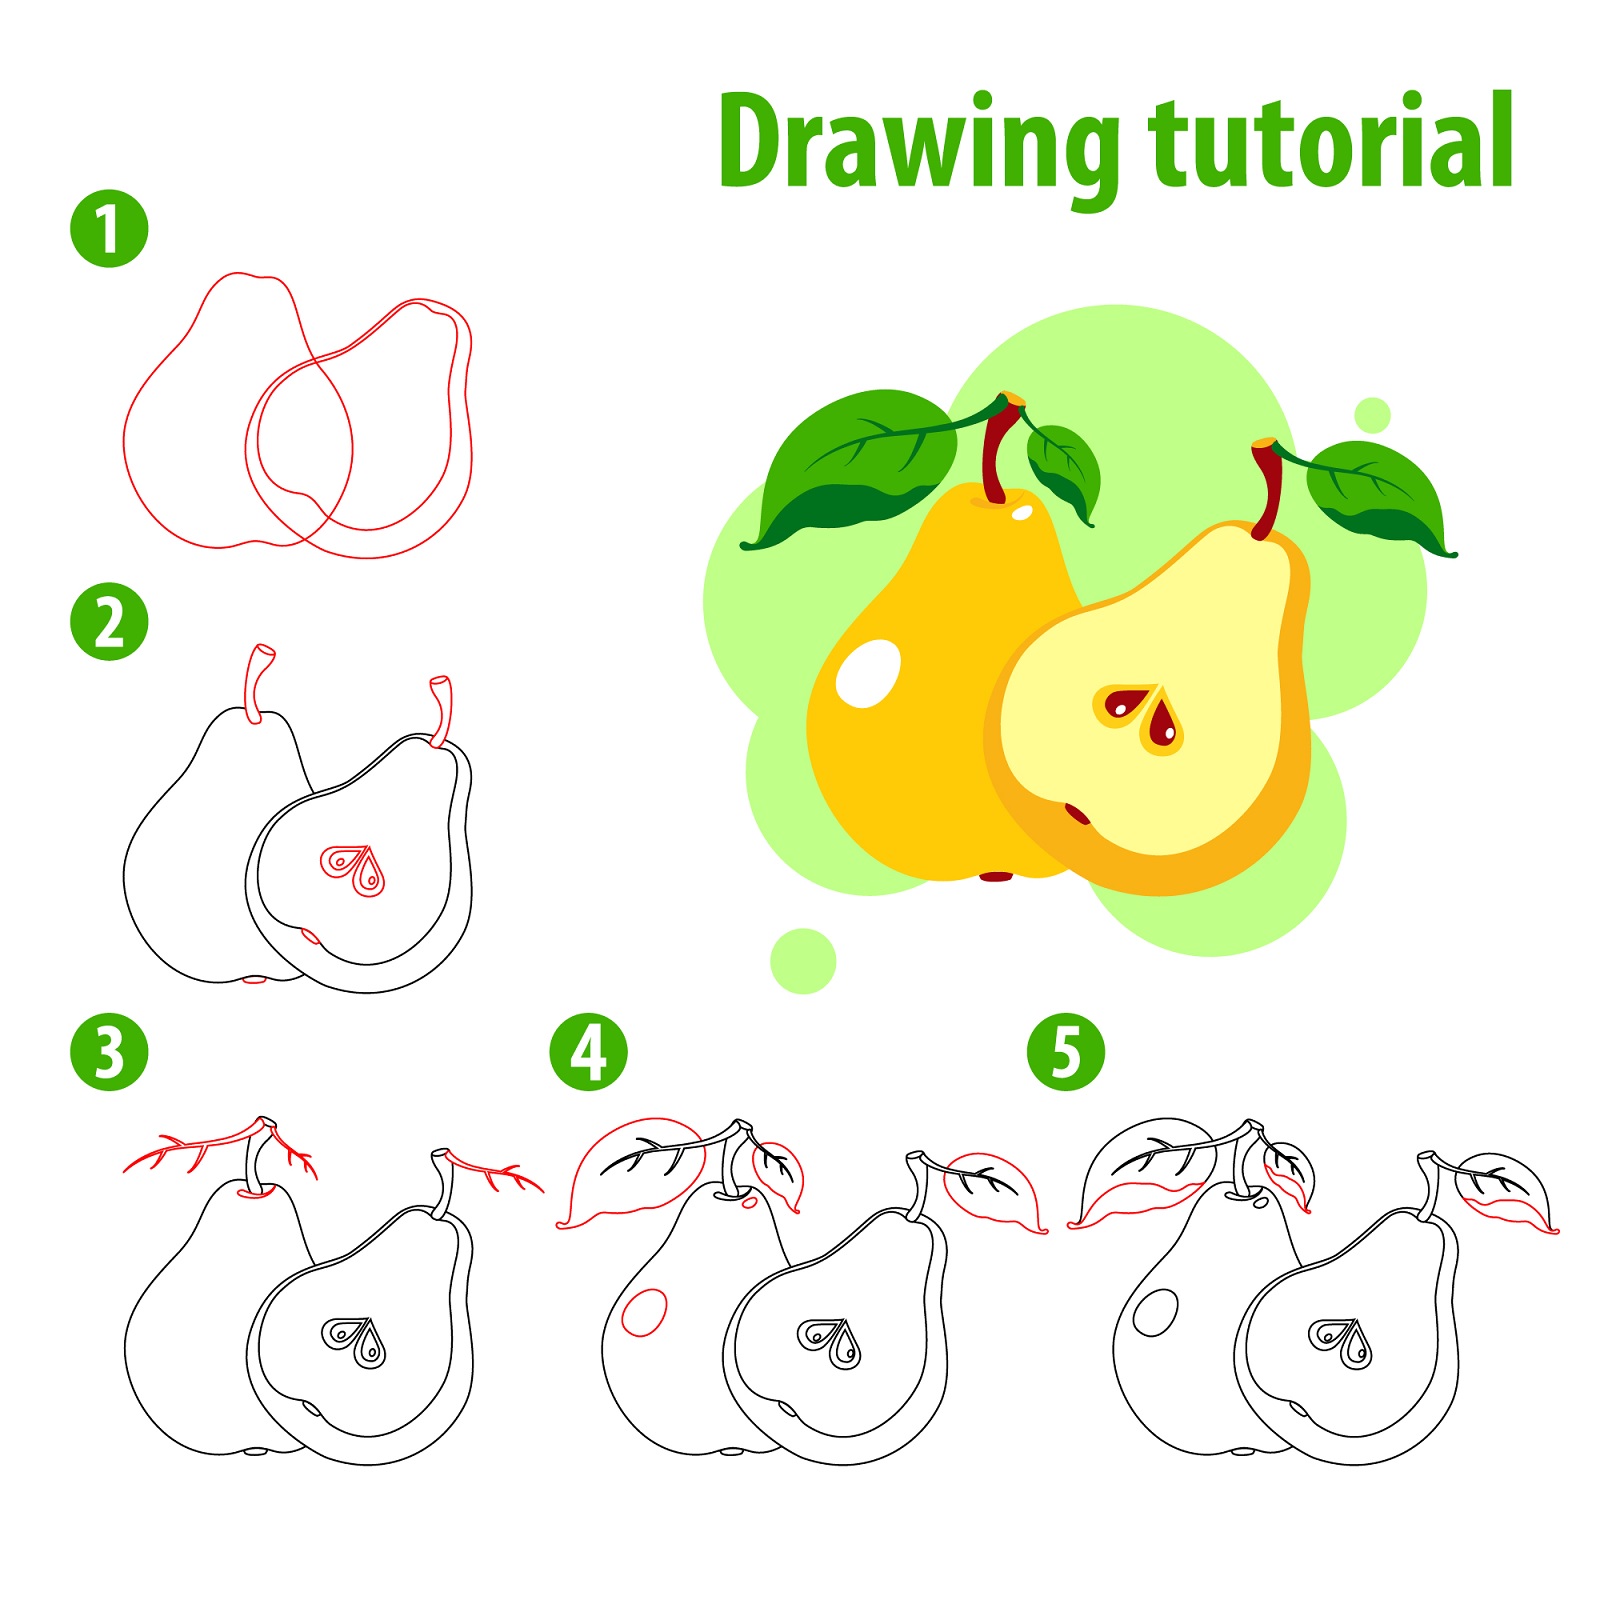
How to Draw a Sliced Pear Step-By-Step
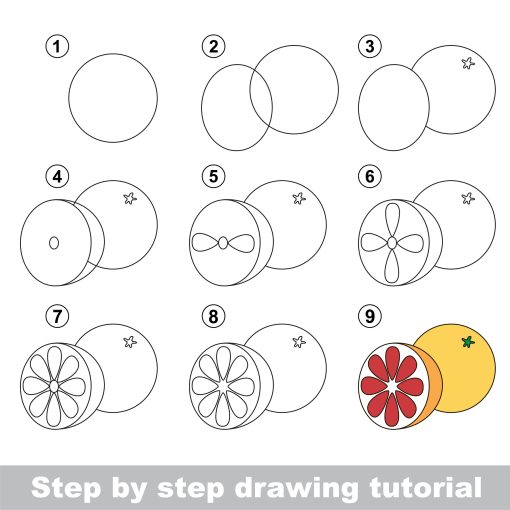
Step 1: Draw the Half Shape
Start with a ‘C’ shape that is a bit wider at the bottom, similar to the shape of the whole pear. This represents the outside of your half pear.
Step 2: Draw the Inner Outline
Inside your initial shape, draw another ‘C’ shape that is slightly smaller. This will form the border of the pear’s flesh.
Step 3: Draw the Core
In the middle of the smaller ‘C’ shape, draw a small oval to represent the pear’s core.
Step 4: Draw the Seeds
Within the oval core, draw a few small circles or ovals to represent the seeds.
Step 5: Add Texture
Draw soft, curved lines along the flesh of the pear, similar to the texture lines you added to the whole pear.
Step 6: Coloring Your Sliced Pear
Color the outer skin of your pear just like you did with the whole pear, using green or yellow. The inside flesh of the pear should be colored with a lighter shade of the skin color. The core can be colored a light brown, and the seeds can be colored dark brown or black.
FAQs for Drawing Pears
What is a Pear?
A pear is a type of fruit that is native to coastal and mildly temperate regions of the Old World, from western Europe and North Africa east across Asia. It’s known for its unique bell or tear-drop shape and its sweet, slightly grainy texture when ripe.
What Color Are Pears?
Pears can come in a variety of colors depending on the variety and ripeness. They can be green, yellow, red, or a combination of these colors. As they ripen, green pears often change to a golden-yellow color.
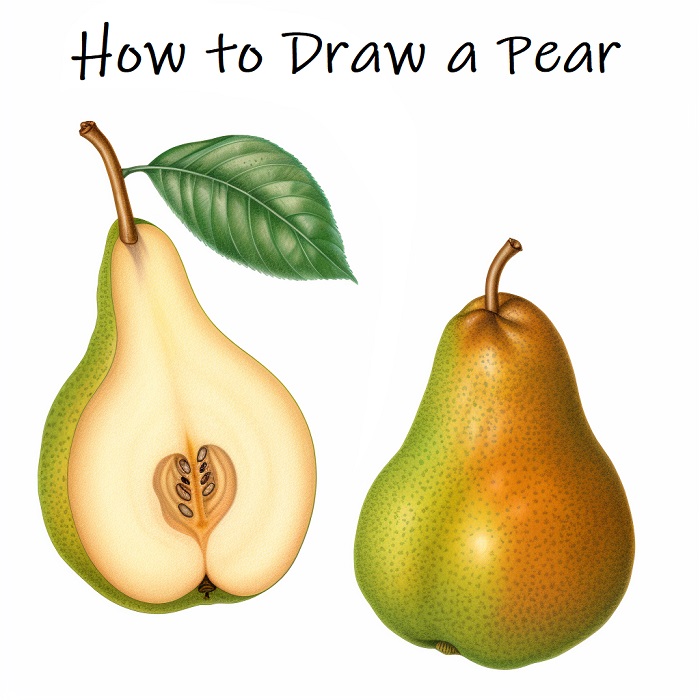
What does a Pear look like?
A pear is typically characterized by its unique shape – broad at the bottom and narrow at the top, often referred to as a bell or teardrop shape. It has a stem at the top, and its skin can range from smooth to slightly grainy. The inside of a pear, when sliced open, reveals a core with seeds.
Who should draw a Pear?
Anyone with an interest in art or looking for a fun, creative activity can draw a pear. It’s a great drawing subject for beginners because of its simple shape and recognizable features. Plus, for those more advanced, there’s plenty of room to experiment with shading and texture to capture the pear’s unique skin and shape.
How can I teach kids to draw Pears easily?
Teaching kids to draw pears can be made easy by breaking the process down into simple steps. Start with the basic shape of the pear, add in the stem, and then move on to adding details like the texture of the skin. Using clear, simple instructions and demonstrating each step can make the process more accessible and fun for kids.
VIDEO: How to Draw a Pear
Conclusion
You’ve successfully learned how to draw whole pears and even a sliced pear! We hope you enjoyed this simple guide and found it useful. Remember, the key to becoming a better artist is to keep practicing. So, don’t put that pencil down just yet. There are plenty more fruits and objects waiting for your artistic touch. Keep using this pear drawing tutorial as a reference until you’re confident enough to draw pears from memory.