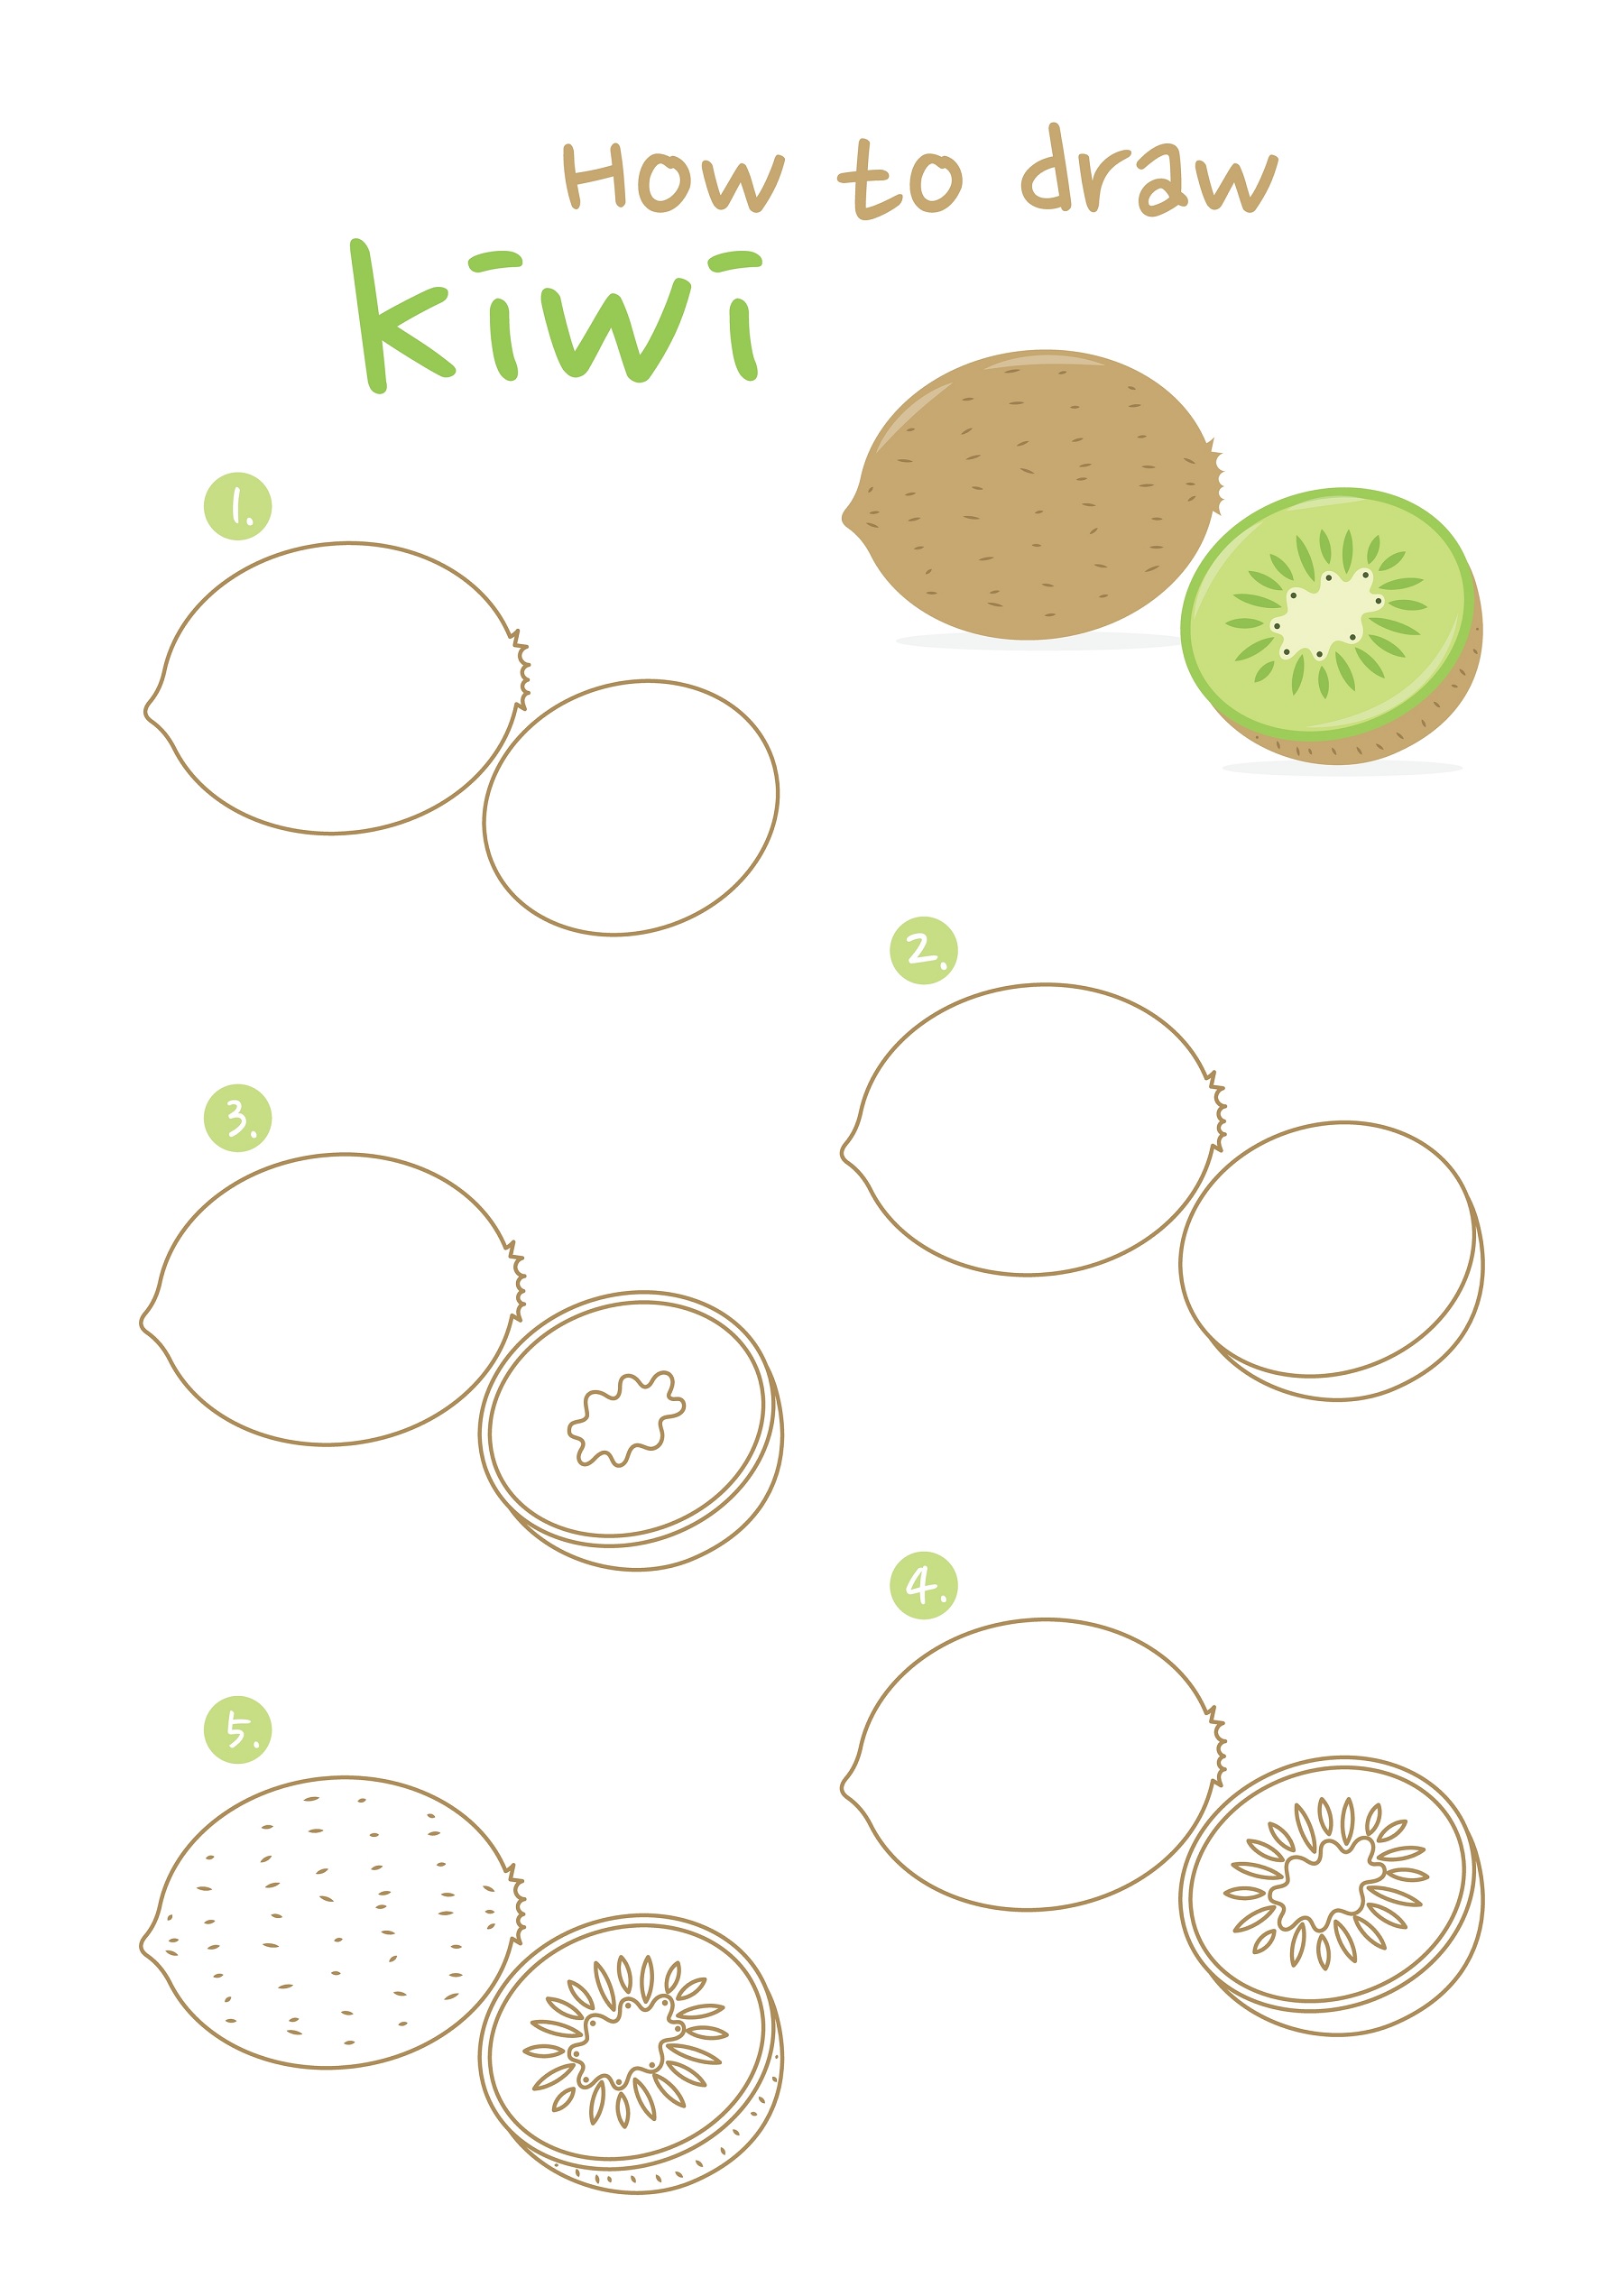
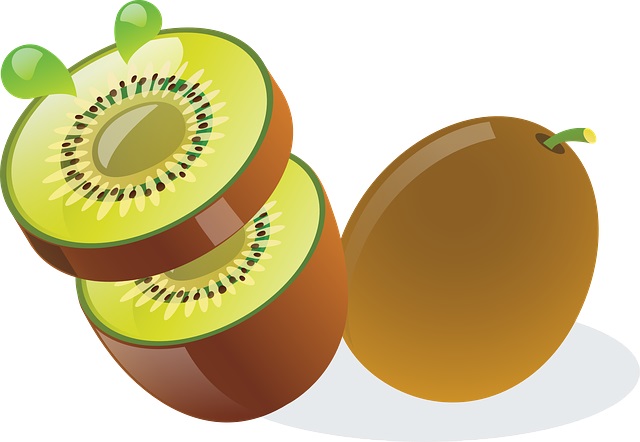
Have you ever wanted to learn how to draw a kiwi? Well, you’re in the right place! In this kiwi drawing tutorial, we’ll guide you through the process of sketching this tasty fruit in two ways – as a whole kiwi and as a kiwi sliced in half. The steps are easy to follow, and with a bit of practice, you’ll be able to draw your own kiwi.

Step 1: Draw the Outer Shape of the Kiwi
Start your kiwi drawing by sketching a simple oval on your paper. This will be the outer shape of the kiwi. It doesn’t need to be perfect; remember, kiwis are natural and organic shapes, so a little irregularity can make it look more realistic!
Step 2: Draw the Stalk of the Kiwi
On top of your oval, draw a small oval or a circle. This is where the stalk of the kiwi is. You can also add a few lines around it to make it look like the kiwi was plucked from a tree.
Step 3: Add Texture to the Kiwi Skin
The skin of a kiwi has a unique, fuzzy texture. To represent this, add small, short lines all over the outer shape you drew in Step 1. These lines should be random and go in different directions to mimic the natural texture of a kiwi’s skin.
Step 4: Draw the Shadows for your Kiwi
To give your kiwi some depth, you can add shadows. On one side of the kiwi, draw a curved line to represent the shadow. Fill this area with a slightly darker color or shade it in with your pencil.
Step 5: Outline Your Kiwi Drawing
Once you’re happy with your sketch, go over the outline with a darker pencil or pen. This will make your kiwi drawing pop and look more defined. Be sure to trace over the texture lines as well, but keep them lighter than the outline.
Step 6: Color the Kiwi
Now it’s time to bring your kiwi to life with color! Use a brown color for the skin, paying attention to leaving the shadowed area darker. Remember, the color doesn’t have to be perfectly even because the skin of a kiwi has a mottled look.
Step 7: Add Final Details to Finish your Kiwi Drawing
Lastly, let’s add some final details. You can darken the area around the stalk and add more texture lines if needed. If you have a white pen or pencil, you could add some highlights to make your kiwi look shiny.
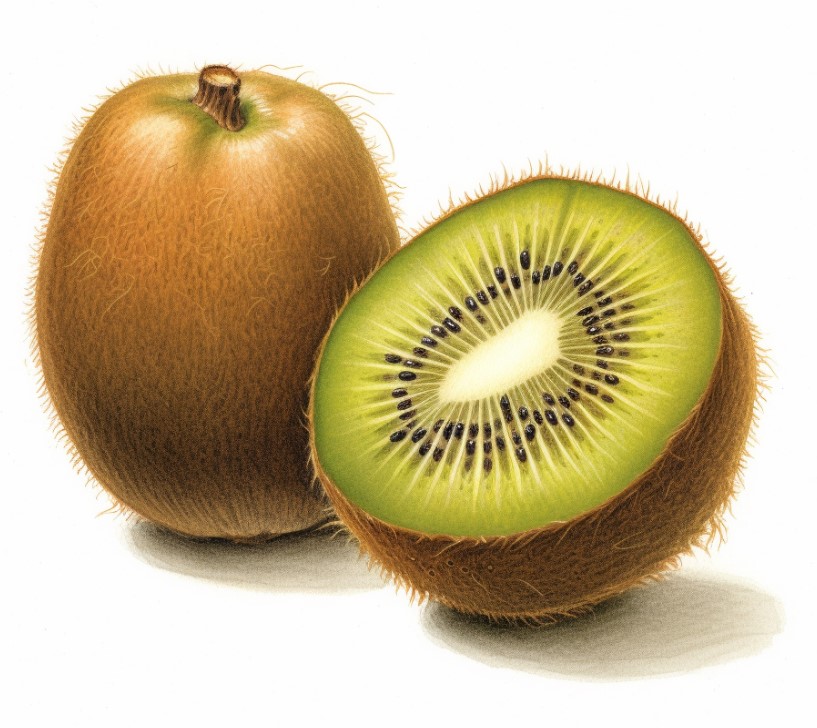
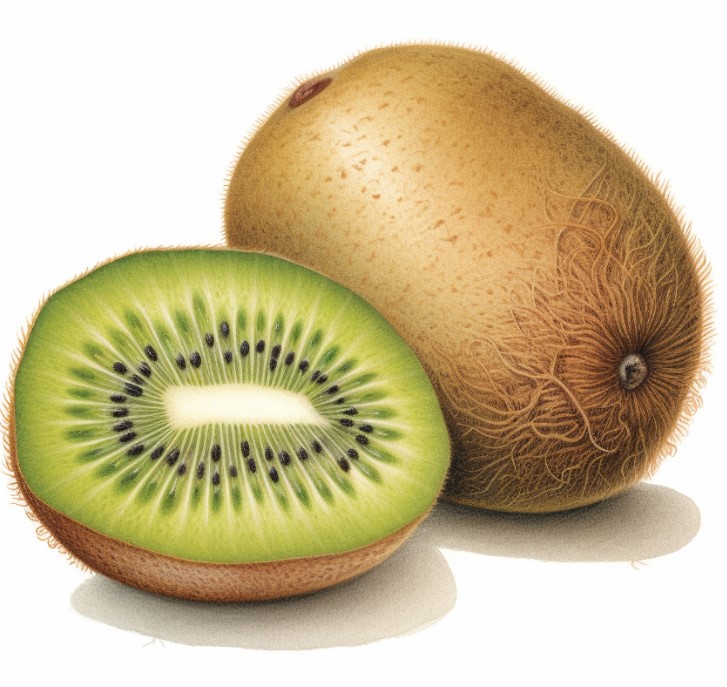
Kiwi Drawing
How to Draw a Kiwi Cut in Half – Draw the Inner Fruit of the Kiwi
Step 1: Draw the Basic Shape
Begin your drawing by sketching two half-circles or half-ovals. These shapes will represent the two halves of your cut kiwi. The flat side of each half-circle should be facing each other, similar to how a real-cut kiwi would look.
Step 2: Draw the Inner Circle
Inside each half-circle, draw a smaller half-circle. This will represent the area where the kiwi’s seeds are located. The smaller half-circle should be close to the flat side of your kiwi.
Step 3: Draw the Seeds
Now it’s time to draw the kiwi’s seeds. Inside the smaller half-circle you just drew, sketch tiny ovals. These ovals will be the seeds. Try to make the seeds different sizes and scatter them around for a more realistic look.
Step 4: Draw the Texture
Kiwi has a unique texture inside. To show this, draw small curved lines in the remaining part of the kiwi, between the outer edge and the inner circle where the seeds are. These curved lines should radiate outwards from the center, similar to the spokes of a wheel.
Step 5: Outline Your Drawing
Once you’re happy with your sketch, use a darker pencil or pen to trace over your lines. This will make your kiwi drawing look more defined. Be careful not to erase any of the texture or seed details you’ve added.
Step 6: Color the Kiwi
Now it’s time to add color to your kiwi drawing. Use a light green color for the area with the seeds, and a darker green for the outer part. You can also use a brown color for the seeds to make them stand out. Remember to leave some areas lighter to show the kiwi’s natural color variation.
Step 7: Add Shadows and Highlights
For a more 3D look, add some shadows and highlights to your kiwi. You can use a darker green for the shadows on the edges and under the seeds. For the highlights, you can use a white pencil or leave some areas uncolored.
Step 8: Add Final Details
Lastly, go back and add any final details or corrections you think your kiwi needs. Maybe you want to add more seeds, or perhaps you want to make the texture lines darker. This is your drawing, so make it how you like it!
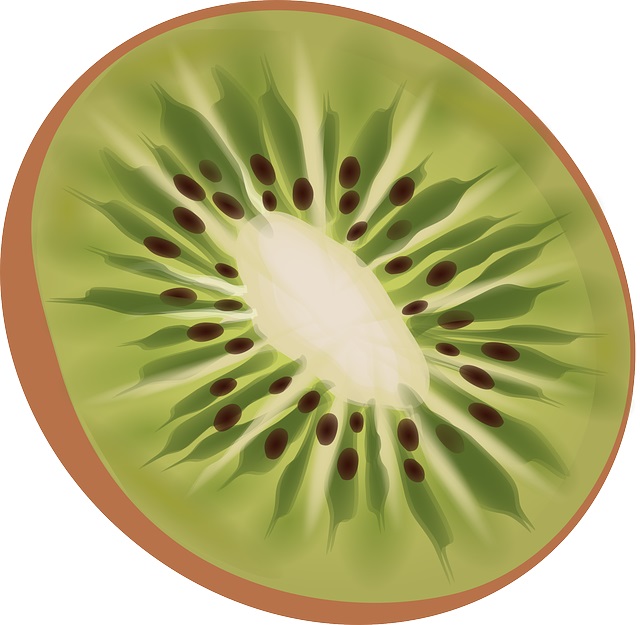
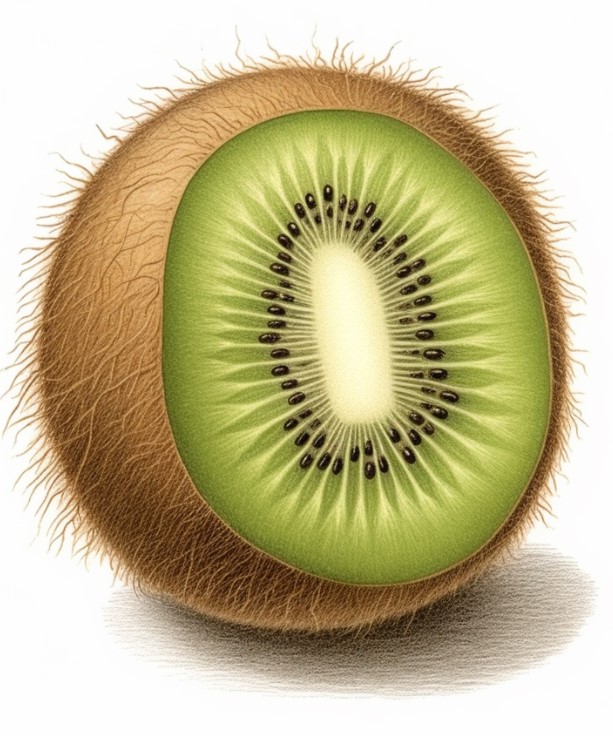
Kiwi Slice Drawing
Parts of a Kiwi You Need to Draw
When you’re drawing a whole kiwi, here are the parts you need to consider:
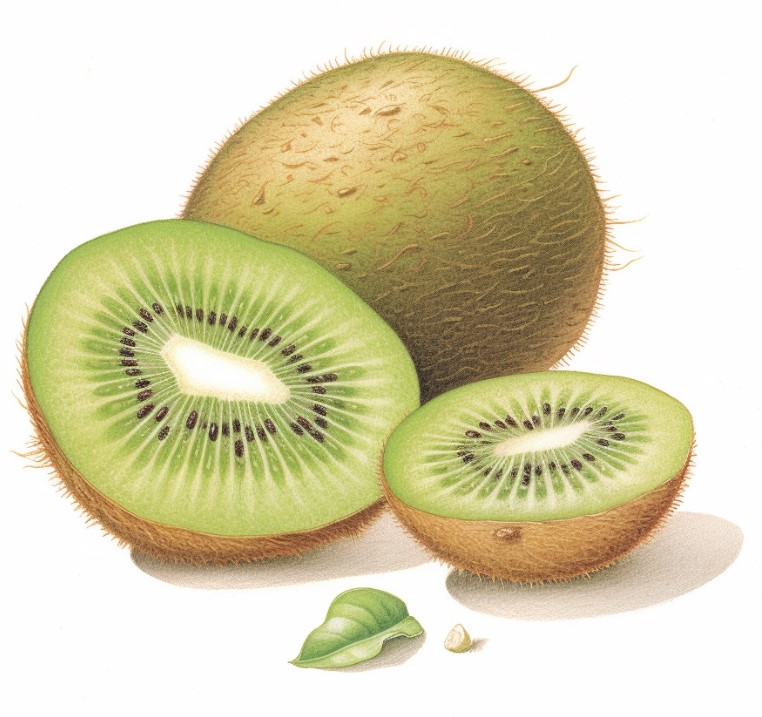
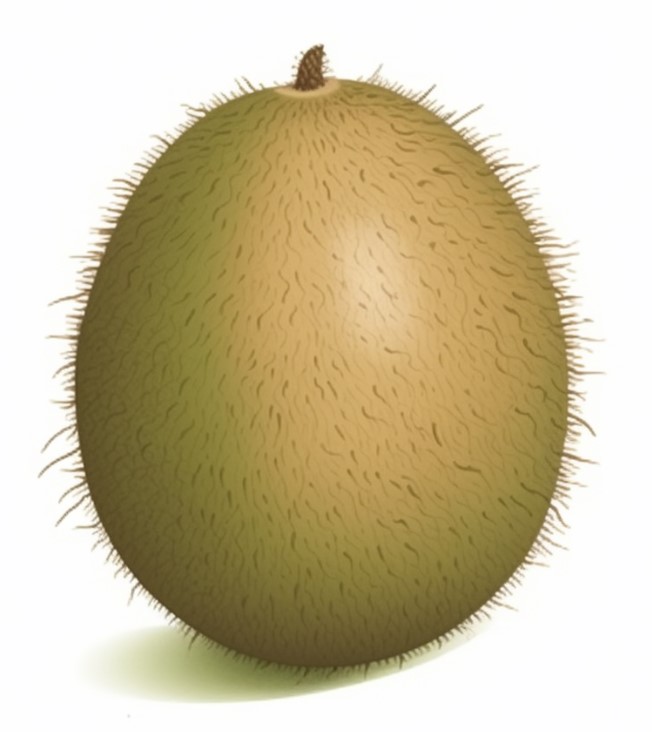
- The Shape: A kiwi is round but not perfectly spherical. It’s more like an oval shape, a bit like an egg.
- The Skin: Kiwi skin is unique. It’s brown and fuzzy. You’ll want to capture this texture in your drawing.
- The Stem: Don’t forget the small stem at the top of the kiwi. It’s usually a little bit darker than the rest of the skin.
When you’re drawing a kiwi sliced in half, you’ll need to draw these parts:
- The Seeds: Inside the kiwi, you’ll see a ring of small, black seeds.
- The Flesh: The flesh of the kiwi is bright green and has a radial pattern from the center to the skin.
- The Core: Kiwis have a lighter, almost white core at the very center of the fruit.
FAQs for Drawing a Kiwi Fruit
What is a kiwi fruit?
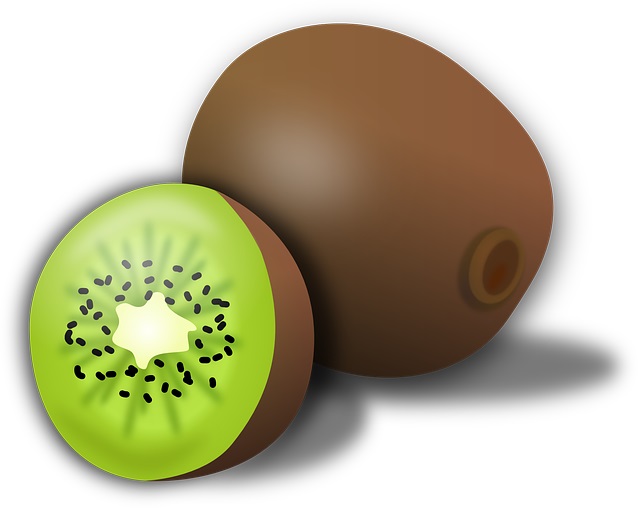
A kiwi fruit, also simply known as kiwi, is a small fruit that comes from a plant species in the Chinese gooseberry family. It’s known for its fuzzy brown skin, vibrant green flesh, and black seeds arranged in a circular pattern inside.
How can kids draw a kiwi easily?
Kids can draw a kiwi easily by starting with a simple oval for the outer shape. Inside this oval, they can draw a smaller oval for the inner flesh and tiny dots for the seeds. Adding curved lines can help create the fuzzy texture of the kiwi’s skin.
What color is a kiwi?
A kiwi fruit has a brown fuzzy skin on the outside. Inside, the fruit is a bright green color with tiny black seeds. The center of the kiwi near the seeds is often a lighter, almost white, color.
What does a kiwi fruit look like?
A kiwi fruit is oval in shape, about the size of a large egg. It has a fuzzy brown skin on the outside. When cut open, the inside reveals bright green flesh with a circle of small black seeds in the center.
Who should draw a kiwi?
Anyone who enjoys drawing and wants to practice drawing different types of fruits can draw a kiwi. It’s a fun and relatively simple subject to draw, making it suitable for kids and beginners, but also interesting for more experienced artists who want to capture its unique textures and colors.
How to Draw a Kiwi Videos
Video #1
Video #2
How to Draw a Kiwi Resources on External Websites
- How To Draw A Kiwi Step By Step Kiwi Drawing Easy – YouTube
- Kiwi fruit Drawing – Gallery and How to Draw
- How to Draw a Kiwi Fruit | Design School
- How to Draw a Kiwi Step by Step
- How to draw kiwi / LetsDrawIt
Conclusion
And there you have it – now you know how to draw a kiwi, both as a whole fruit and cut in half! We hope you found this kiwi drawing tutorial helpful and easy to follow. Remember, the key to great drawing is practice. So, keep drawing kiwis until you’re happy with your work. Don’t forget to have fun while you’re at it