Today, we are learning how to draw blackberries. These tasty fruits are not only good to eat, but they are also fun to draw. Blackberries have a unique shape and texture that can help you improve your drawing skills. This blackberry drawing tutorial is suitable for beginners and kids as it uses simple steps and easy instructions. You can use the reference images throughout the article and even follow the video tutorials at the end.
Materials Needed for Drawing and Coloring a Blackberry
Here’s what you’ll need:
- Paper: Any type of drawing paper will do. A medium-weight sketch paper is typically sufficient for pencil drawings.
- Pencil: A regular HB pencil is perfect for sketching the initial outlines. If you want to add depth to your drawing, it can also be useful to have a set of drawing pencils with different hardness levels.
- Eraser: An eraser is necessary for correcting mistakes or lightening areas of your sketch. A standard rubber eraser or kneaded eraser would work fine.
- Colored Pencils, Markers, or Paints: These will bring your blackberry to life. For a realistic look, opt for a range of purples, blues, and black shades for the fruit, and green for the leaf.
Step 1: Start with a Circle for Your Blackberries
Begin your drawing by creating a small circle. This circle represents one of the many small drupelets that create the bumpy texture we associate with blackberries.
Step 2: Draw More Circles Around Your Initial Blackberry Circle
Surround the initial circle with more circles of approximately the same size. Remember, blackberries have a multitude of these drupelets tightly packed together, so try to reproduce this in your drawing.
Step 3: Continue Drawing Circles Until it Looks like a Blackberry
Continue adding circles, building outwards until you have a shape that mirrors the form of a blackberry. There’s no set quantity for the circles – just keep drawing until you’re content with the overall size of your fruit.
Step 4: Incorporate the Leaf and the Stem
At the peak of your blackberry, sketch a small leaf. Initiate this by drawing a line for the leaf’s central vein, then draw two lines branching off from the center to form the body of the leaf.
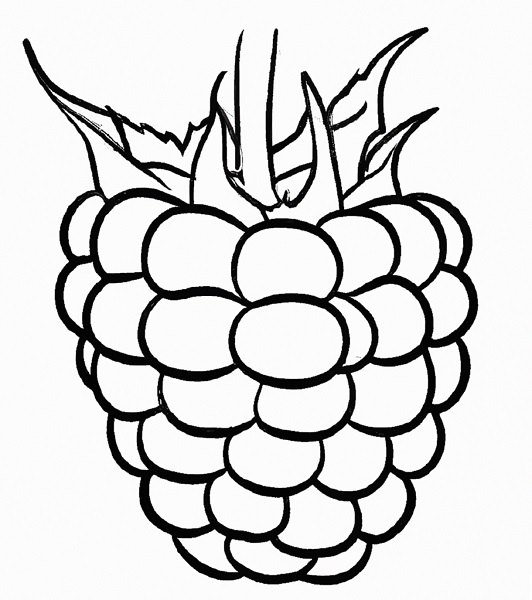
Step 5: Outline and Define the Blackberry
With the fundamental shape established, it’s time to add details. Sketch slightly curved lines around each circle to capture the impression of the drupelets being closely bunched together.
Step 6: Apply Shading to Your Blackberry
Blackberries typically have a deep coloration, so employ your pencil to lightly shade your fruit. Leave some regions white to depict the light reflecting off your blackberry.
Step 7: Introduce Texture to Your Blackberry
Next, add some texture to your blackberry drawing. Place tiny dots on each drupelet to imitate the speckled texture of a real blackberry.
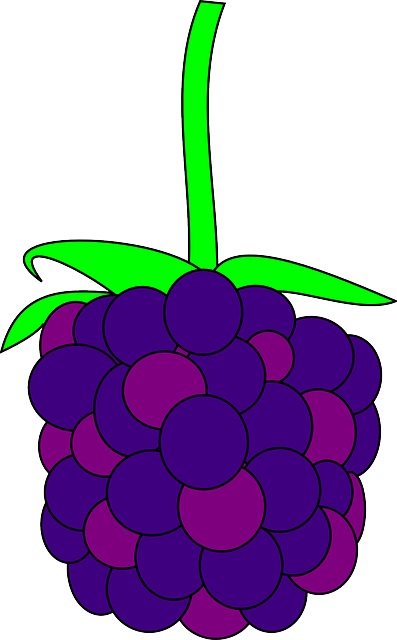
Step 8: Color Your Blackberry
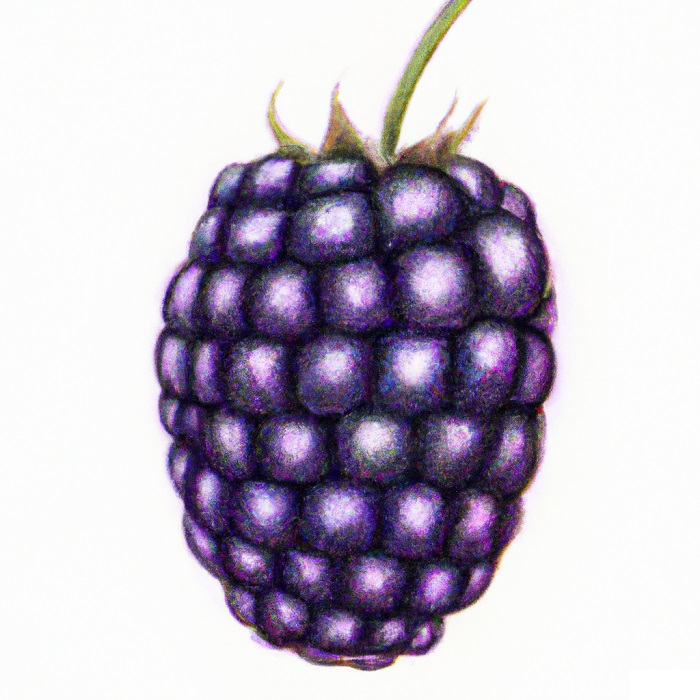
Finally, we’ve arrived at the most enjoyable part: coloring! Use a combination of dark purple, black, and a hint of blue to color your blackberry. Don’t overlook the leaf – color it green! This final touch brings your blackberry drawing to life.
Blackberry Drawings
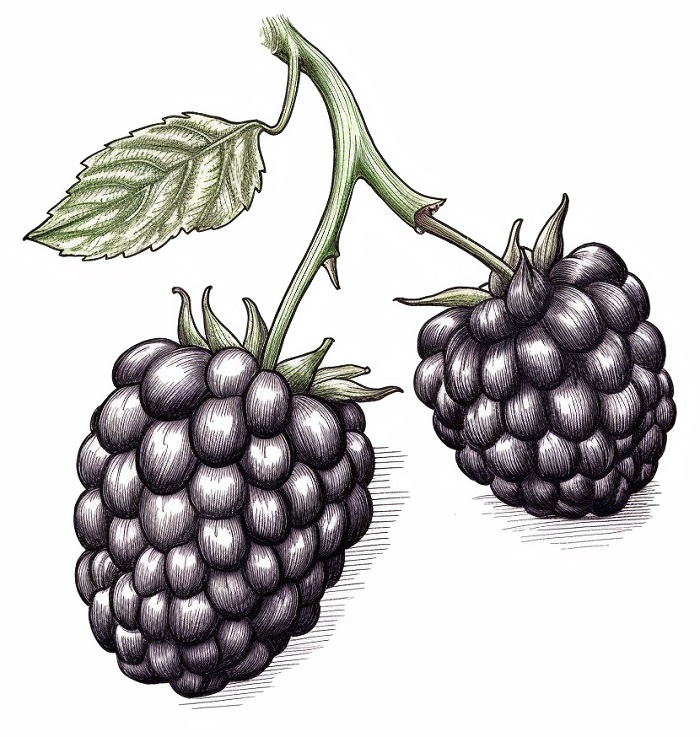
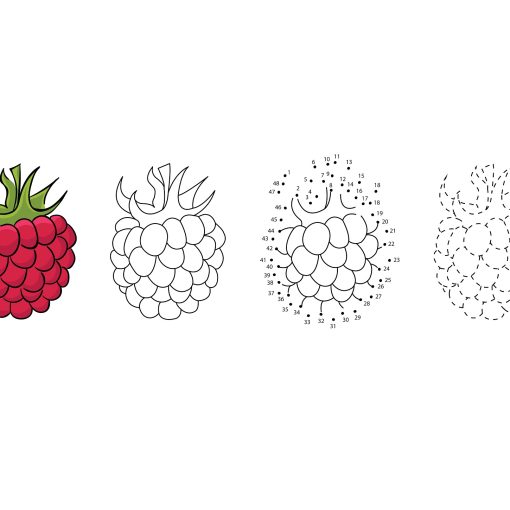
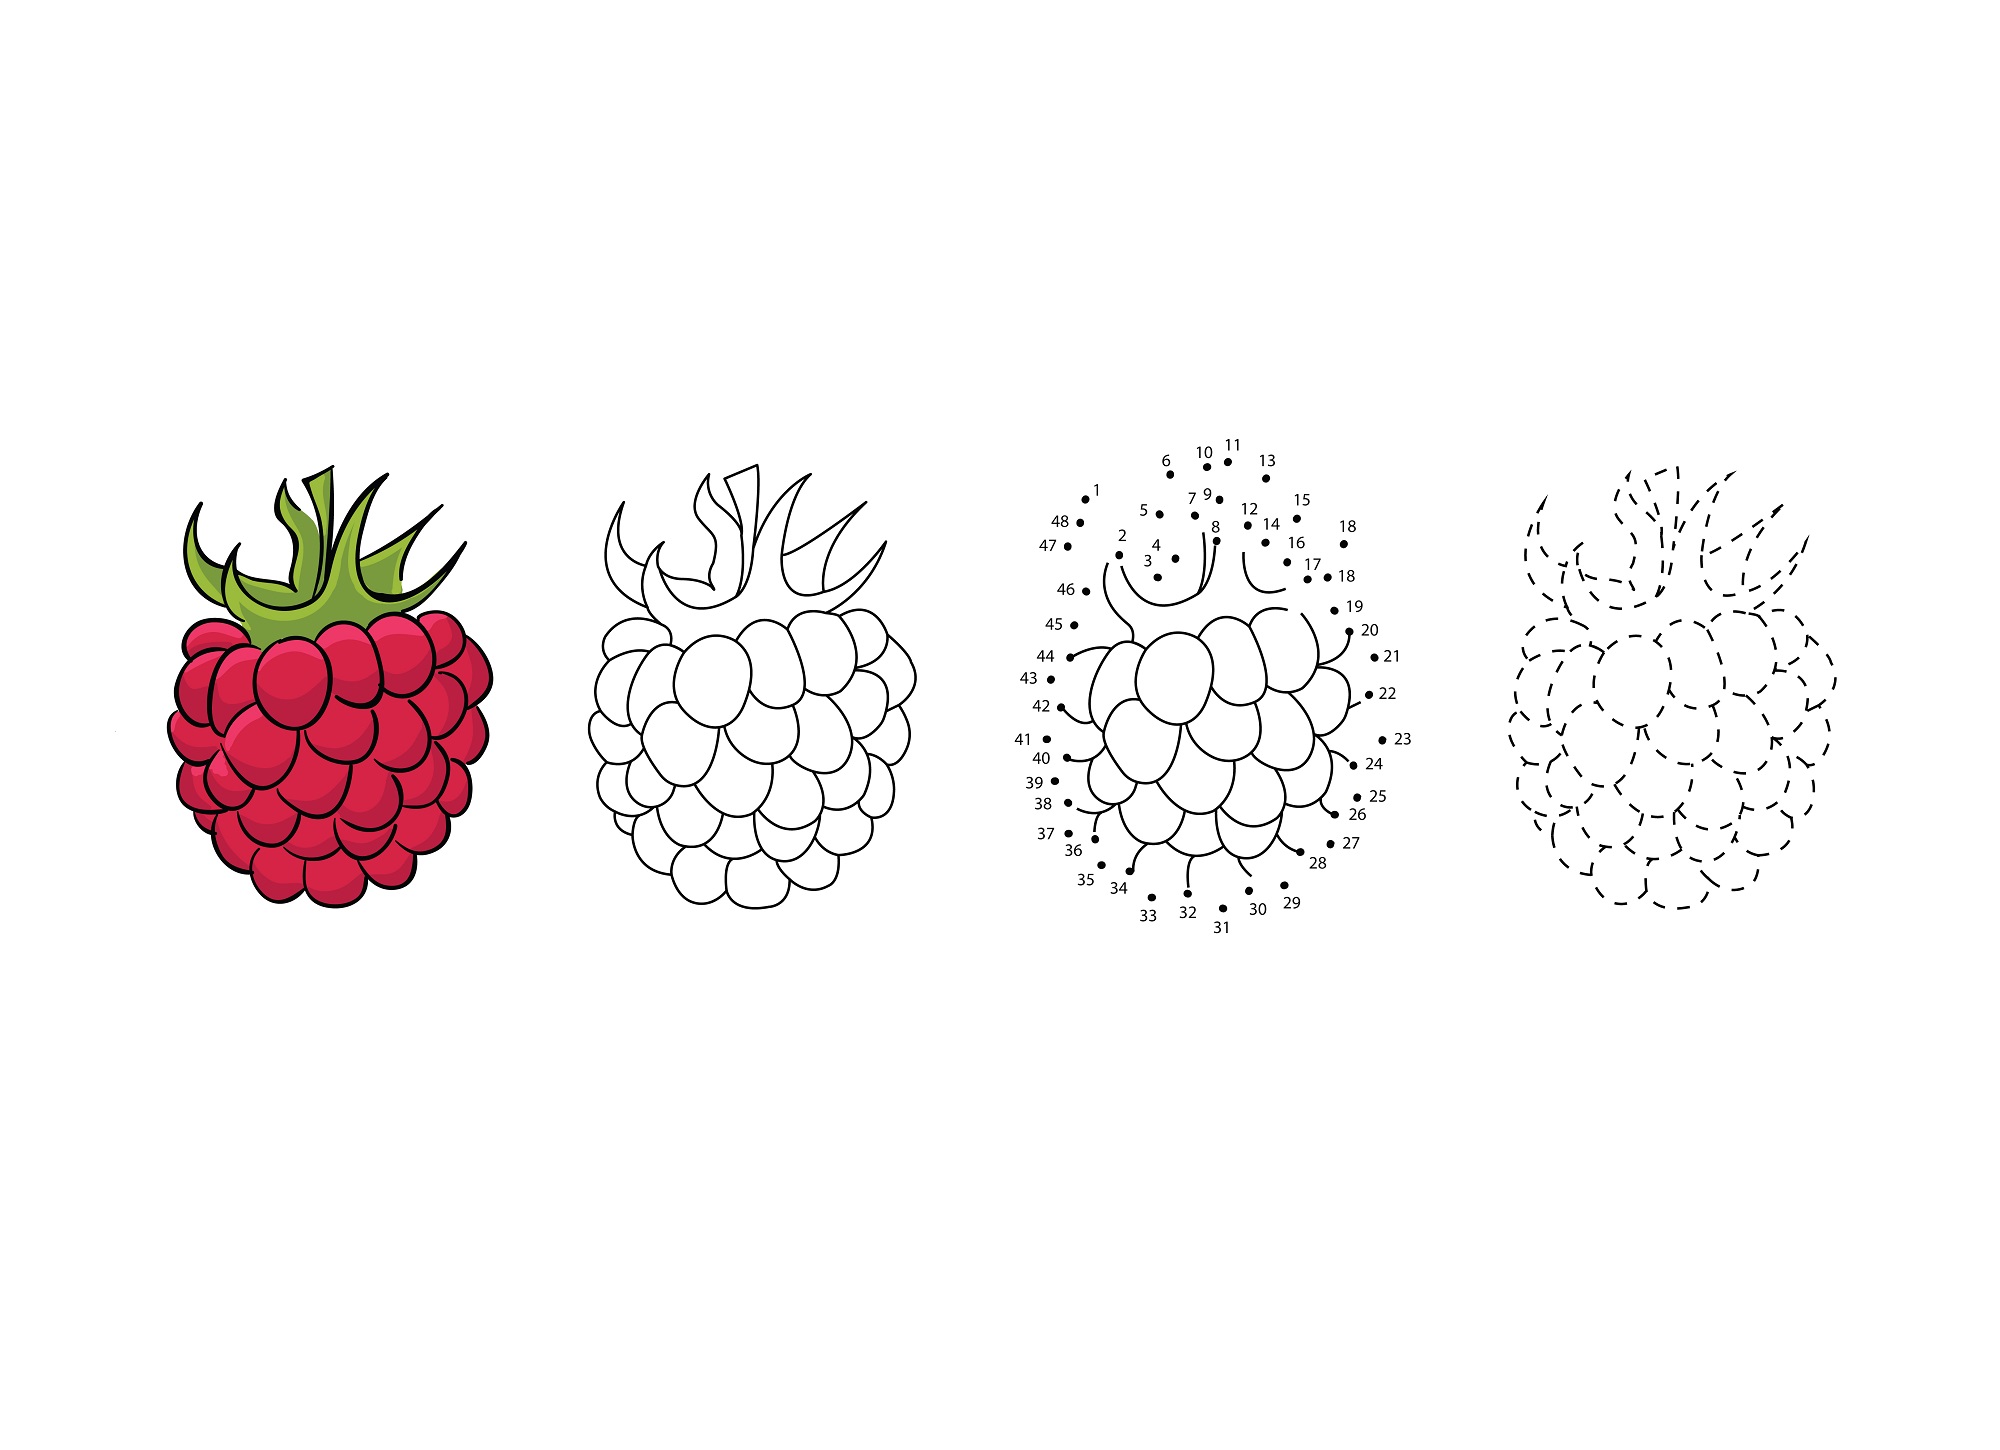
Drawing #1
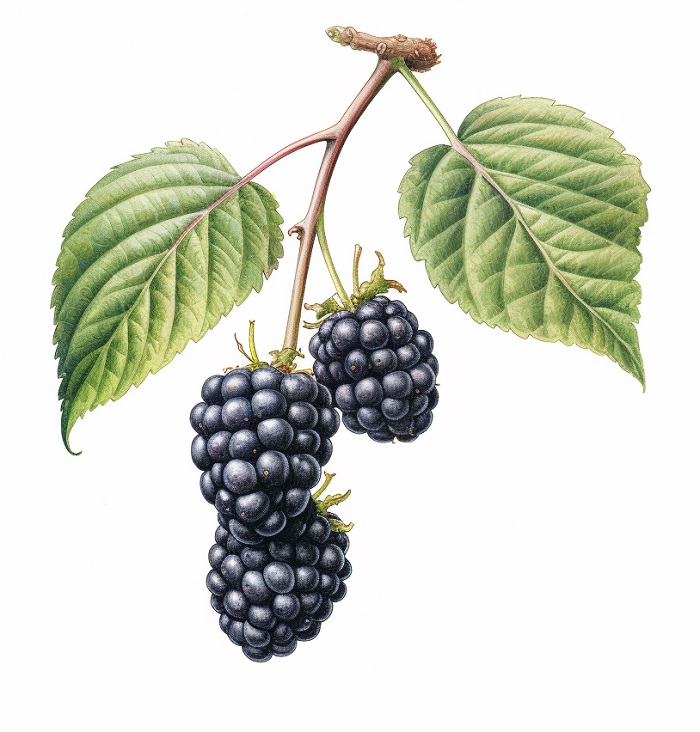
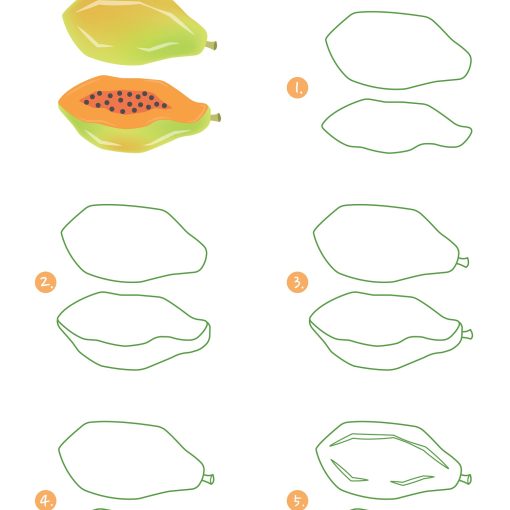
Drawing #2
FAQs for Drawing Blackberries
What is a Blackberry?
A blackberry is a small, soft, juicy fruit that grows on a bramble bush. It’s known for its rich, sweet-tart flavor and is packed with nutrients like Vitamin C and fiber.
What Color are Blackberries?
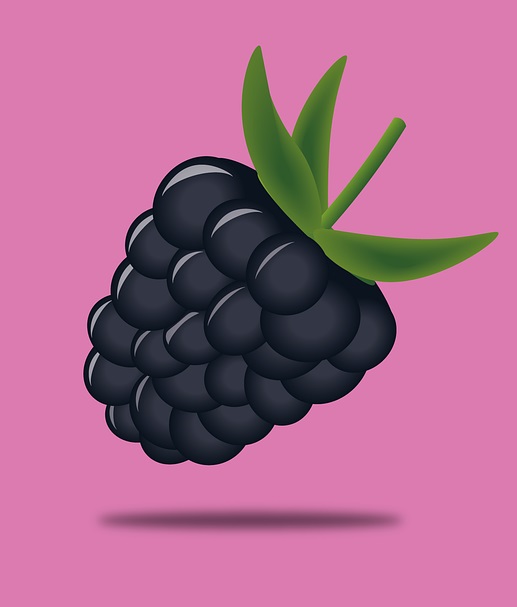
When fully ripe, blackberries are a deep, dark blackish-purple color. The color can vary, with younger berries being a mix of red and purple before they fully mature.
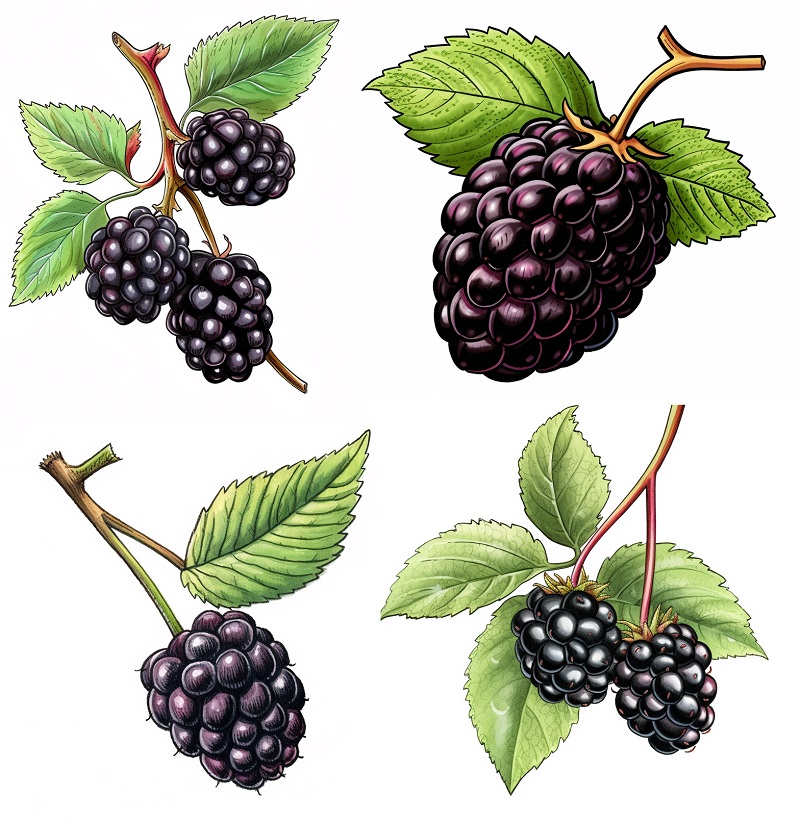
What does a Blackberry look like?
A blackberry is made up of small drupelets, which are tiny individual sections, each containing a seed. The fruit has an oblong shape and is larger at one end, tapering to a point at the other. The overall surface is bumpy due to the drupelets.

Who should draw a Blackberry?
Anyone who enjoys drawing and wants to practice their skills can draw a blackberry. It’s a great subject for beginners and kids due to its simple shape and distinct texture, offering an excellent opportunity to practice shading and detail work.
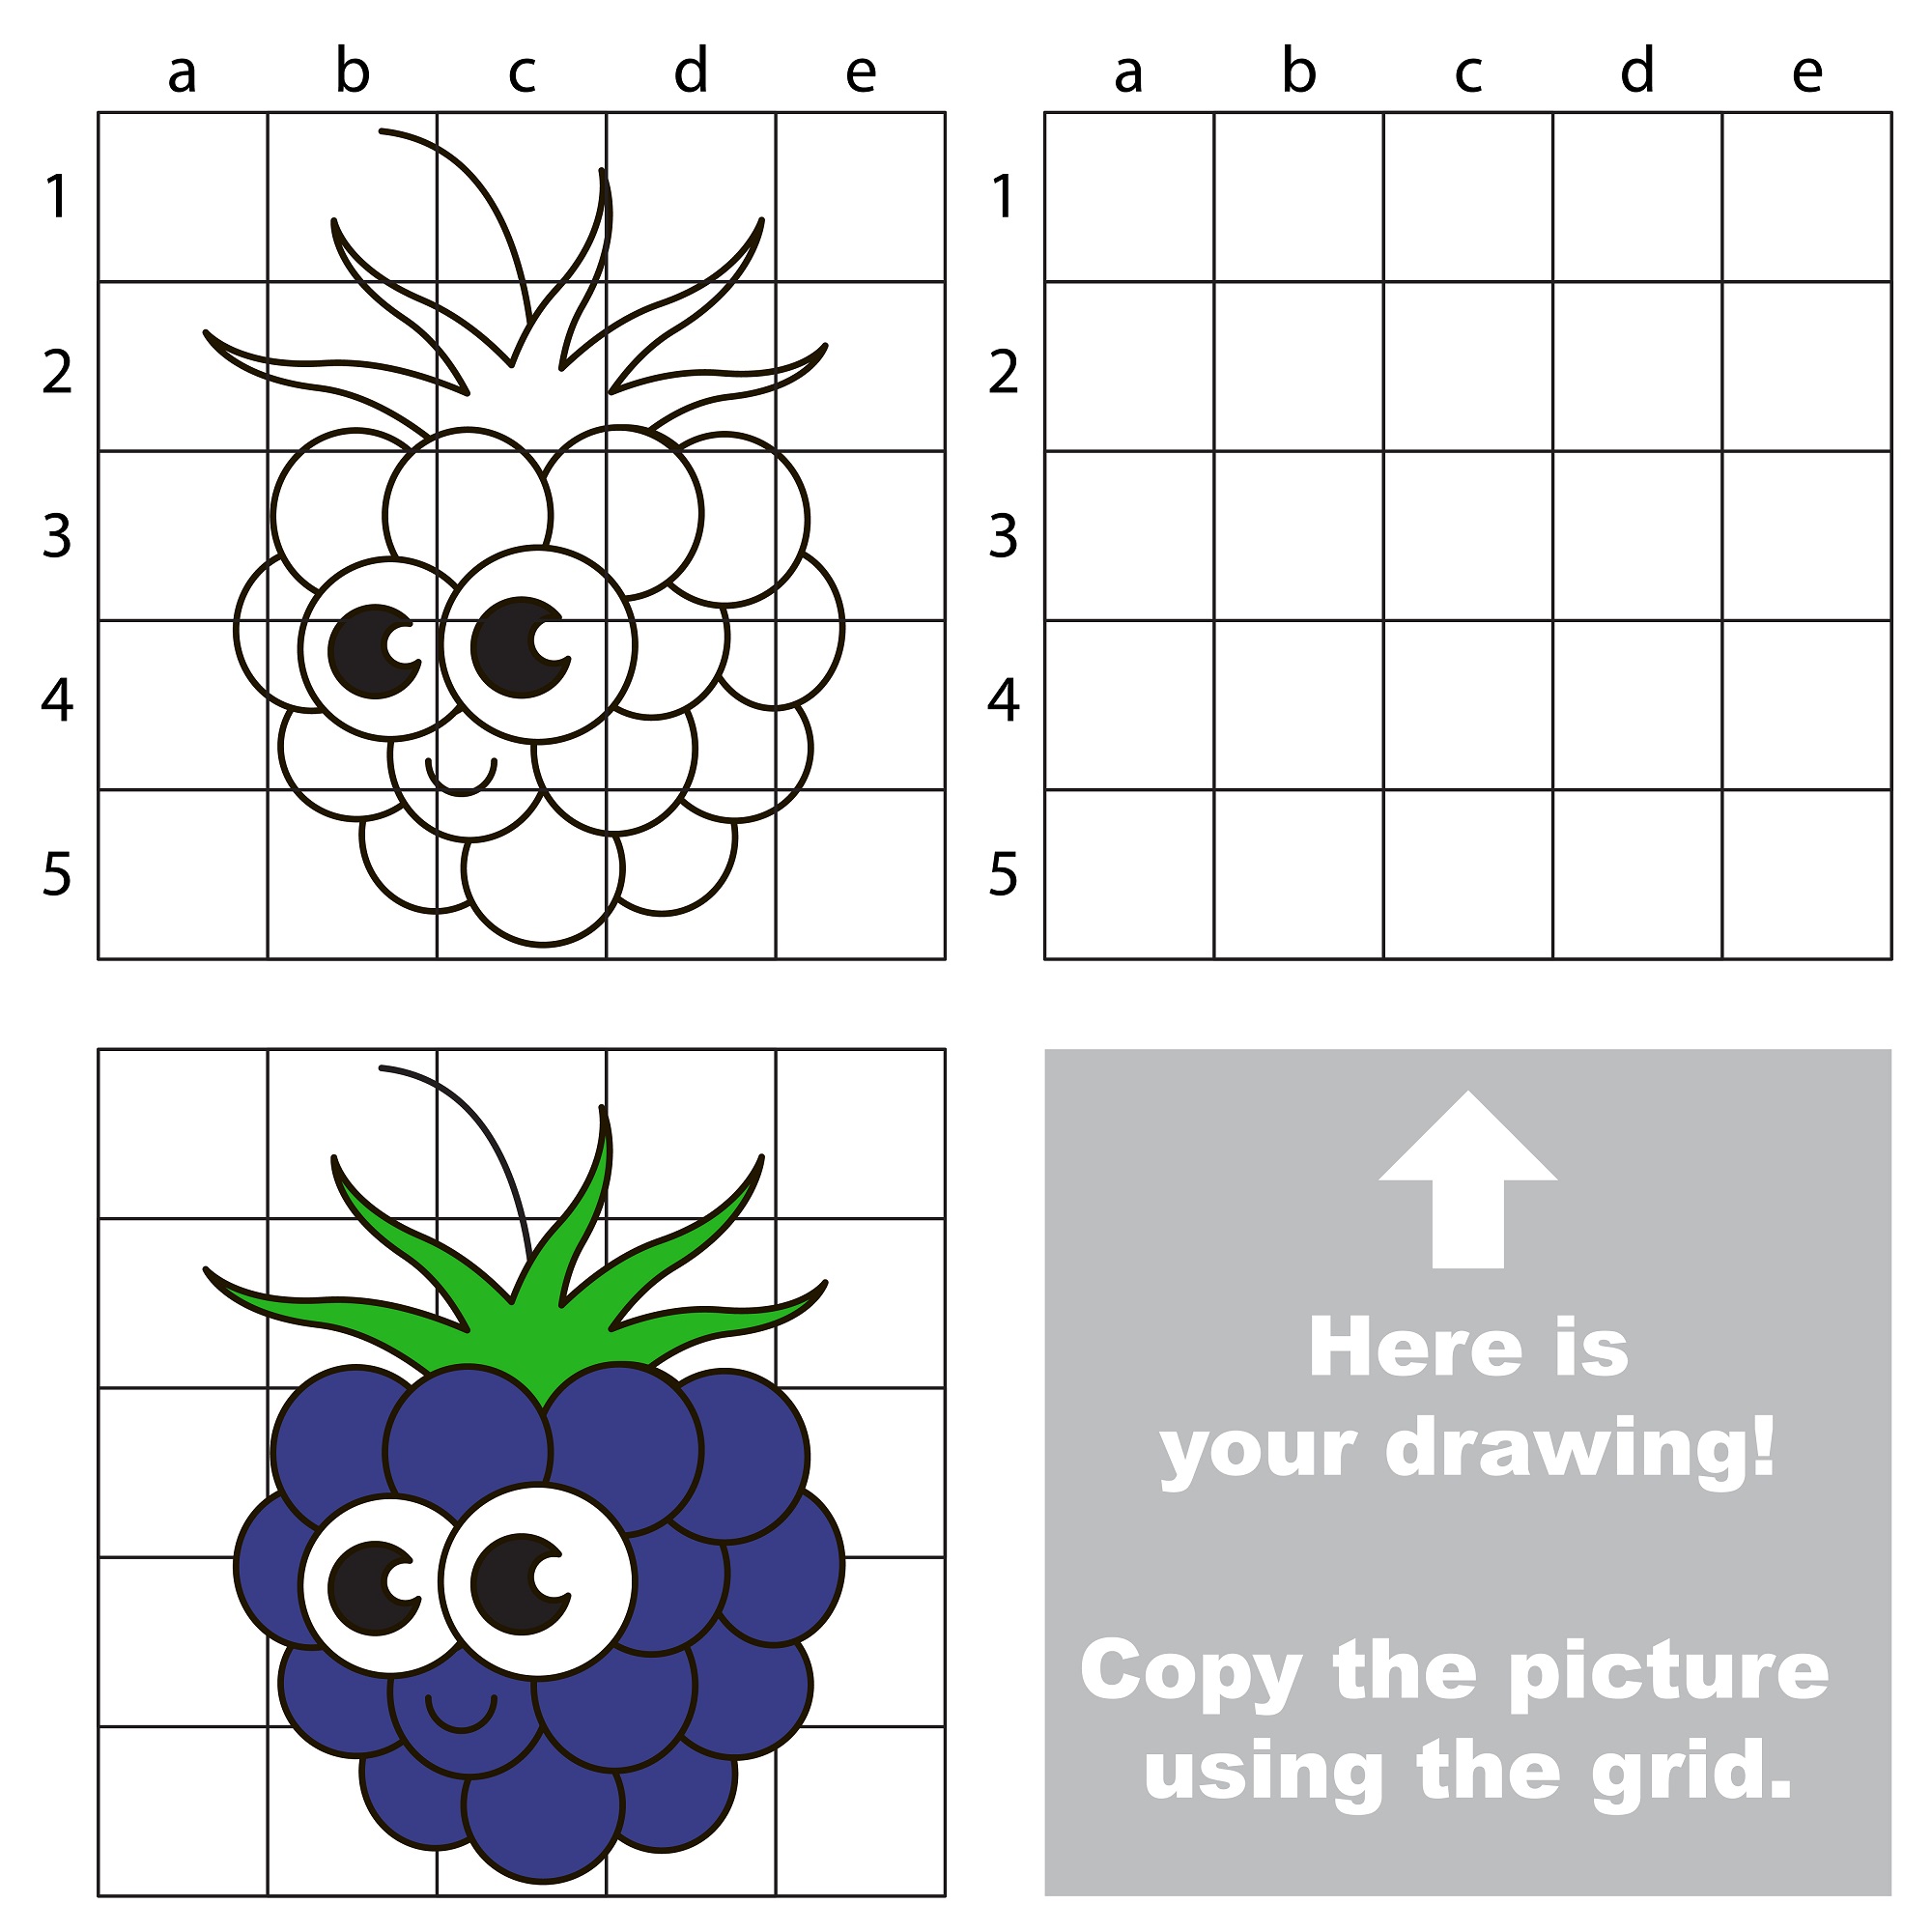
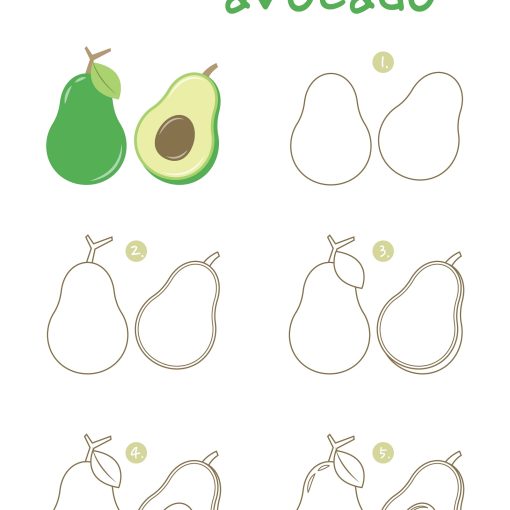
How can I teach kids to draw Blackberries easily?
Teaching kids to draw blackberries can start with basic shapes like an oval or a heart for the overall shape of the fruit. Then, you can guide them to add the small bumps for the drupelets and the details like the stem and the leaf. Starting with simple shapes and gradually adding more details makes the process manageable and fun for kids.
3 Tips and Tricks for Blackberry Drawings
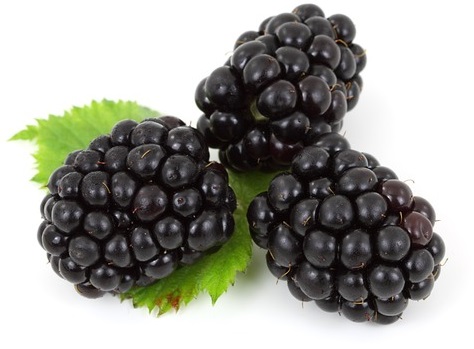
1. First, Look at Real Blackberries:
Before you dive into drawing, try to get a good look at a real blackberry if you can. See how it’s made up of lots of tiny bumps or ‘bubbles’? Notice how they all stick together to make the whole fruit. Each one is a little different in size and shape. If you can’t get your hands on a real blackberry, don’t worry – you can always look at pictures online.
2. Start with Light Lines – Add Detail to Your Blackberry Later:
When you start sketching your blackberry, use your pencil lightly. Draw the overall shape and the little ‘bubbles’ with gentle strokes. This makes it easy to erase or change things as you add more detail. When you’re happy with your drawing, you can go over your lines to make them darker.
3. Add Shades for Depth to Make Your Blackberries Look Realistic:
Blackberries are dark, but they’re not all one color. They shine and reflect light, which makes some parts look lighter and some look darker. You can copy this in your drawing by using different shades of color. Leave some parts lighter to show where the light is hitting, and make other parts darker to show shadows.
How to Draw Blackberries Videos
Video #1
Video #2
External Resources for Drawing Blackberries:
- How to Draw a Blackberry
- How to draw blackberry / LetsDrawIt
- Beautiful Blackberry Line & Wash Illustration
- Blackberry Drawing in Color Pencils – YouTube
Conclusion
Well done, you’ve learned how to draw blackberries. We hope you enjoyed our blackberry drawing tutorial and we hope your artwork looks good. Remember, the most important thing about drawing is practice, so don’t stop now. You can draw a whole series of fruits or design a beautiful fruit basket filled with berry drawings. So keep on drawing, keep on creating and most importantly, keep enjoying the process.