Follow our easy tutorial and you will have your own strawberry drawing! This is a great instructional article to teach kids how to draw a strawberry.
Drawing a strawberry might seem like a simple task, but with a little bit of practice and attention to detail, you can create a realistic, eye-catching piece of art. In this guide, we’ll break down the process of drawing a strawberry into easy-to-follow steps. So, grab your materials, and let’s get started!
Materials Needed
- Paper or sketchpad
- Pencil
- Eraser
- Colored pencils, markers, or watercolor (optional)
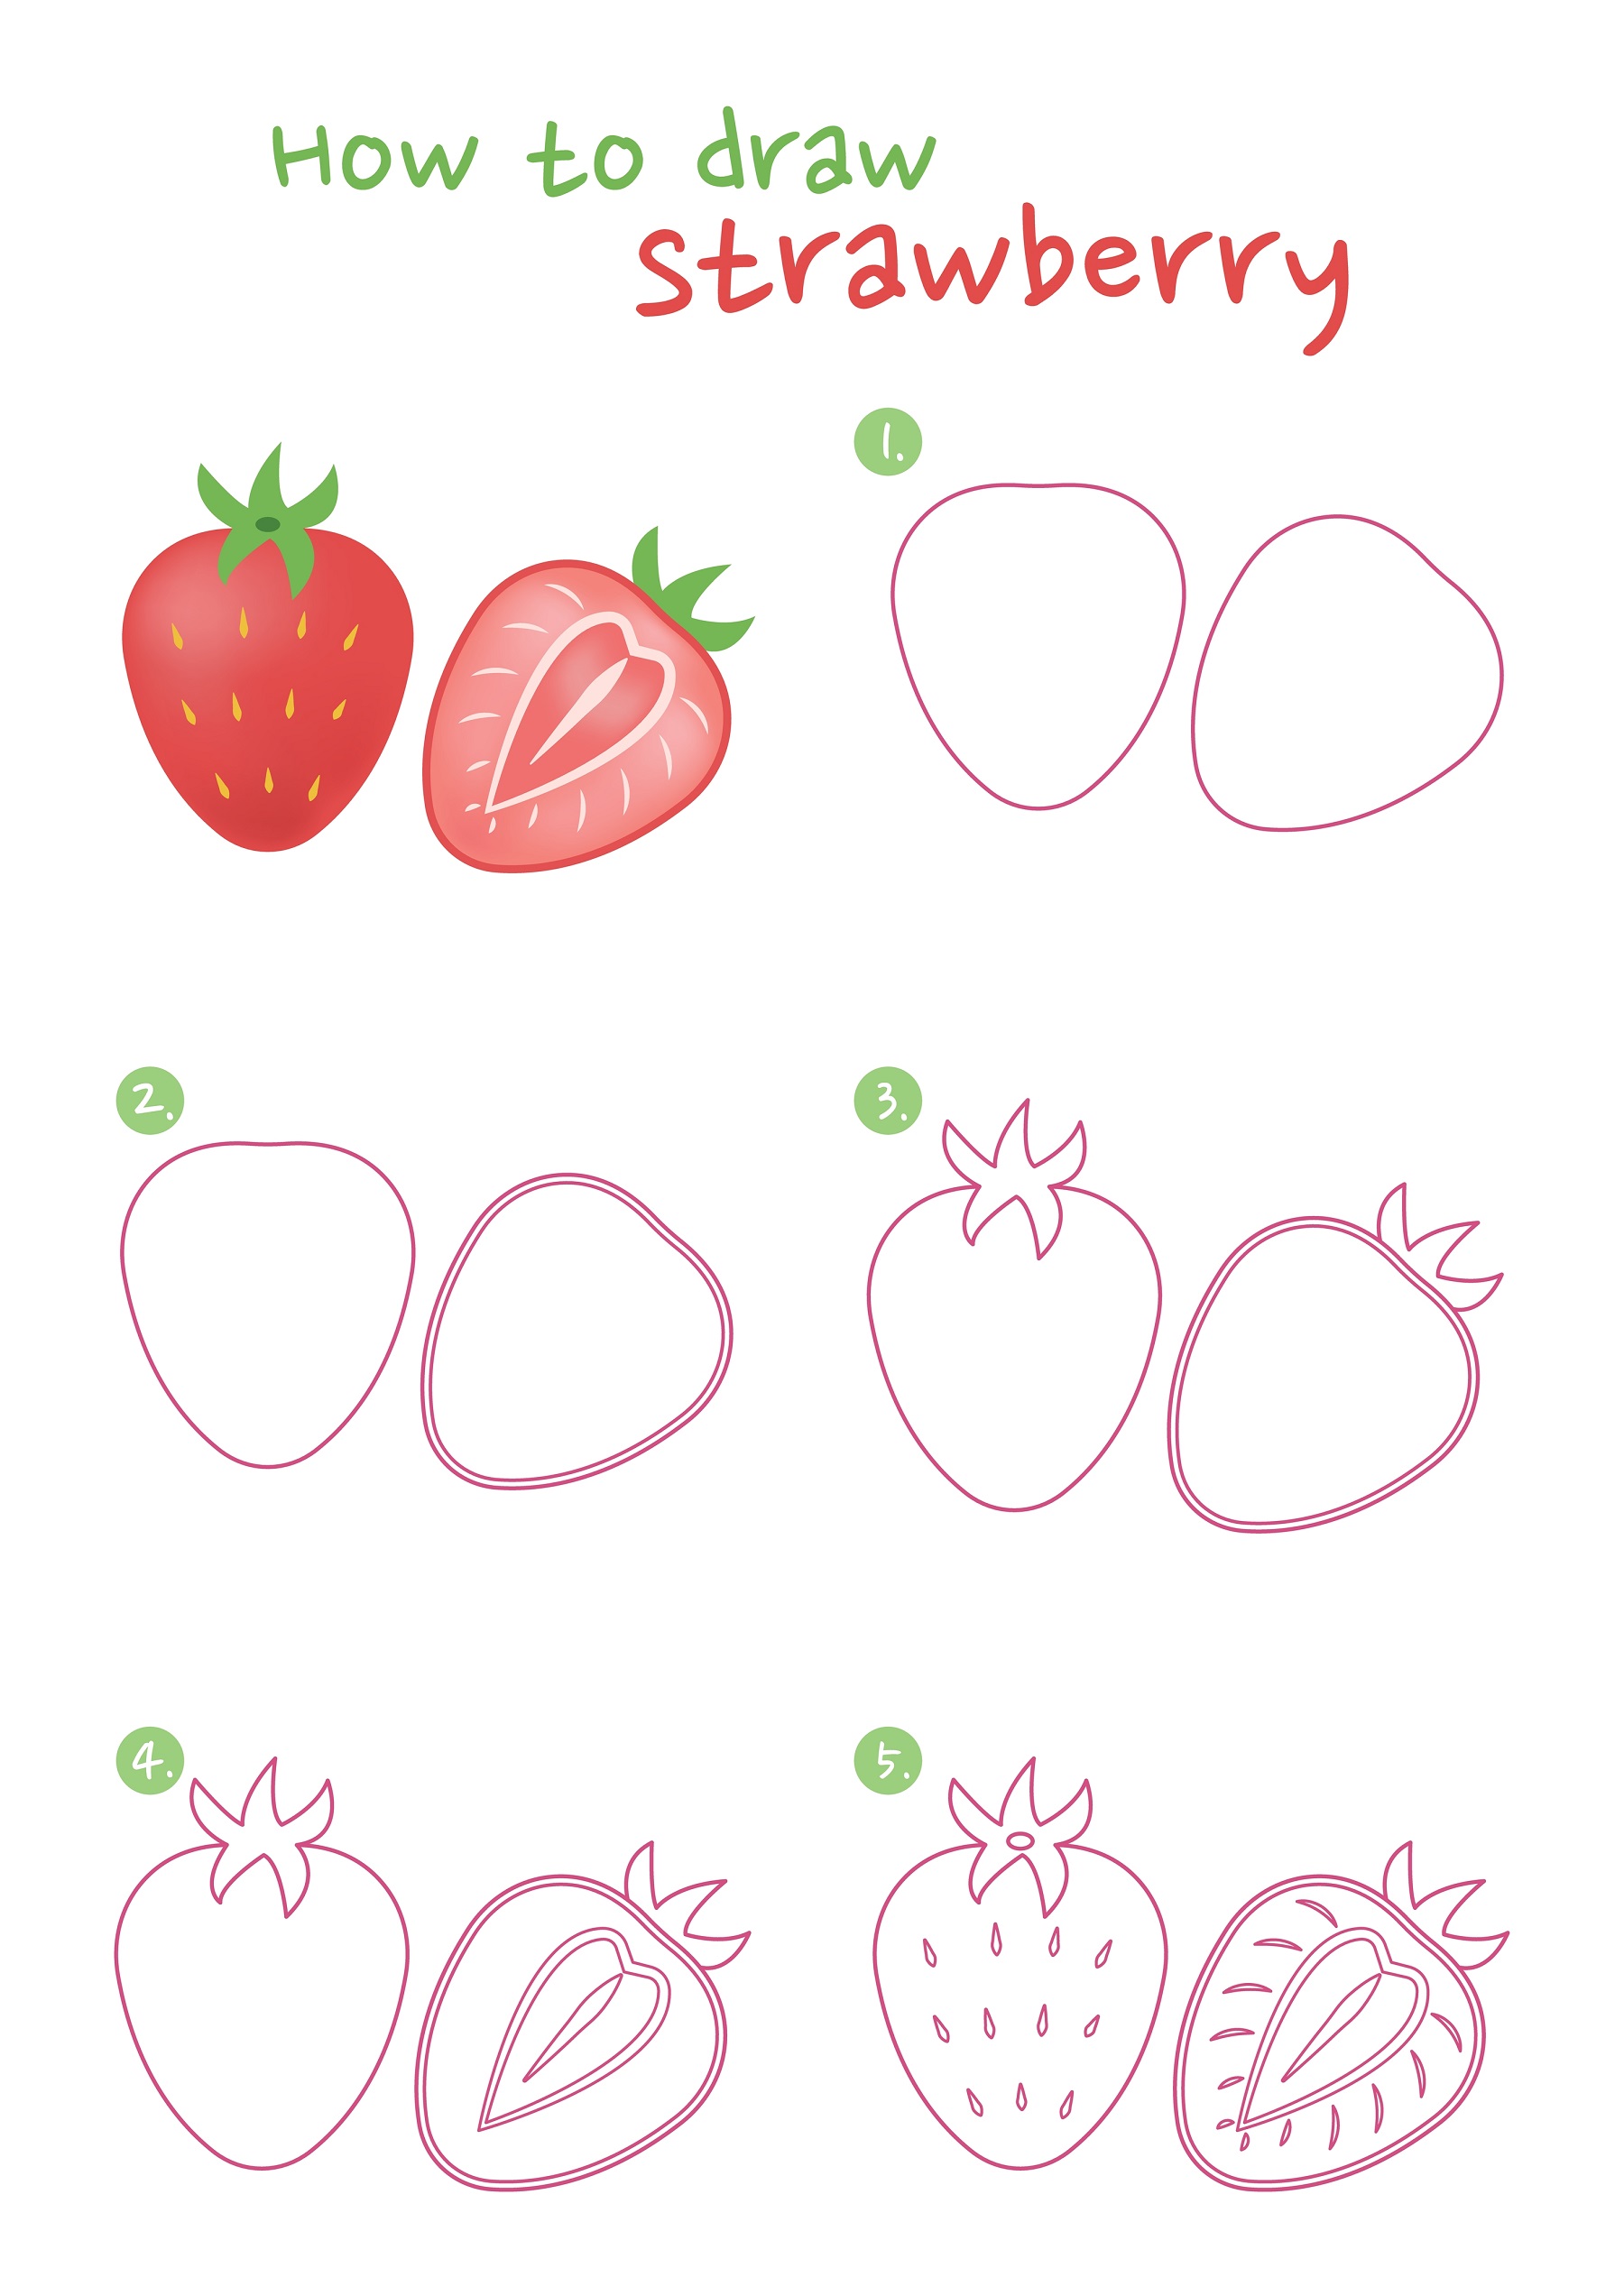
6 Steps to Draw a Strawberry
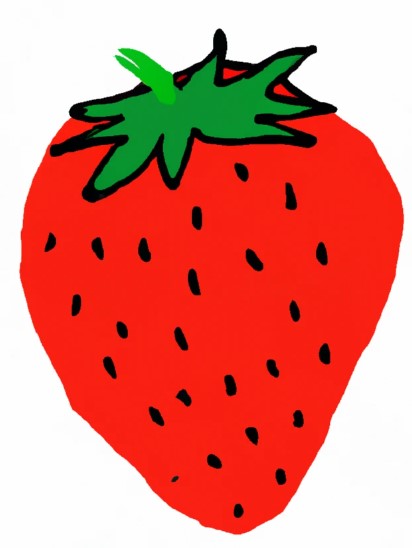
Step 1: Draw a Basic Strawberry Shape
Begin by drawing a rough oval shape that’s slightly wider at the top and narrows toward the bottom. This will be the base of your strawberry. Strawberries are similar in shape to a heart but they are rounder and don’t have a point at the top of the heart.
Step 2: Refine the Outline
Now, refine the outline by adding slight curves along the edges to create the distinctive bumps of a strawberry. Remember, strawberries are not perfectly smooth, so try to keep your lines somewhat irregular. In addition, every strawberry is shaped slightly different.
Step 3: Add Details to the Strawberry
For the seeds, draw small, teardrop-shaped ovals scattered across the surface of the strawberry. Avoid making them too uniform, as real strawberries have a more random pattern.
Step 4: Draw the Leaves and Stem
At the top of the strawberry, draw a small circle as a base for the stem. Then, create the leaves by drawing 5-6 pointed, triangular shapes extending outward from the circle. Make sure they overlap and vary in size for a more realistic appearance.
Step 5: Add Shadows and Highlights
Using shading techniques, add shadows to the bottom and side areas of the strawberry, as well as the areas around the seeds. Add highlights to the top part and on the leaves for added depth and dimension.
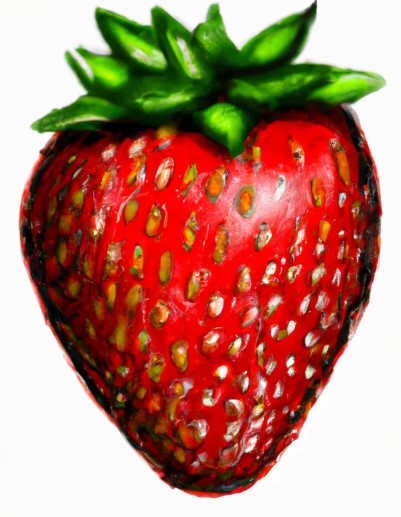
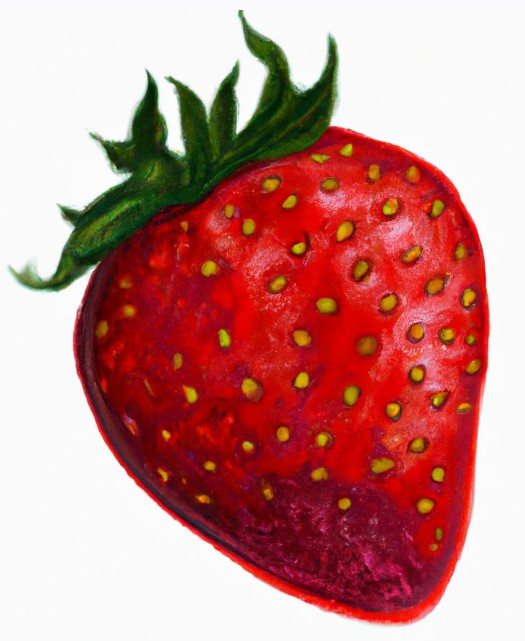
Step 6: Color Your Strawberry
The strawberry fruit itself is red in color and slightly darker than the standard red. The seeds of the strawberry are tiny little yellow dots around the outside. The leaves are small and light green in color.
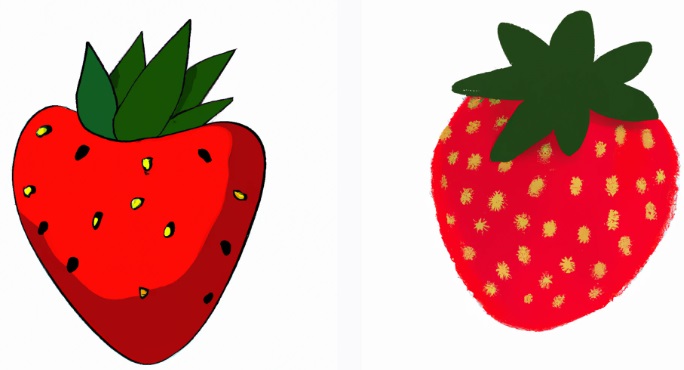
Parts of a Strawberry You Need to Draw
When drawing a strawberry, there are a few key parts you’ll need to include to make your drawing recognizable. Here’s a list of the main components:
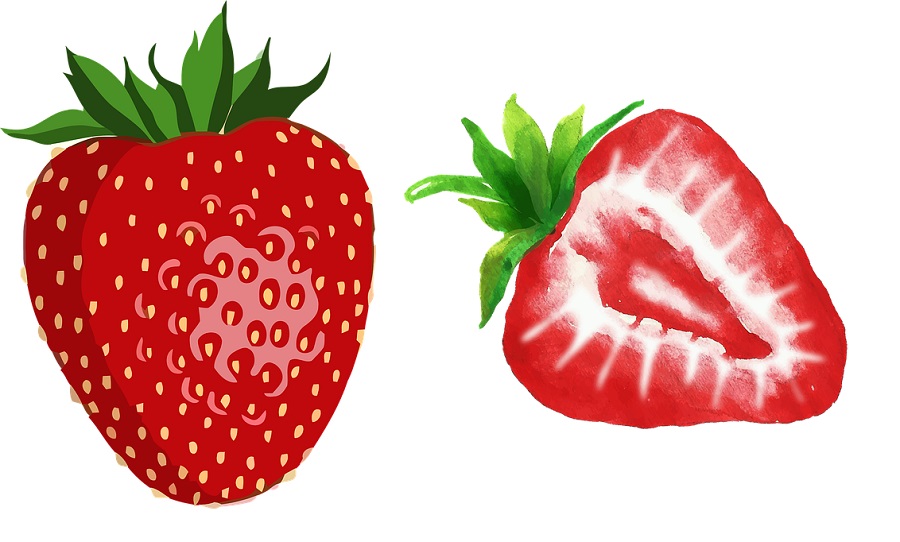
1. Body or Fruit:
The main part of the strawberry is its body or the fruit. It’s often heart-shaped or somewhat conical, wide at the top and tapering to a point at the bottom.
2. Seeds:
Strawberries have many tiny seeds on their surface. These can be represented by small dots evenly spaced across the body of the fruit.
3. Leaves and Crown:
At the top of the strawberry, where it was attached to the plant, you’ll find the crown. This is a small, round area often surrounded by a few green leaves. These leaves are usually short and have a pointed shape.
4. Texture and Color:
A ripe strawberry has a bright red color and a slightly textured surface. When drawing, you can use shading or color variation to capture this.
3 Common Strawberry Drawing Mistakes
You should know that your strawberry drawing is your own and it does not have to be perfect. You can draw 10 strawberries and each one will look different. Keep in mind that the strawberries in a package you purchase at the store will look different as well. With all that said, here are three common mistakes to avoid when you sketch and color a strawberry.
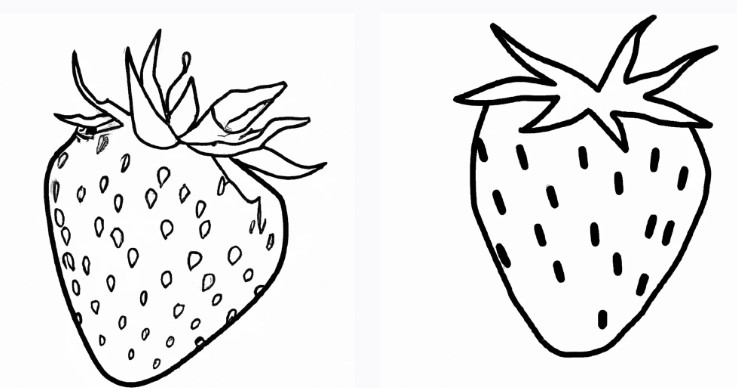
1. Uneven Strawberry Outline
To avoid an uneven outline, lightly sketch your strawberry’s shape first and refine it as you go. This will help you create a more accurate and symmetrical outline.
2. Over-detailed Strawberry Seeds
While it’s important to include seeds in your drawing, too much detail can be overwhelming. Keep the seed shapes simple and focus on their placement instead.
3. Flat Strawberry Leaves
To avoid flat-looking leaves, make sure to add dimension through shading and highlighting. This will give them a more realistic, three-dimensional appearance.
Digital Drawing and Strawberry Art
With the rise of digital art, you may prefer using a drawing tablet and stylus to create your strawberry masterpiece. Digital drawing tools often offer a wide range of brushes, colors, and effects that can enhance your artwork. Plus, you can easily undo mistakes and make adjustments without the need for an eraser. Many of the same principles outlined in this guide can be applied to digital drawing, so don’t be afraid to experiment and find what works best for you.
Conclusion
Drawing a strawberry can be a fun and rewarding activity, whether you’re a beginner or a more experienced artist. By following the steps and tips provided in this guide, you’ll be well on your way to creating a beautiful, realistic strawberry drawing that you can be proud of. Keep practicing, experimenting, and most importantly, enjoying the creative process!