In this article, we’ll guide you through the step-by-step process of drawing a flamingo. From the head to the feathers, we’ll cover everything you need to know to create a stunning flamingo drawing.
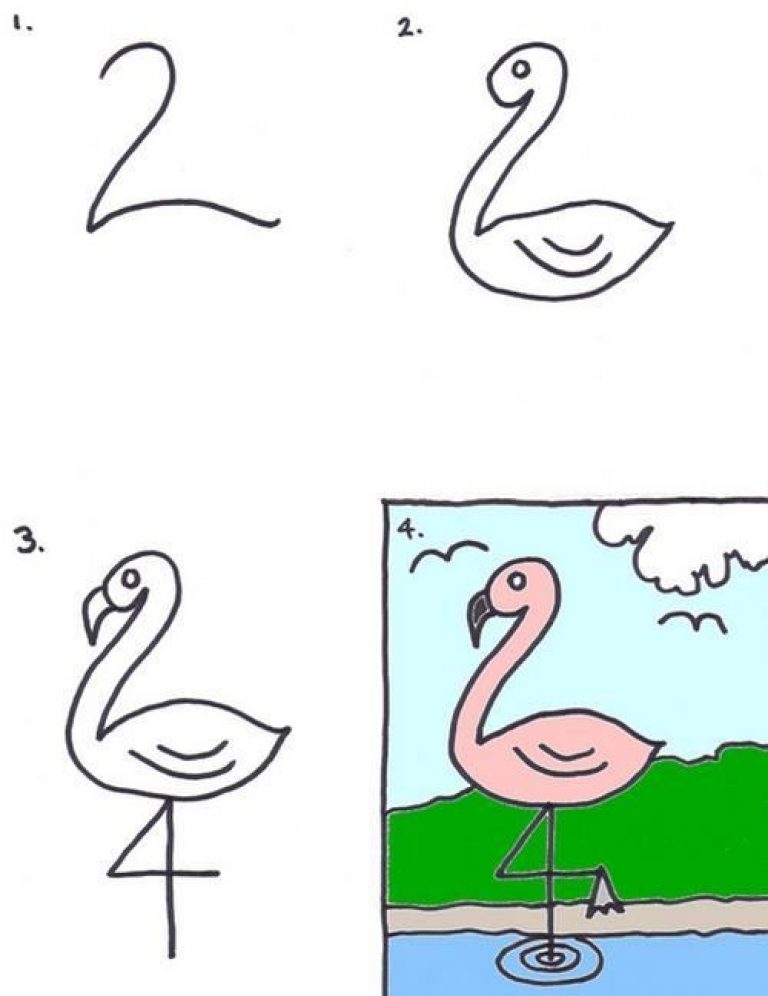
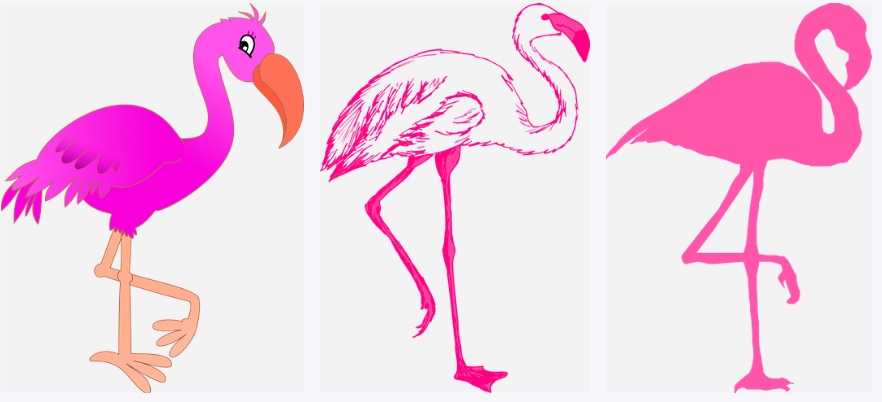
Draw a Flamingo Using a 2 and a 4
First, draw a large 2. Second, draw a circle at the top that will make up the flamingo’s head. Draw an eye on the head. In addition, draw the neck using the middle portion of the 2 and the body using the bottom of the 2. Third, draw the beak, legs, and 1 flamingo foot. Fourth, color the flamingo pink and add a background to make it look unique.
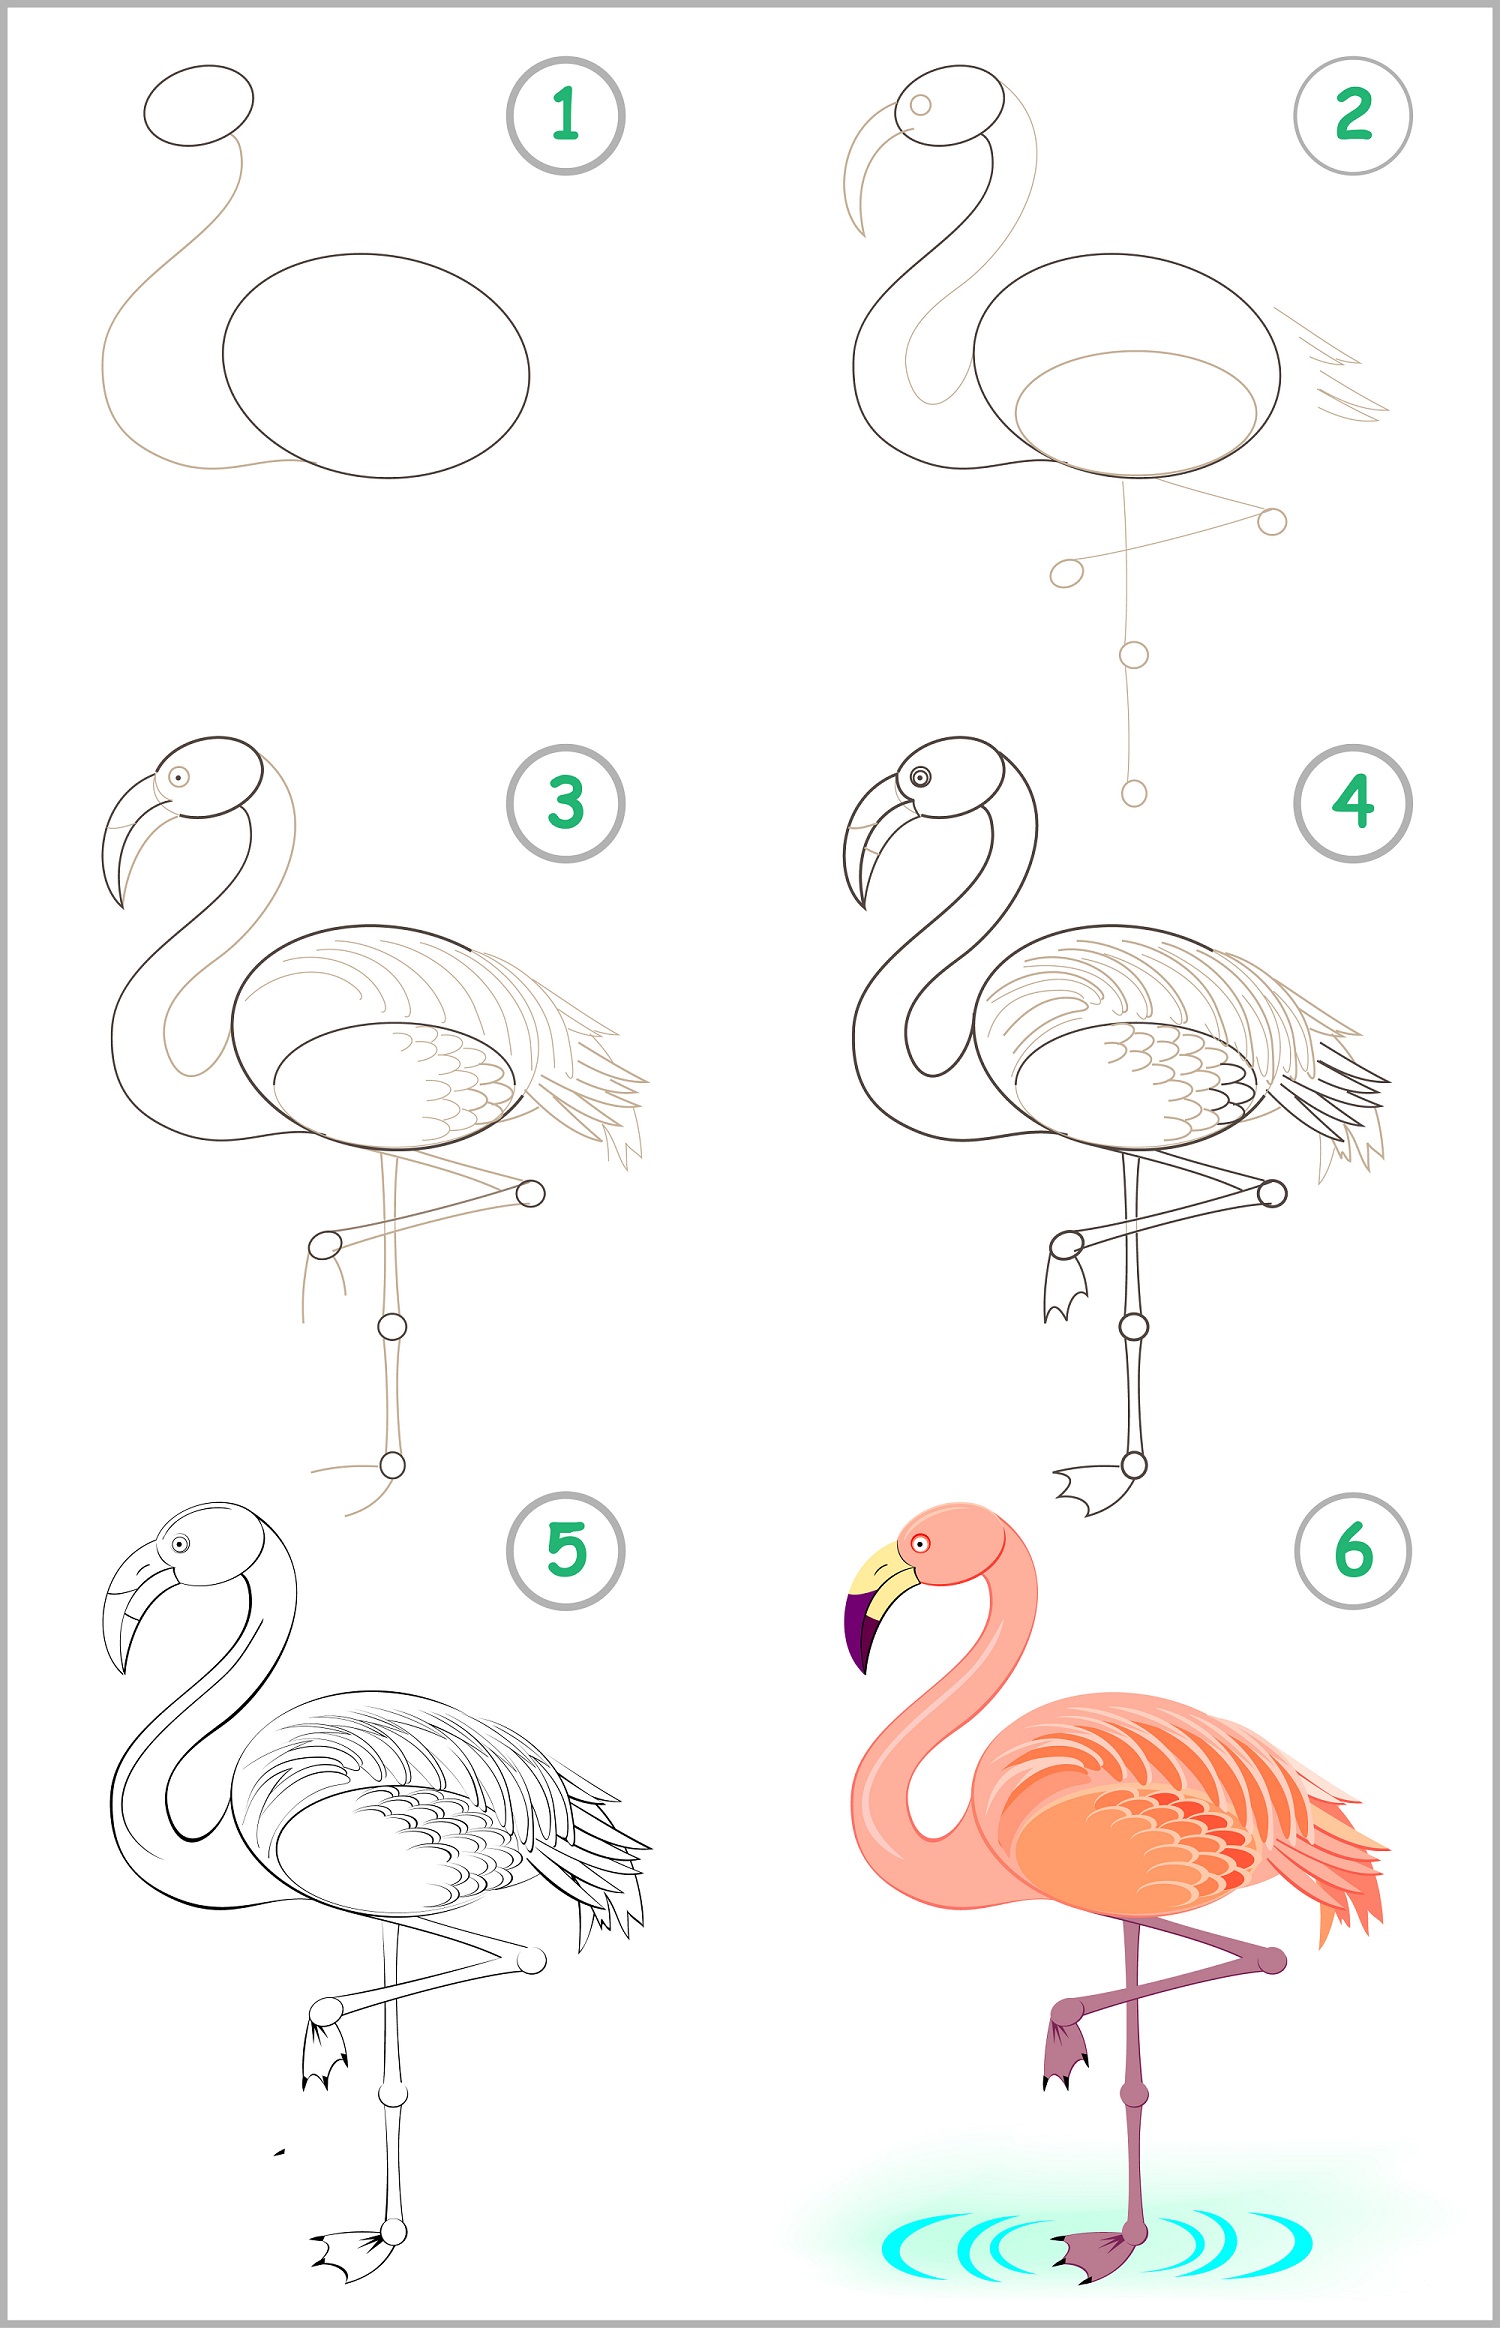
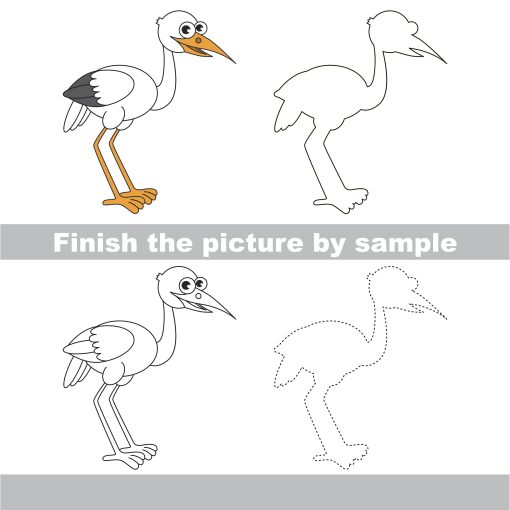
Step-By-Step Flamingo Drawing Tutorial
Are you interested in drawing a pink flamingo but don’t know where to start? Don’t worry, we’re here to help! Drawing a flamingo may seem difficult at first, but with the right instructions, you can create a beautiful flamingo.
Step 1 – Draw the Pink Flamingo’s Head
To begin, draw a small circle for the flamingo’s head. Then, draw a curved line from the bottom of the circle to the right, forming the beak’s base.
Step 2 – Draw the Pink Flamingo’s Beak
Draw the beak’s top by drawing a line from the beak’s base to the left, then down to form a triangular beak.
Step 3 – Draw the Pink Flamingo’s Eyes
Draw two small circles above the beak for the eyes. Then, draw a smaller circle inside each eye for the pupil.
Step 4 – Draw the Pink Flamingo’s Neck
Next, draw a long, curved line extending from the bottom of the head to form the neck.
Step 5 – Draw the Pink Flamingo’s Wings
To draw the wings, start by drawing a long line from the top of the neck to the right. Then, draw a smaller line from the bottom of the neck to the right, connecting it to the first line. Finally, draw several lines on the wing to show feathers.
Step 6 – Draw the Pink Flamingo’s Legs
Draw two long, thin legs extending from the bottom of the body. Then, draw a small triangle shape at the bottom of each leg for the outline of the feet.
Step 7 – Draw the Pink Flamingo’s Feathers
Draw several curved lines extending from the top of the body to show the feathers on the flamingo’s back.
Step 8 – Draw the Pink Flamingo’s Feet
To draw the flamingo’s toes, draw three long, thin lines extending from the bottom of the feet. Then, connect the lines with small curves to form the toes.
Step 9 – Add More Details to the Pink Flamingo
Now that you have the basic outline of the flamingo, you can add more details to make it look more realistic. Draw some lines on the beak to show texture, and draw some feathers on the body and wings.
Step 10 – Color the Flamingo Pink
Finally, it’s time to color your flamingo! Pink flamingos get their color from the food they eat, which contains a pigment called beta-carotene. You can use shades of pink, orange, and red to color your flamingo. Don’t forget to add some shading to make your drawing look more three-dimensional.
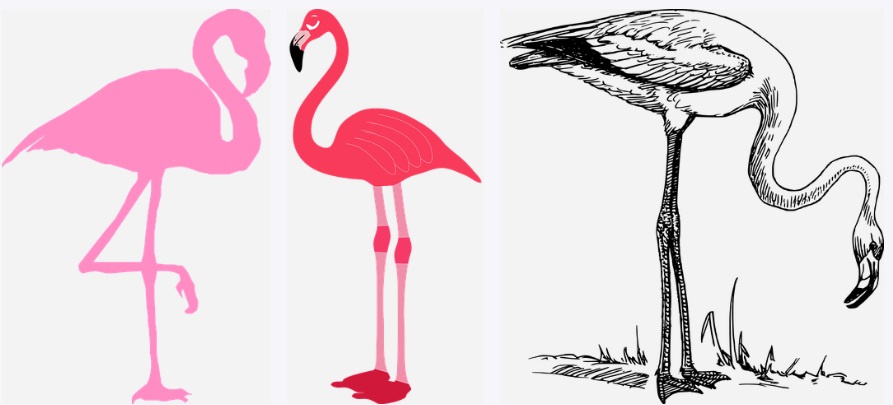
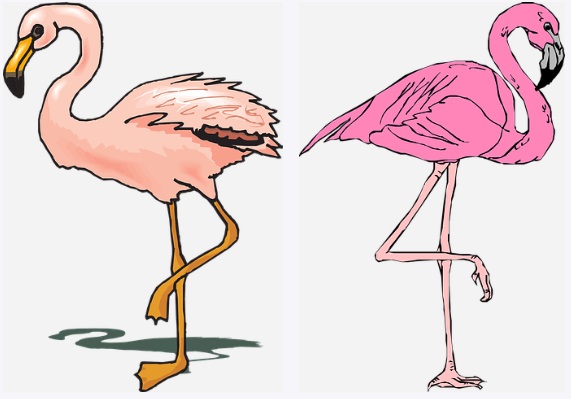
Tips for Drawing a Realistic Pink Flamingo
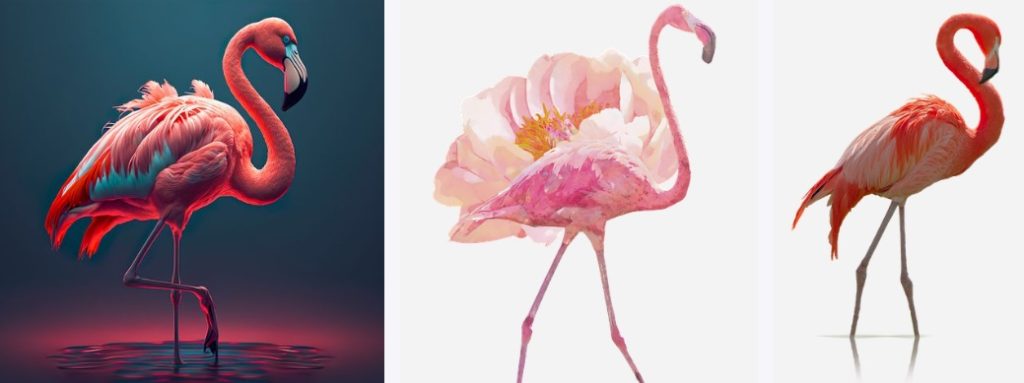
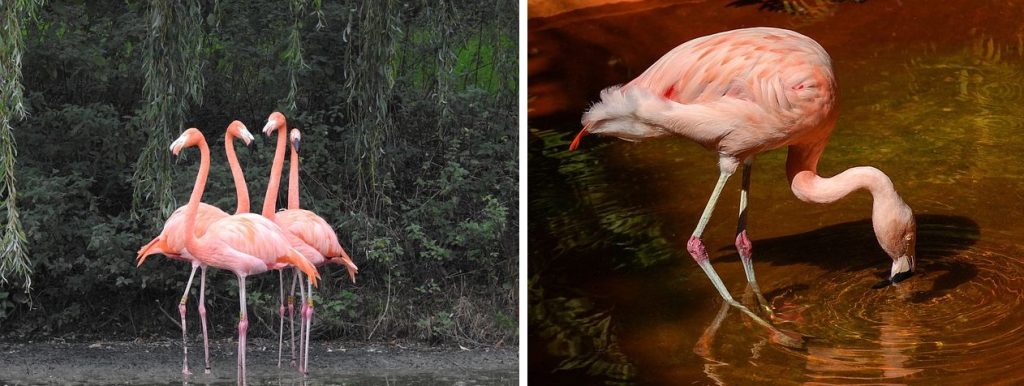
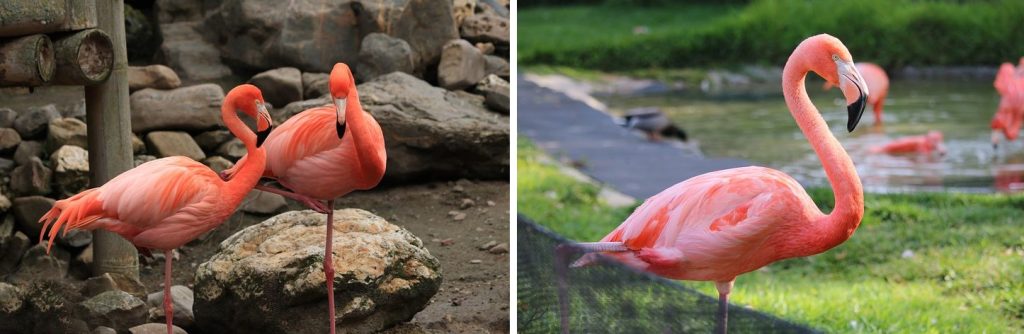
When drawing a pink flamingo, it is important to use reference images to understand the bird’s structure and proportions. Analyze the details of the flamingo, including its beak, neck, wings, and feathers. Once you have a basic outline, add in finer details such as the eyes, feather texture, and shading. To create a realistic pink color, use shades of pink, orange, and red, blending them together for a gradient effect. Pay attention to the way light falls on the flamingo, creating depth and form through careful shading. Practice is key to perfecting your technique, so keep experimenting until you achieve the desired result. By following these tips, you can create a realistic and detailed drawing of a pink flamingo.
In Summary
Drawing a pink flamingo may seem challenging, but with the right instructions, you can create a beautiful artwork that will make everyone go “wow!” Follow these step-by-step instructions, and you’ll be able to draw a pink flamingo like a pro.
We hope you enjoyed this guide on how to draw a pink flamingo. If you’re interested in more drawing tutorials, be sure to check out our website, where we have a wide selection of tutorials on various
