In this blog post, we’ll walk you through a step-by-step guide on ‘how to draw a lime’. Whether you’re a complete beginner or you’re looking to hone your drawing skills, this lime drawing tutorial is tailored just for you. Drawing a lime is not only a fun activity, but it’s also an excellent way to practice shapes, shading, and texture.
Step 1: Get Your Materials
Before we start, gather everything you need for this lime drawing lesson. Here’s what you’ll need:
- A piece of paper
- A pencil (HB or 2B are good for sketching)
- An eraser
- Colored pencils or crayons in shades of green (light and dark)
Step 2: Sketch the Basic Shape of a Lime
Start by drawing a circle for the basic shape of the lime. Unlike a lemon, a lime is rounder, so a perfect circle will do. This doesn’t have to be a perfect circle, just a simple sketch to start.
Step 3: Draw the Ends of the Lime
At the top and bottom of your circle, draw small, slightly elongated ovals. These ovals will represent the ends of the lime where it was attached to the tree and the opposite end. Limes have these slight indentations, giving them a more realistic look.
Step 4: Refine the Lime Shape
Connect the ovals with the circle to form the shape of the lime. The ovals should blend smoothly into the circle, giving the lime a slightly squished spherical shape. This makes the lime look more realistic.
Step 5: Add the Texture to your Lime’s Skin
Just like a lemon, a lime has a textured skin. To achieve this, lightly sketch small dots all over the lime. Also add a few tiny, curved lines to represent the lime’s natural skin pattern.
Step 6: Erase Any Extra Lines in your Lime Drawing
Now is the time to clean up your sketch. Use your eraser to remove any extra lines, especially from the initial circle that might still be visible. You should be left with a clean sketch of a lime.
Step 7: Color your Lime Drawing
Time to add some life to your sketch! Grab your light green colored pencil or crayon and color in your lime. Try to leave the small oval indentations uncolored for now.
Step 8: Add Shading
Using your darker green colored pencil, gently color the top and bottom of the lime near the small oval indentations to create some shadow and depth. This will give your lime a three-dimensional look. You can also lightly color the small indentations with this darker shade.
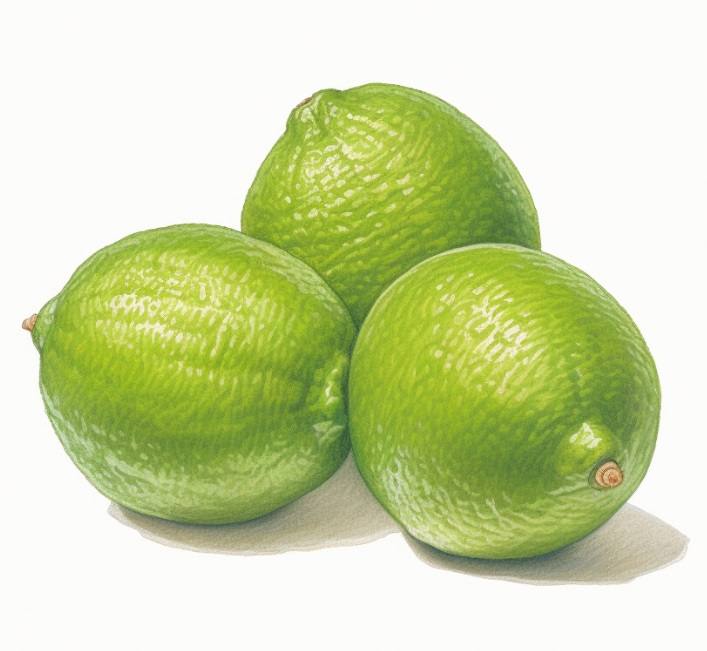
Lime Drawing
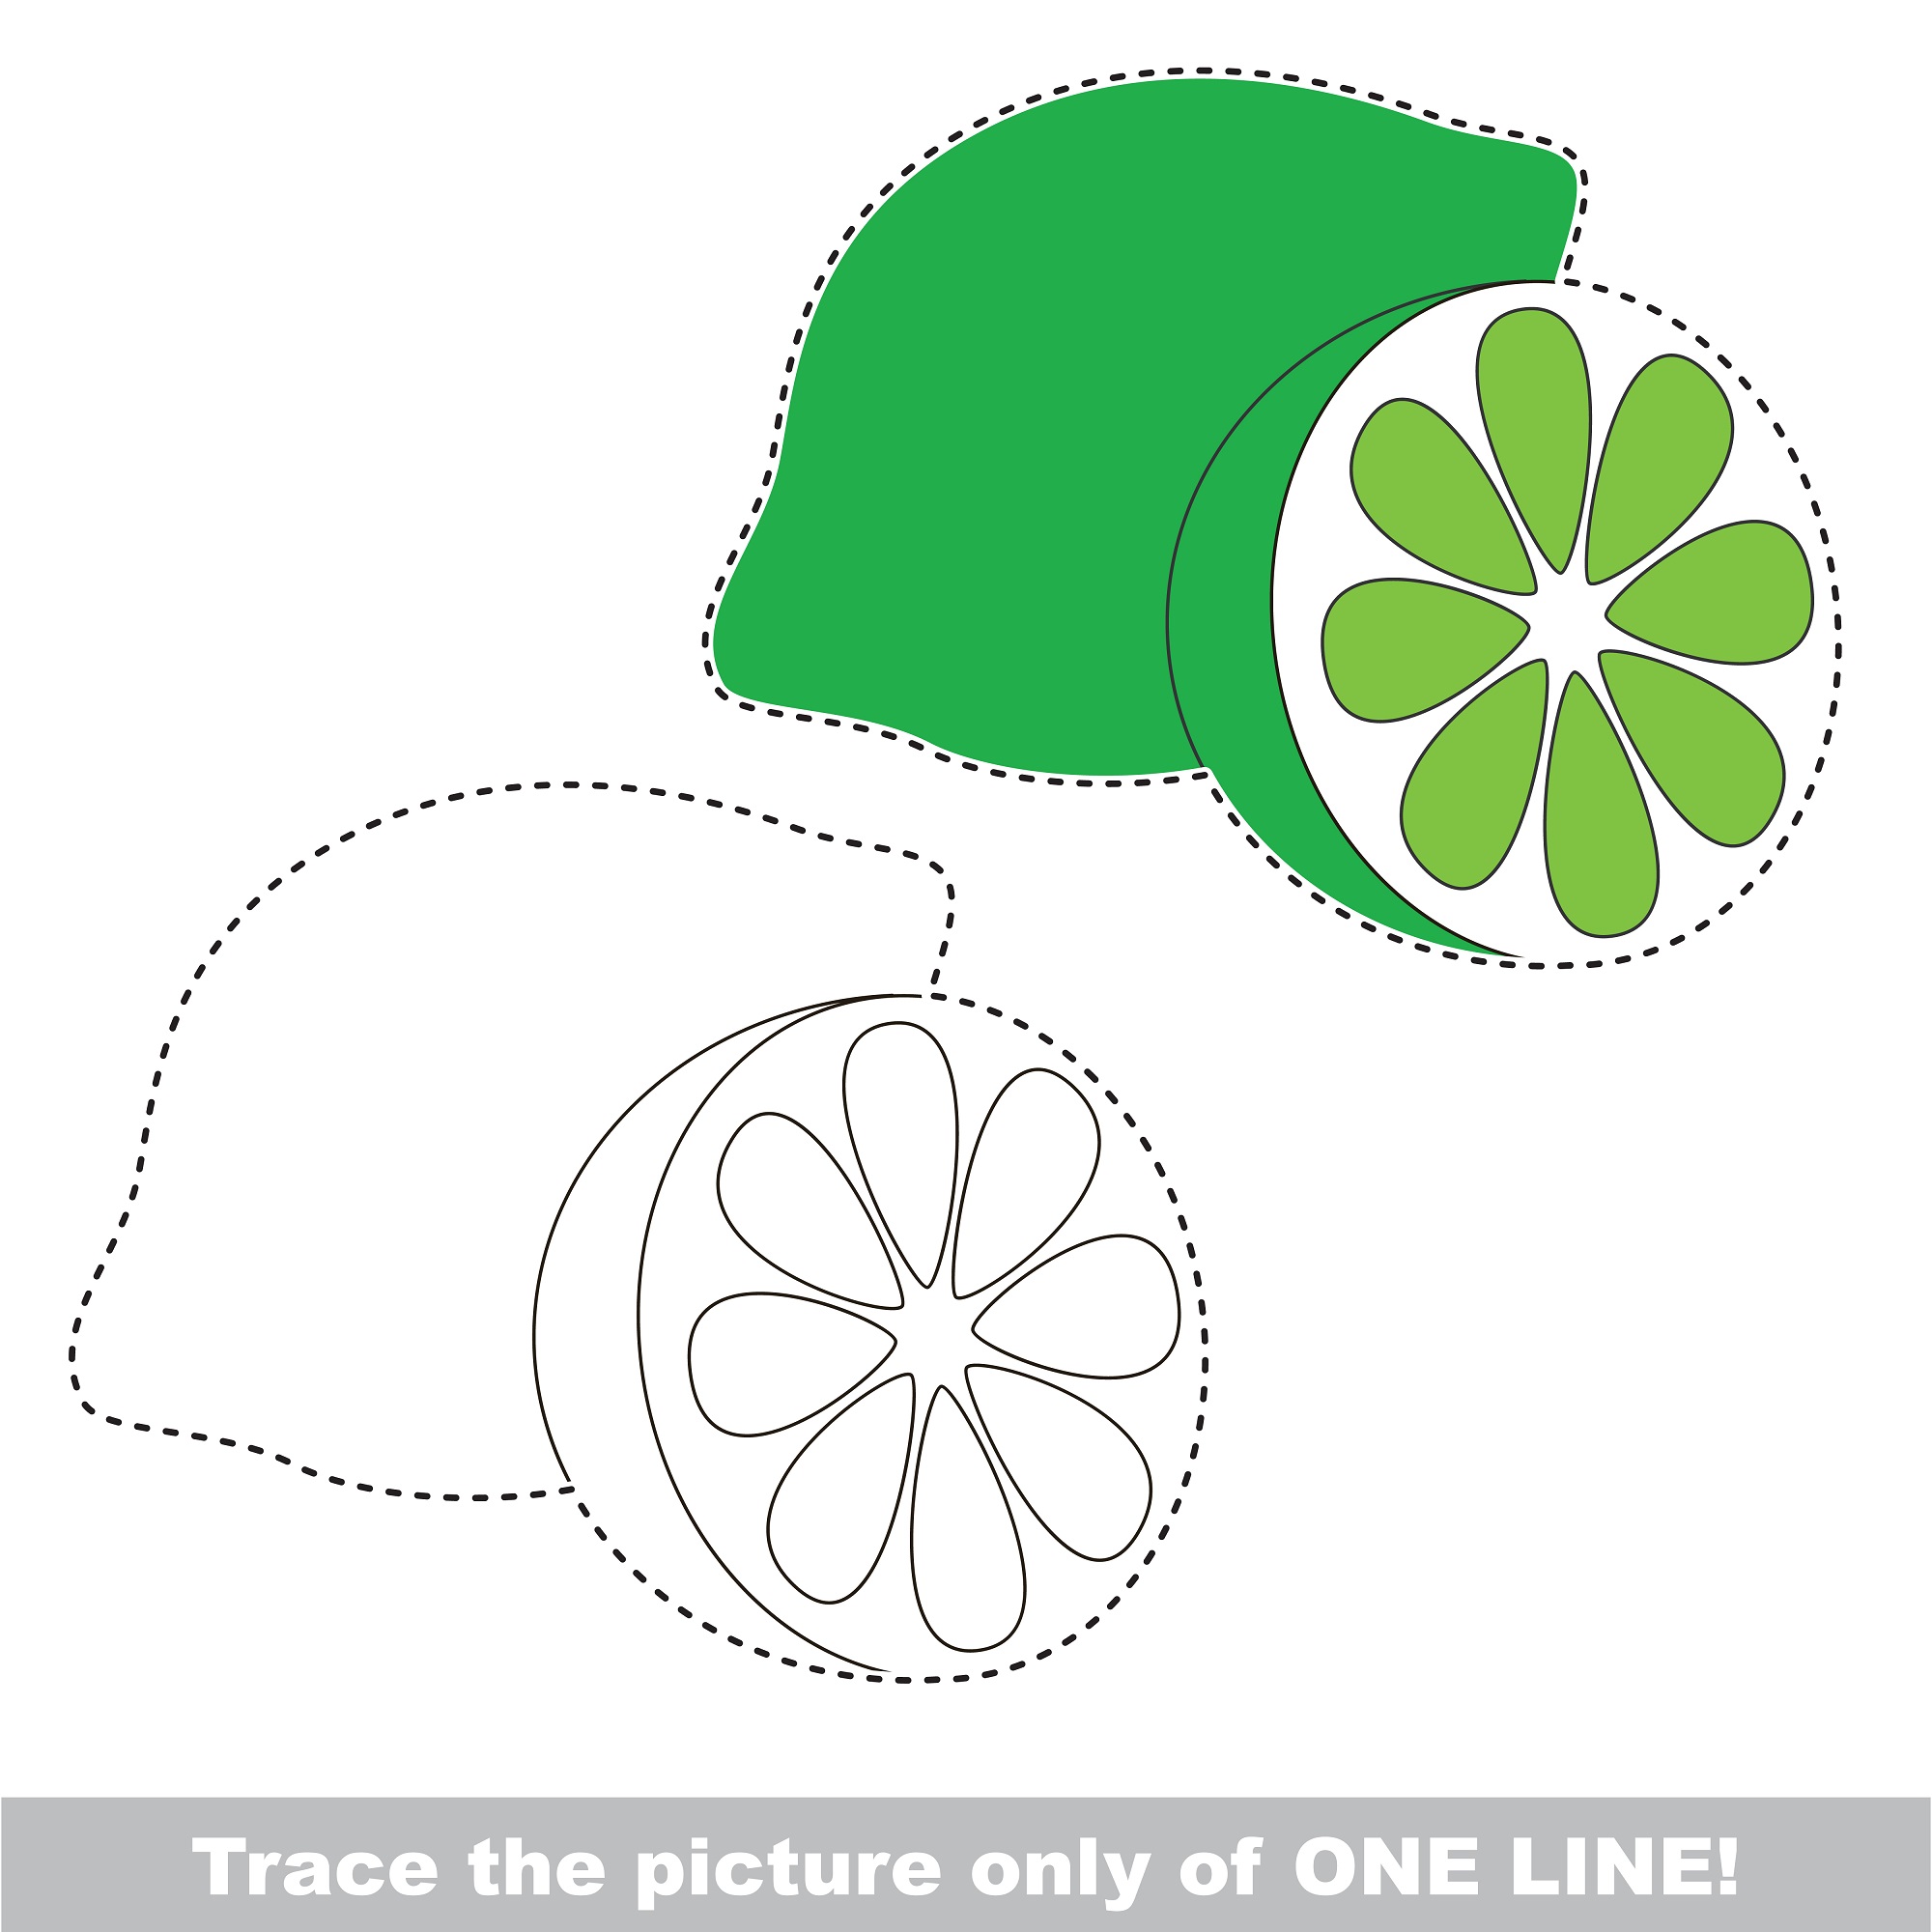
How to Draw a Lime Slice
Step 1: Draw the Basic Shape of a Sliced Lime
Begin by sketching a circle for the basic shape of your sliced lime. This doesn’t need to be perfect just yet, as we’ll refine it as we go along.
Step 2: Draw the Inner Circle to Show the Lime Peel
Inside the first circle, draw a smaller circle. This will serve as the boundary between the peel and the juicy part of the lime. Ensure there is a good amount of space between the two circles to create the thickness of the lime’s rind.
Step 3: Draw the Inner Lime Segments
Within the inner circle, start drawing lines radiating outwards from the center, similar to the spokes of a bicycle wheel. These lines will represent the segments of the lime. Give these lines a slight curve to add depth and realism to your drawing.
Step 4: Add the Seeds (optional)
Limes can have seeds too, so let’s represent that in our drawing. In a few of the segments, sketch small oval shapes for the seeds.
Step 5: Erase Any Unnecessary Lines
Now, clean up your sketch. Using your eraser, remove any lines that are not needed, such as the original circle outlines within the segments or any additional marks outside the lime shape. You should be left with a neat outline of a sliced lime.
Step 6: Color the Lime Slice
Now comes the fun part – coloring! Use your light green colored pencil or crayon to color in the segments of your lime. Then, color the rind (the space between the two circles) with a darker shade of green.
Step 7: Add Some Details and Shading
With your white colored pencil or crayon, add a touch of shine to the lime. Draw a few curved lines along the segments – this will make your lime appear juicy! Also, color the seeds with a light brown color. To give your lime slice a three-dimensional appearance, use a darker shade of green to lightly color near the edge of the outer circle, creating a shadow effect.
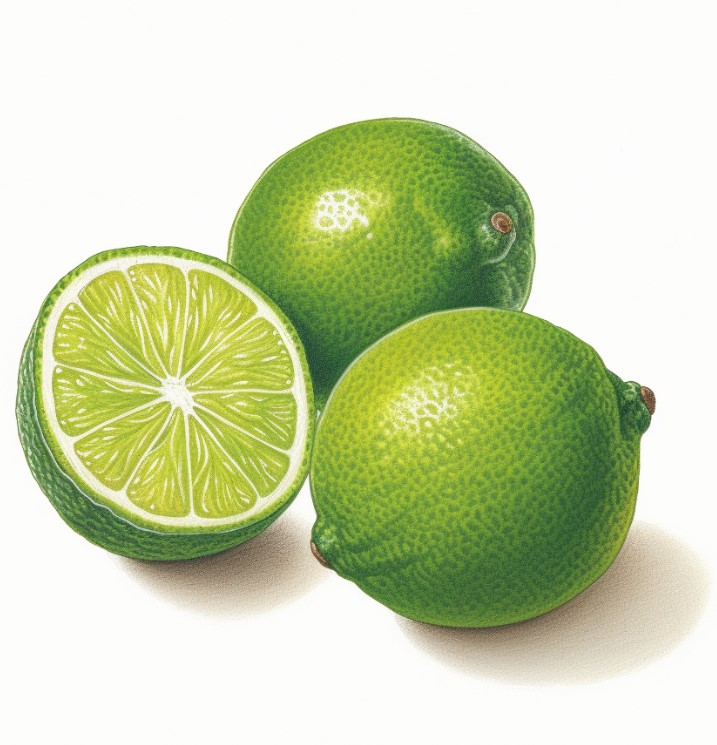
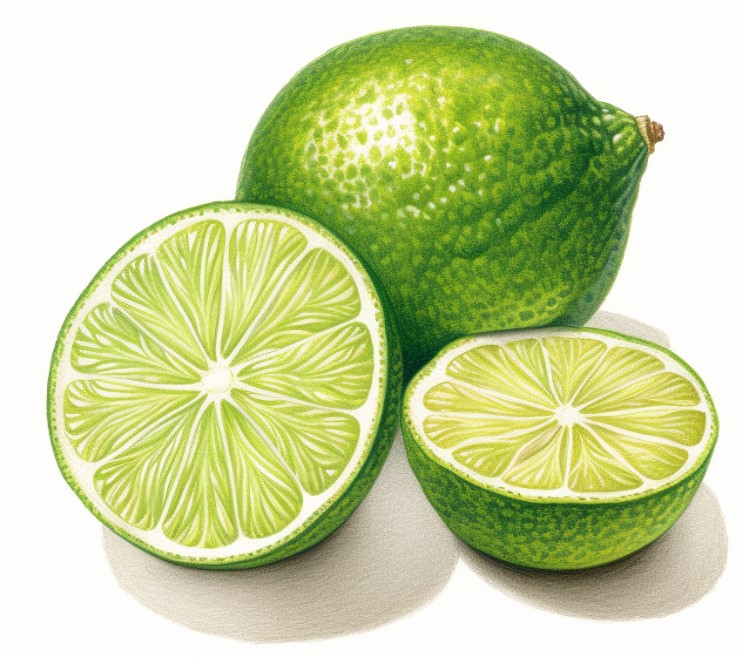
Drawing of a Lime Sliced and Whole Lime
FAQs for Drawing a Lime
What is a lime?
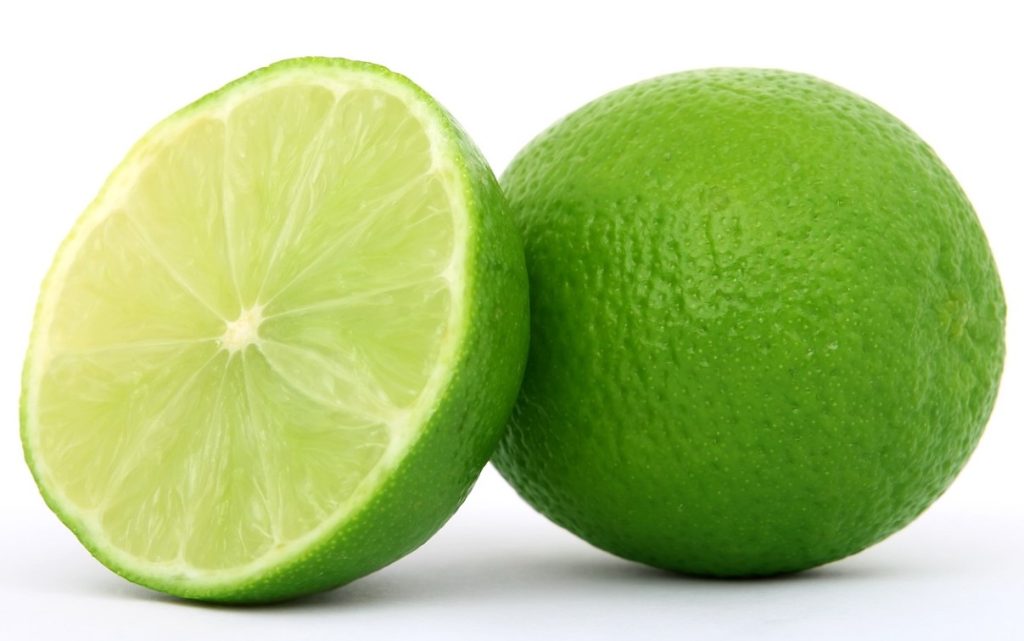
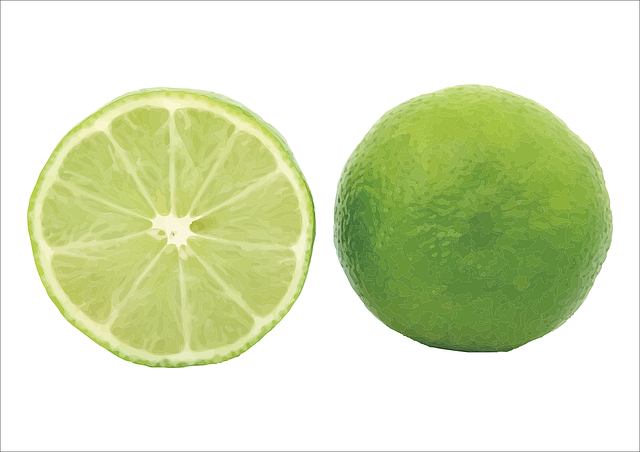
A lime is a small, round citrus fruit known for its acidic and tart flavor. They are green in color and commonly used in various cuisines around the world to enhance the flavor of dishes and beverages.
How can kids draw a lime easily?
Kids can easily draw a lime by beginning with a basic circular shape, adding slight oval indentations at the top and bottom for a more realistic look. They can then add texture by sketching small dots and curved lines over the lime’s surface. Coloring the lime with light and dark green crayons or pencils will bring the lime drawing to life.

What color is a lime?
A lime is usually a shade of green, varying from light to dark. The specific color can depend on the variety of the lime and its level of ripeness.
What does a lime look like?
A lime is typically round and small, with a slightly bumpy textured skin. It has slight indentations at the top and bottom where it was attached to the tree and its opposite end. Inside, a lime is divided into segments filled with a tart, acidic juice.
Who should draw a lime?
Anyone who is interested in drawing, especially beginners and kids, can try drawing a lime. It’s a relatively simple shape to draw, making it a good starting point for beginners. Additionally, learning to draw a lime provides a great opportunity to practice shading and texture in a drawing.
How to Draw a Lime Videos
Video #1
Video #2
Conclusion
And there you have it, a comprehensive guide on ‘how to draw a lime’. We hope you found this lime drawing tutorial helpful and inspiring! Remember, the key to improving your drawing skills is practice, so don’t worry if your first lime doesn’t turn out perfect.
