Follow our easy tutorial and you will have your own orange drawing! This is a great instructional article to teach kids how to draw an orange.
Drawing is a great way for kids and beginners to express their creativity and develop their artistic skills. In this article, we will learn how to draw an orange step-by-step, starting with the basic outline and gradually adding details to create a realistic-looking orange. So grab your pencils and let’s get started!
Materials Needed to Draw an Orange:
Before we begin, let’s gather the materials we will need for this drawing tutorial. You will need:
- Drawing paper
- Pencils (preferably HB and 2B)
- Eraser
- Sharpener
- Colored pencils (optional)
Make sure you have all the materials ready before we dive into the step-by-step process.
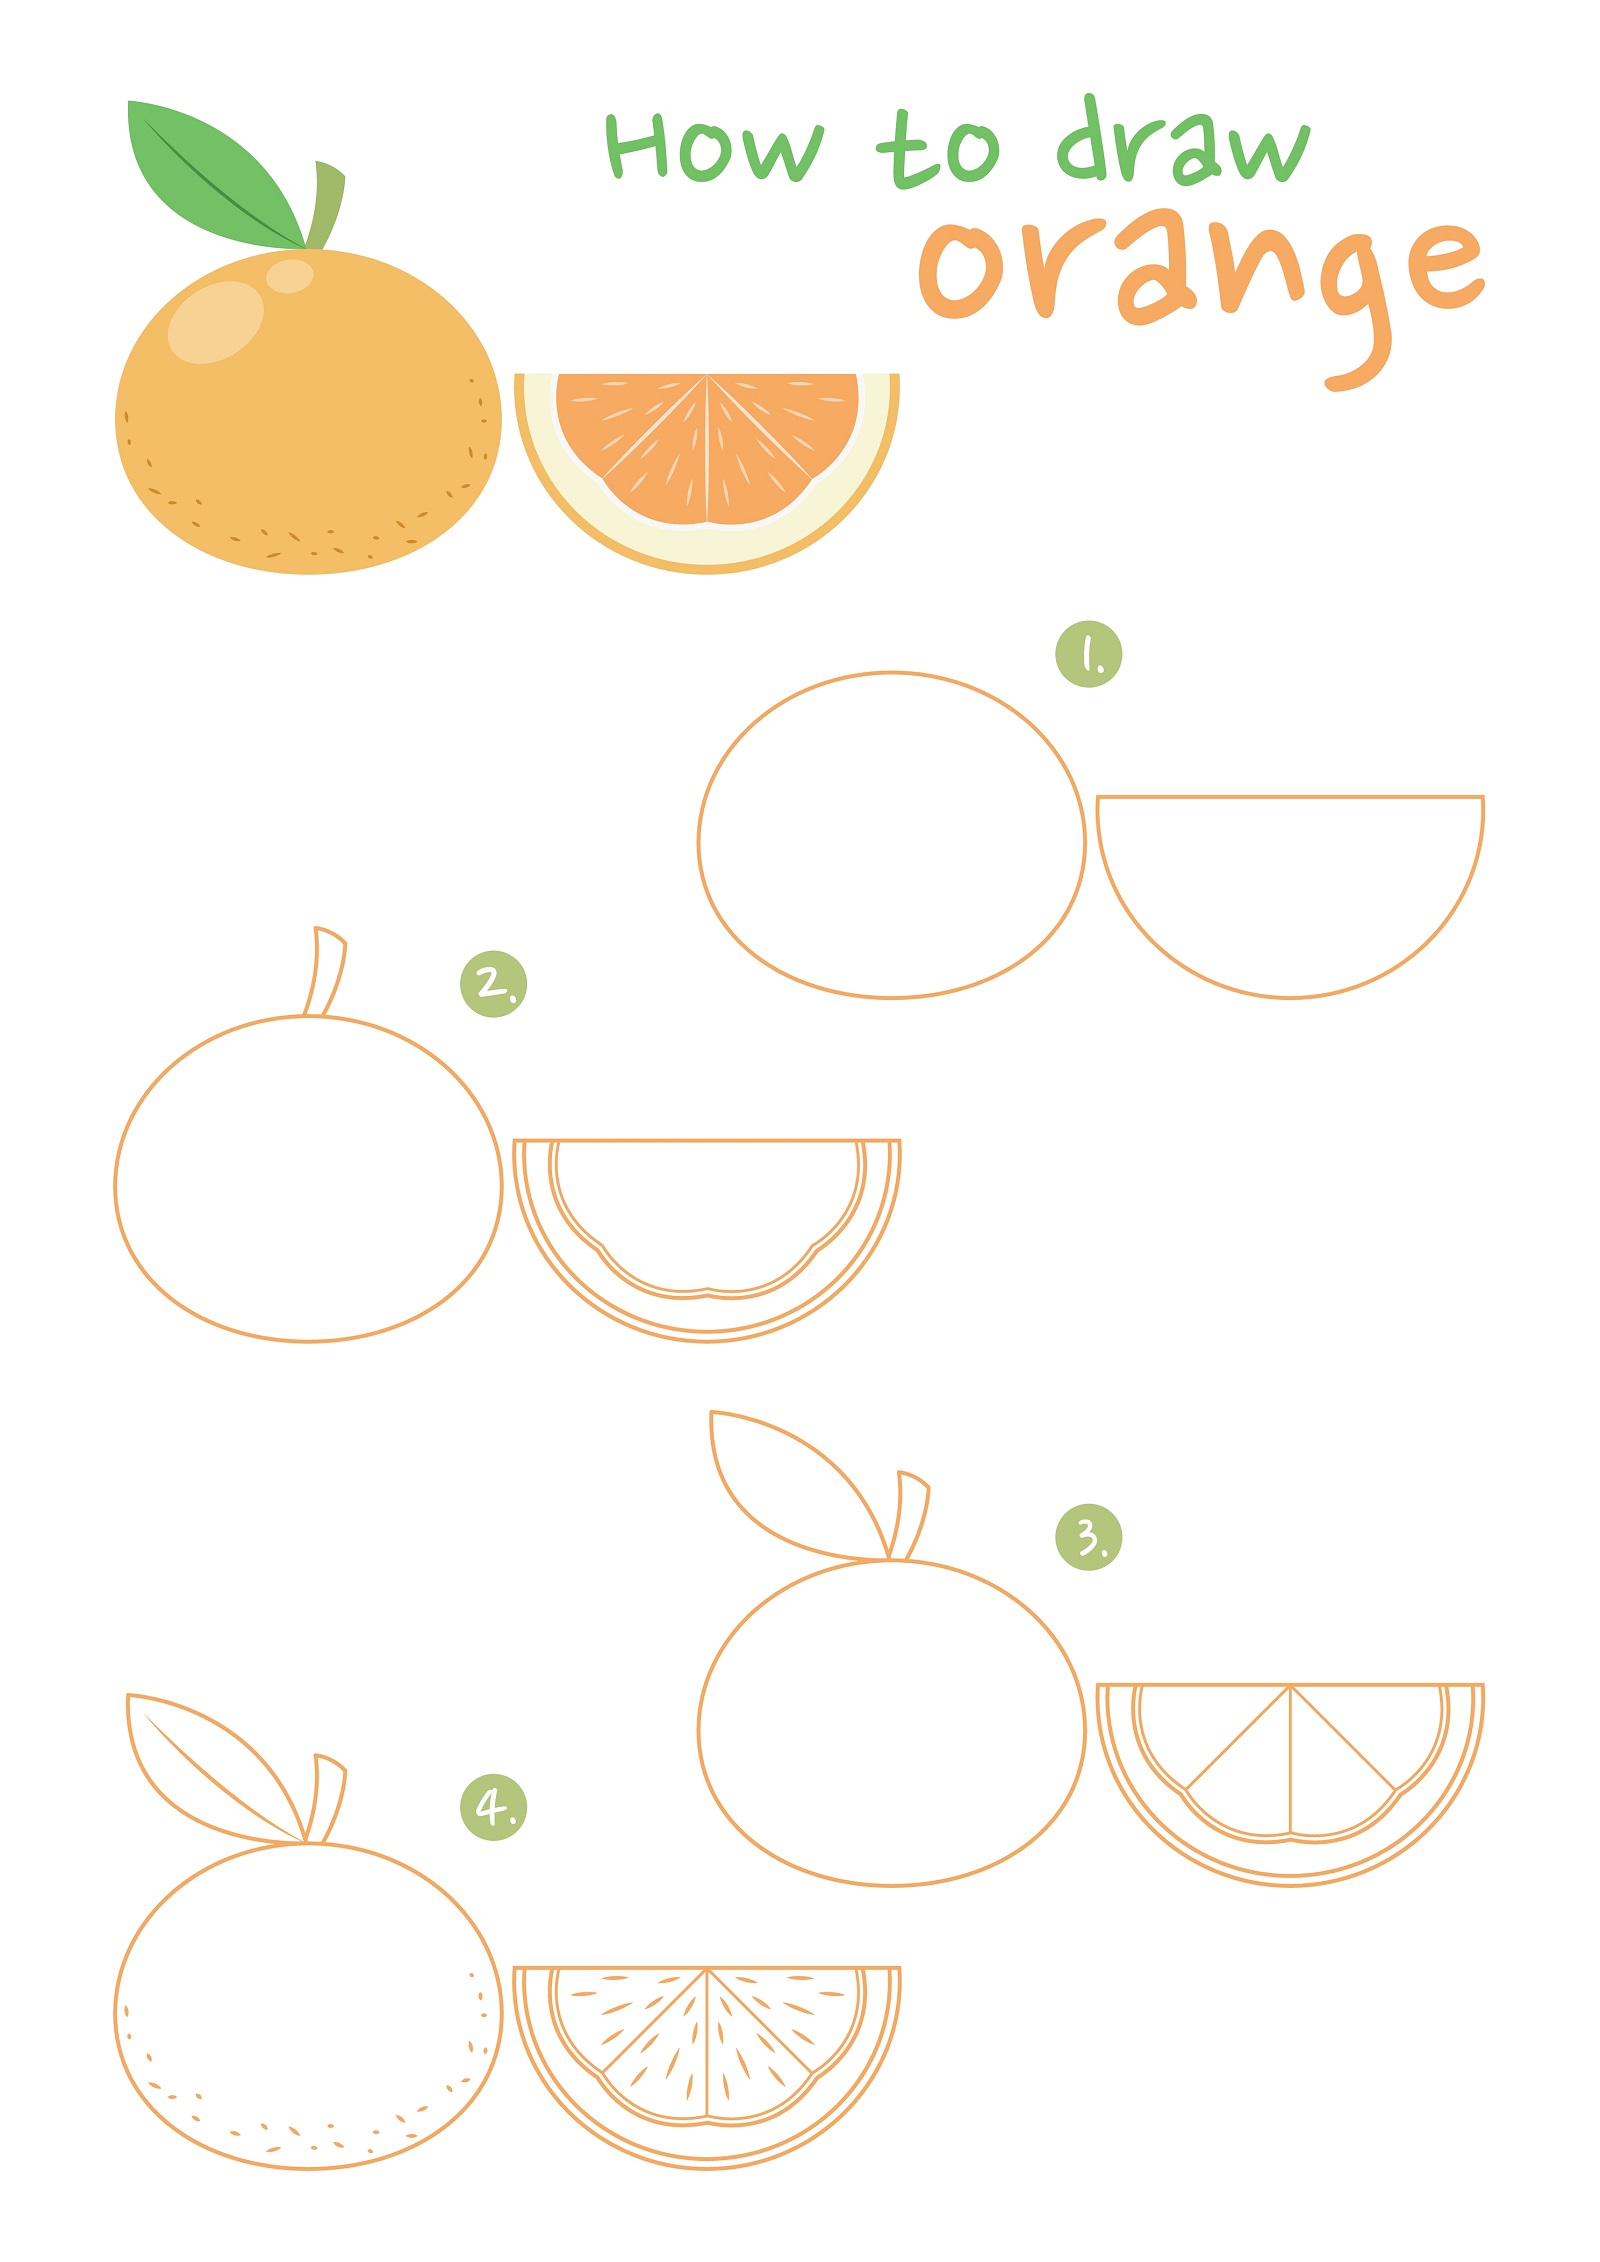
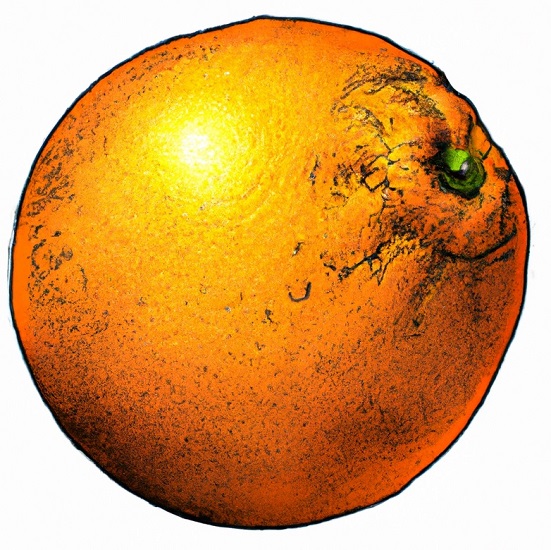
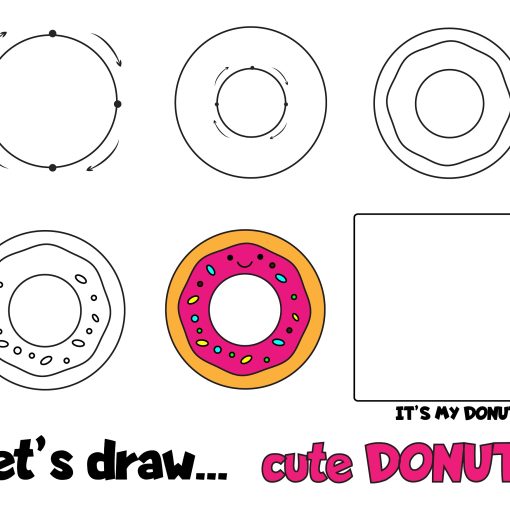
Step 1: Drawing the Outline of an Orange
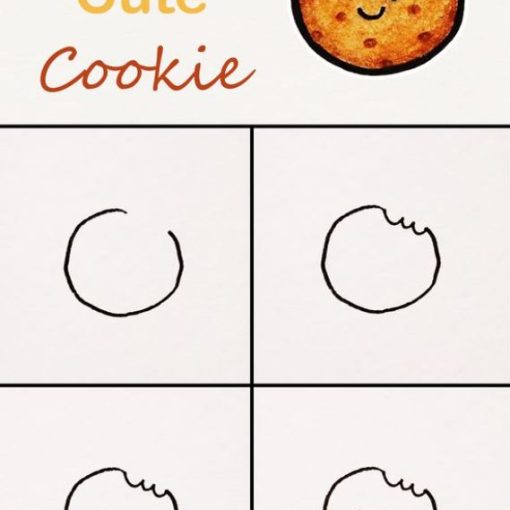
To start drawing an orange, we will first create a basic outline. Begin by drawing a small circle in the middle of your paper using an HB pencil. This will be the base of our orange. Next, draw a larger circle around the first circle to create the outer shape of the orange. Keep the lines light and sketchy, as we will be refining the drawing later on.
Step 2: Adding Details to Your Orange Drawing
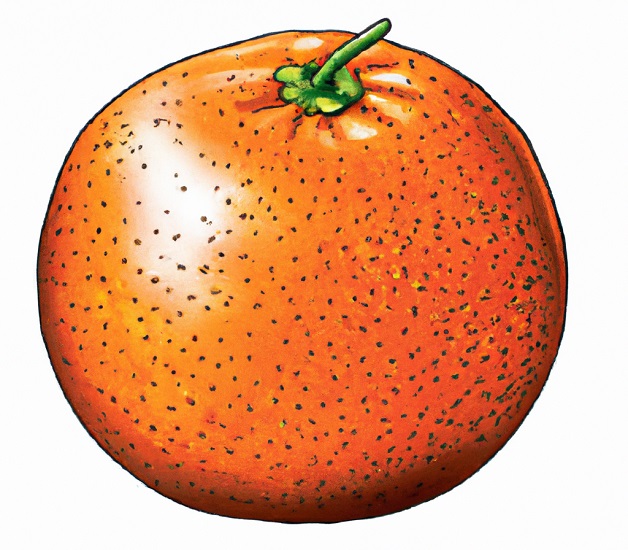
In this step, we will add some details to our orange drawing to make it look more realistic. Start by drawing a small stem at the top of the orange. You can also add a few small bumps on the surface of the orange to give it a textured appearance. Don’t worry about making it perfect, as oranges come in various shapes and sizes.
Step 3: Coloring the Orange
Now that we have the basic outline and details in place, it’s time to add some color to our orange. Start by using a light orange colored pencil to shade the entire orange, leaving the stem and the bumps uncolored. Next, use a darker orange pencil to add shading and depth to the orange, focusing on the areas where the light would hit and the shadows would form. Use light, circular motions to blend the colors and create a smooth transition between the light and dark areas.
Step 4: Adding Shadows and Highlights to Your Orange Drawing
To make our orange drawing look more realistic, we need to add some shadows and highlights. Use a dark brown pencil to add shadows to the stem and the areas where the orange meets the surface it’s resting on. Use a white pencil or an eraser to add highlights to the top of the orange and the areas where the light hits the orange the most. This will give our drawing a three-dimensional appearance and make it look more lifelike.
Step 5: Adding Final Touches to Your Orange Drawing
In this step, we will add some final touches to our orange drawing to make it stand out. You can use a dark green pencil to add some leaves to the stem of the orange, or you can simply shade the stem with a dark brown pencil to make it look more realistic. You can also use colored pencils to add some additional details to the orange, such as the texture on the skin or the spots that oranges often have. Be creative and have fun experimenting with different colors and techniques to make your orange drawing unique.
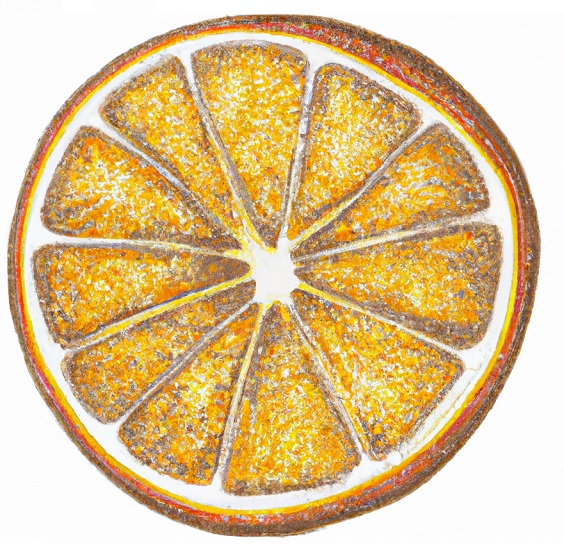
How to Draw an Orange Slice
Step 1: Draw the Basic Shape of an Orange Slice
Start by drawing a circle in the middle of your paper to represent the outer edge of the orange slice. Use light pencil strokes so that you can easily erase and make adjustments later. You can use a compass or trace around a circular object if you need help with creating a perfect circle.
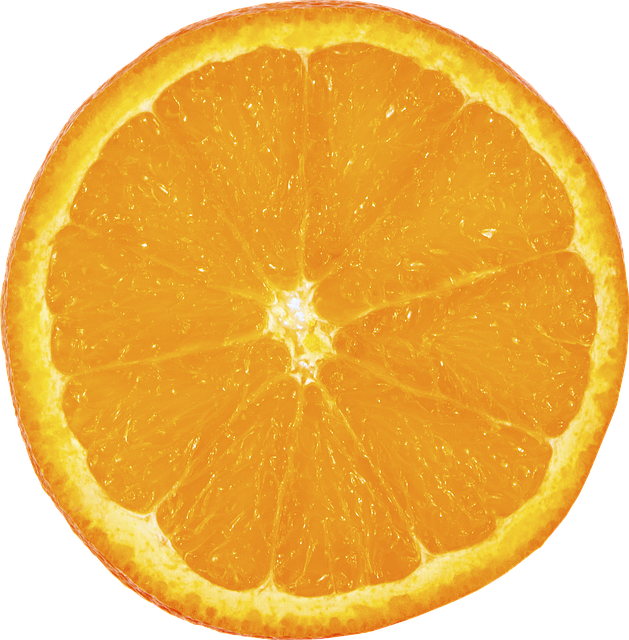
Step 2: Add the Details to Your Orange Slice
Next, add the details of the orange slice. Draw a curved line from the top of the circle to the bottom, following the shape of an orange slice. Then, draw another curved line from the bottom of the circle to the top, intersecting the first line and forming the center of the orange slice. These lines will represent the sections of the orange.
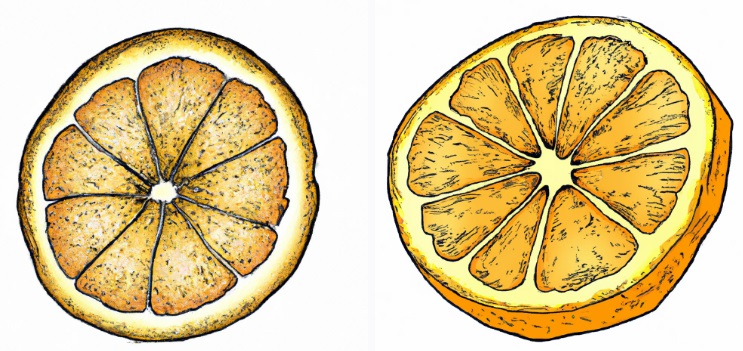
Step 3: Shade the Orange Slice
Now it’s time to add shading to make your orange slice look three-dimensional. Start by shading the outer edge of the circle with a light pencil, gradually darkening it towards the center. Use short, curved lines to mimic the texture of an orange’s skin. Then, shade the sections of the orange with a darker pencil, following the curved lines you drew earlier. Blend the shading with a blending tool or a tissue for a smooth transition.
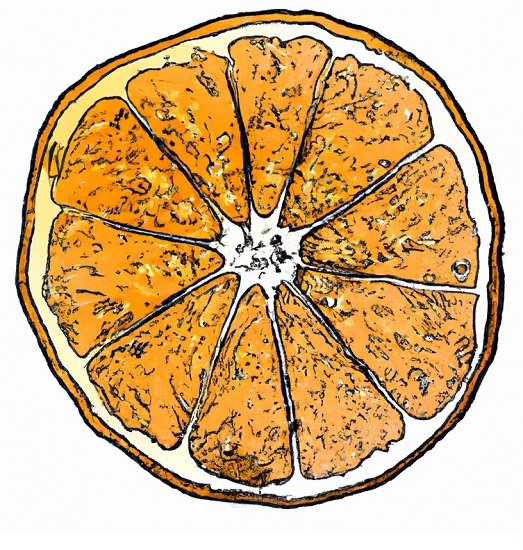
Step 4: Add Highlights to Your Orange Slice
To make your orange slice look even more realistic, add highlights using an eraser. Carefully erase small areas on the outer edge of the circle and on the sections of the orange to create highlights where the light hits the surface. This will give your orange slice a shiny and juicy appearance.
Tips for Drawing an Orange
- Start with light pencil strokes and gradually build up the details and shading as you go.
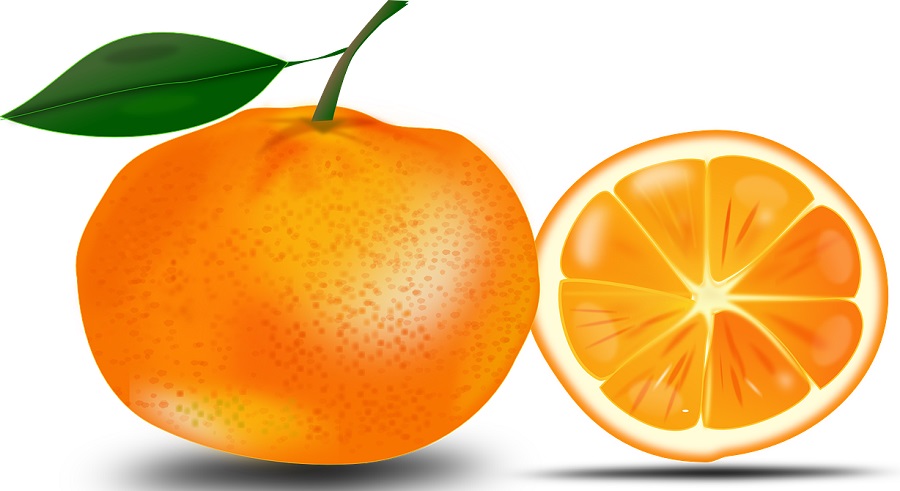
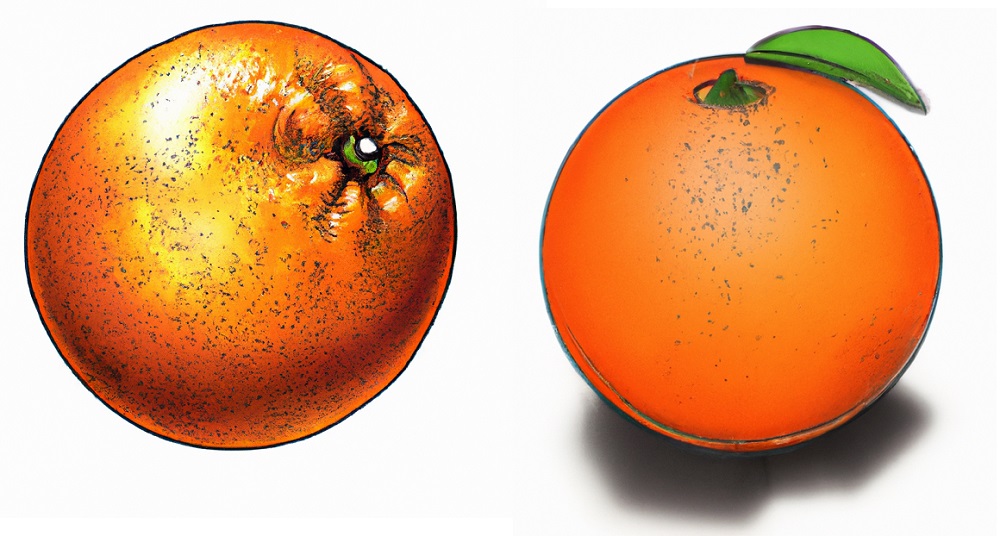
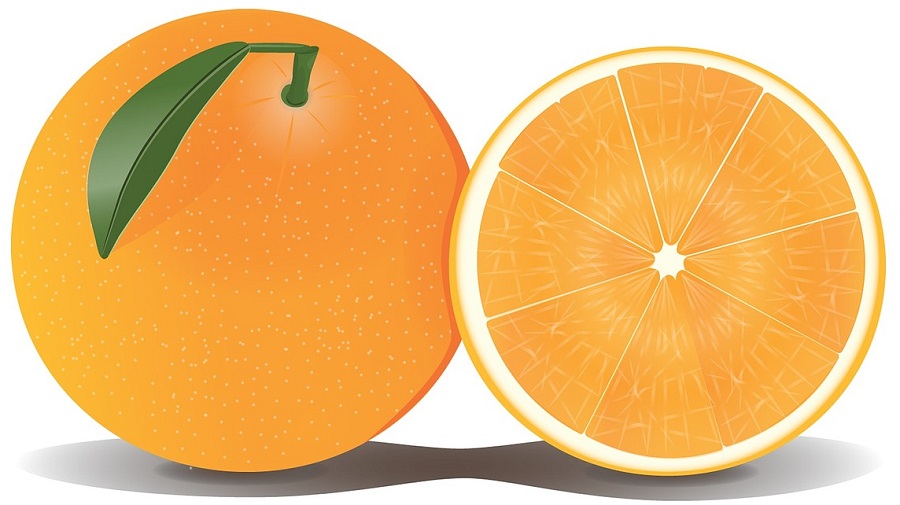
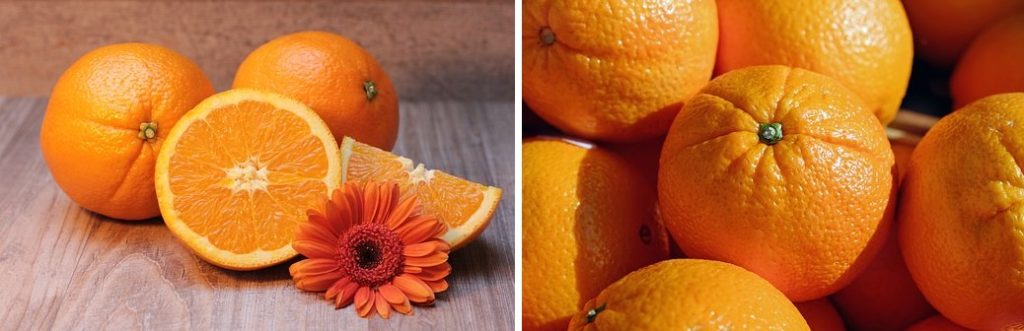
- Observe real oranges or reference images to get an idea of the shape, texture, and colors.
- Practice basic shapes and shading techniques to improve your drawing skills before attempting the orange.
- Don’t be afraid to make mistakes. Drawing is a skill that improves with practice, so keep trying and learning from your errors.
- Experiment with different pencils, colors, and techniques to add depth and character to your orange drawing.
- Take breaks and step back to view your drawing from a distance to assess the overall proportions and balance.
Common Mistakes to Avoid When You Draw an Orange
- Pressing too hard with your pencils, which can result in dark and harsh lines that are difficult to erase.
- Neglecting to blend the colors and shading, resulting in a flat and unrealistic appearance.
- Not paying attention to the shape and proportions of the orange, leading to an inaccurate representation.
- Skipping the step of adding shadows and highlights, which can make the drawing look two-dimensional.
- Being too critical of your work and not enjoying the process of learning and improving.
Orange Drawing FAQs:
I answered some common questions you may have below. Drawing fruit can be challenging, especially getting textures right. Keep in mind that most oranges look different and there are variations in different shapes and sizes.
Can I use markers or crayons instead of pencils for this drawing?
Yes, you can use markers or crayons to draw an orange as well. Just make sure to adjust your techniques accordingly and experiment with different colors and textures to achieve the desired effect.
How long does it take to master drawing an orange?
The time it takes to master drawing an orange or any other subject depends on your individual learning pace and practice frequency. With consistent practice and dedication, you can see significant improvement over time.
Can I add a background to my orange drawing?
Yes, you can add a background to your orange drawing to make it more visually appealing. You can draw a table, a plate, or any other setting that complements your orange drawing.
What other fruits can I draw using similar techniques?
You can use similar techniques to draw other fruits like apples, bananas, grapes, or berries. Just observe the unique features and shapes of each fruit and adjust your drawing accordingly.
Can I sell my orange drawing or use it for commercial purposes?
As an artist, you have the right to sell your original artwork, including your orange drawing, or use it for commercial purposes. However, it’s important to be aware of copyright laws and obtain necessary permissions if you plan to use any reference images or incorporate copyrighted elements.
In Summary
Drawing an orange step-by-step can be a fun and rewarding experience for kids and beginners. By following the outlined steps, practicing regularly, and experimenting with different techniques, you can create a realistic and unique orange drawing. Remember to be patient with yourself, enjoy the process, and keep honing your skills. So grab your drawing materials, get creative, and start drawing some juicy oranges!
