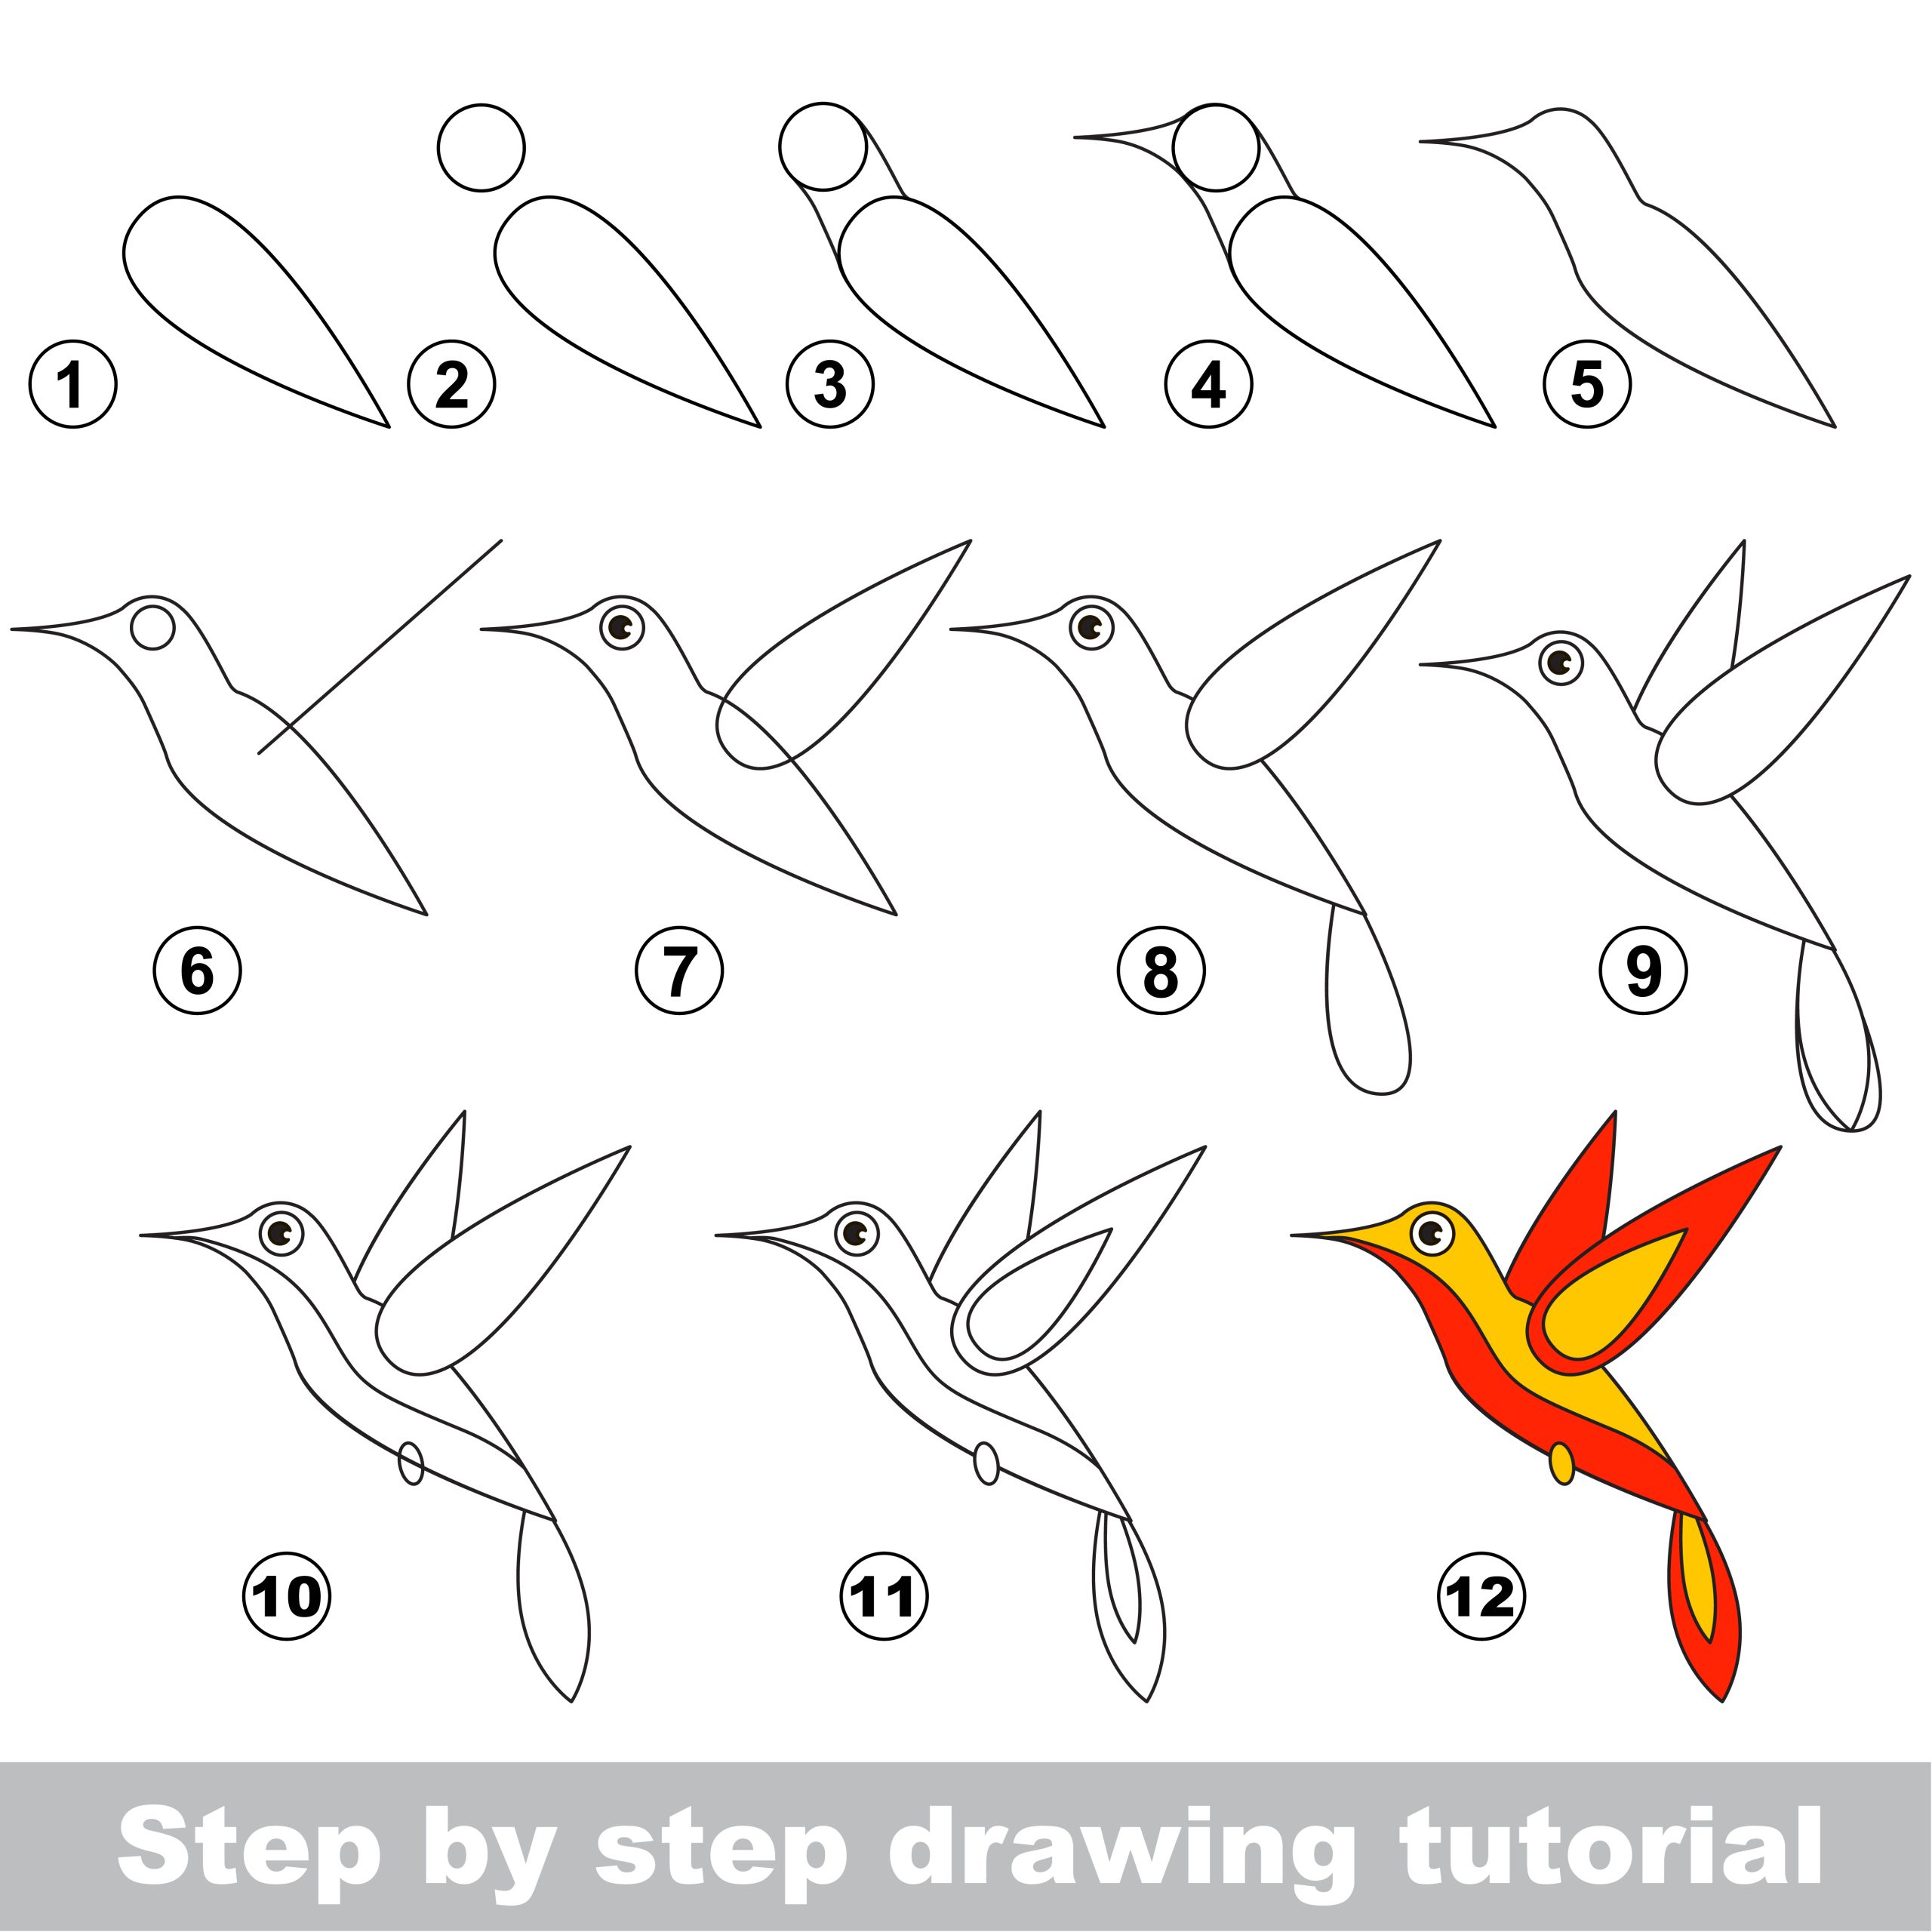
First, draw a diagonal oval shape for the body that has a rounded top and a pointed bottom. The body of the hummingbird is shaped similarly to a carrot with a point at the bottom. Next, draw a round shape for the head at the top of your oval and connect it to the body. After that, draw the beak by drawing a long pointed triangle. Hummingbirds are known for having long pointed beaks. After that, draw the wings on the side of the body by using two diagonal-shaped ovals that come to a point. Draw the tail of the hummingbird at the bottom of the body with another oval shape. You can finalize the bird by adding some more details to the stomach of the body, the wings, and the tail. Last but not least, color in your hummingbird.
Step-By-Step Hummingbird Drawing Tutorial
This tutorial is designed to teach kids and beginners how to draw a hummingbird from scratch, step by step. No prior drawing experience is necessary. By following the steps in this tutorial, anyone can learn how to draw a beautiful hummingbird.
Materials Needed
The required materials for this tutorial include a pencil, eraser, paper, and some coloring materials such as colored pencils, markers, or crayons.
Step 1 – Start by drawing a small circle for the head of the hummingbird.
Begin by lightly drawing a small circle at the top center of the paper. This circle will serve as the base for the head. Keep in mind that this circle should be smaller than the oval shape that will make up the body of the hummingbird.
Step 2 – Draw a larger oval shape for the body of the hummingbird, slightly overlapping with the head.
Below the head, draw a larger oval shape to make the body of the hummingbird. The bottom of the oval should be slightly wider than the top, as it tapers down to the tail. Make sure the top of the oval slightly overlaps with the bottom of the head circle.
Step 3 – Add a small thin triangle shape for the beak, pointing downwards from the head.
Below the head, draw a small triangle shape pointing downwards. The triangle should be in the center of the circle and should be just a bit shorter than the head circle. The triangle should come to a point, but with a slightly curved end to suggest the beak.
Step 4 – Draw two small circles for the eyes, above the beak.
Draw two small circles, one on either side of the head circle, slightly above the beak. The circles should be equal in size and should be about a third of the size of the head circle. Leave a small space between the circles and the beak.
Step 5 – Add a curved line connecting the head and the body, creating the back of the hummingbird.
To connect the head and the body, draw a curved line that slopes down and outwards from the back of the head circle. The line should then curve inwards and then back out to meet the top of the oval body shape.
Step 6 – Draw two short lines on each side of the body, slightly below the head, to create the wings.
Draw two short lines on each side of the body, about halfway down the oval shape. The lines should be angled upwards slightly and should be about a third of the length of the oval body shape. These lines will make up the wings of the hummingbird.
Step 7 – Add a longer line below the body, slightly curved, for the tail of the hummingbird.
Below the body’s oval shape, draw a long line that curves upwards and slightly to the left. This line should be roughly the same length as the body shape and should curve to a point. This line will make up the tail of the hummingbird.
Step 8 – Draw small feathers on the wings and tail, by adding small lines perpendicular to the main lines.
To give the wings and tail a feathered appearance, add small lines perpendicular to the main lines. These lines should be evenly spaced and should start from the main lines and curve outward. Be careful not to add too many feathers, as this can make the drawing look cluttered.
Step 9 – Add details to the face of the hummingbird, such as the iris, pupil, and a small line above the eye for the eyebrow.
Add details to the hummingbird’s face to give it a more lifelike appearance. Draw a small black circle for the iris of each eye, and add a smaller white circle for the pupil. Above each eye, draw a small curved line to suggest the eyebrow. Add a small line to the beak to suggest the mouth.

Step 10 – Add More Detail to your Hummingbird Drawing and Final Touches
Once you’ve finished coloring in the hummingbird, it’s time to add the finishing touches. Use the eraser to clean up any lines or shapes that don’t look quite right. You can also use the pencil to add some shading and texture to the feathers. This will add more depth and realism to your drawing.
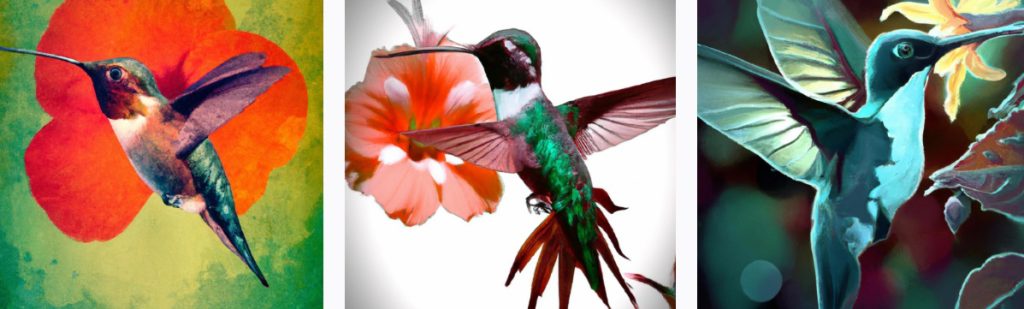
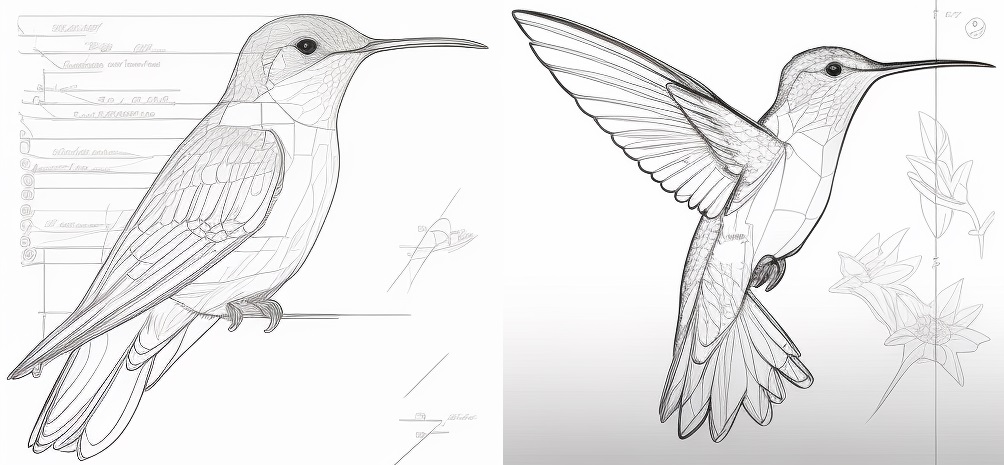
Hummingbird Drawing

Tips For Drawing a Realistic Hummingbird
By following the tips below, you can create a lifelike representation of a hummingbird that captures its unique characteristics and beauty.
Start by Drawing a Hummingbird Outline
You can begin by observing hummingbirds in real life or through photos, and sketching basic shapes to ensure accurate proportions. They have a unique shape for birds and they are easier to draw.
Draw the Hummingbirds Beak and Head
Hummingbirds have a long, thin, sharp beak. It’s often longer than its head and they use it to get nectar from flowers. In your drawing, don’t forget to make the beak stand out. The head of a hummingbird is small compared to its body. The eyes are big and more on the sides of the head.
Understand the Body Shape and Colors
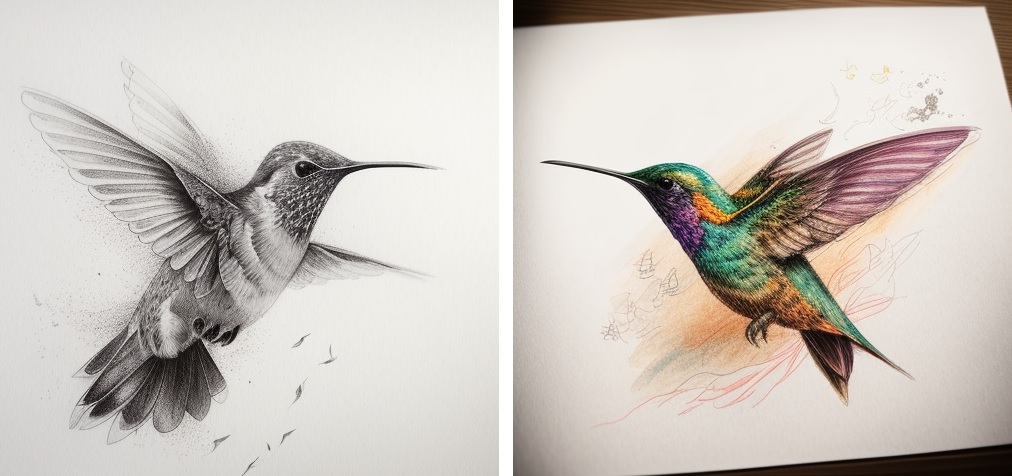
Hummingbirds have small, round bodies with a short neck. The colors of their feathers can change depending on the type of hummingbird, but often they are shiny with lots of different colors, especially around the head and throat. Looking at pictures can help you draw the right colors and patterns.
Draw the Hummingbirds Wings
The wings of a hummingbird are long and thin. When they’re not flying, the wings are close to their bodies and stick out past the tail. When they fly, their wings move very fast in a number eight shape. You can draw the wings either closed or looking blurry to show movement.
Draw the Hummingbirds Feet
Hummingbirds have small, weak feet that they use to sit on things. You can’t usually see their feet when they’re flying. If you’re drawing a hummingbird sitting down, show its tiny feet holding onto something.
Finish by Drawing the Tail
The tail of a hummingbird can be different depending on the type of hummingbird, but it’s usually short and can spread out when they fly or hover. Some hummingbirds have fancier or longer tail feathers, so you might want to look up the type of hummingbird you’re drawing.
Use Shading and Texture
To add depth and pay attention to details such as their beaks, eyes, and feet. Hummingbirds have iridescent feathers that reflect light in different ways, so pay attention to the direction of the light source. By following these tips, you can create a lifelike representation of a hummingbird that captures its unique characteristics and beauty.
How to Draw a Hummingbird Videos
Video #1
Video #2
In Summary
Drawing a hummingbird can be a difficult task, but with the right tutorial, anyone can learn how to draw these beautiful birds. This step-by-step tutorial has given you the tips and tricks you need to create a stunning hummingbird drawing.