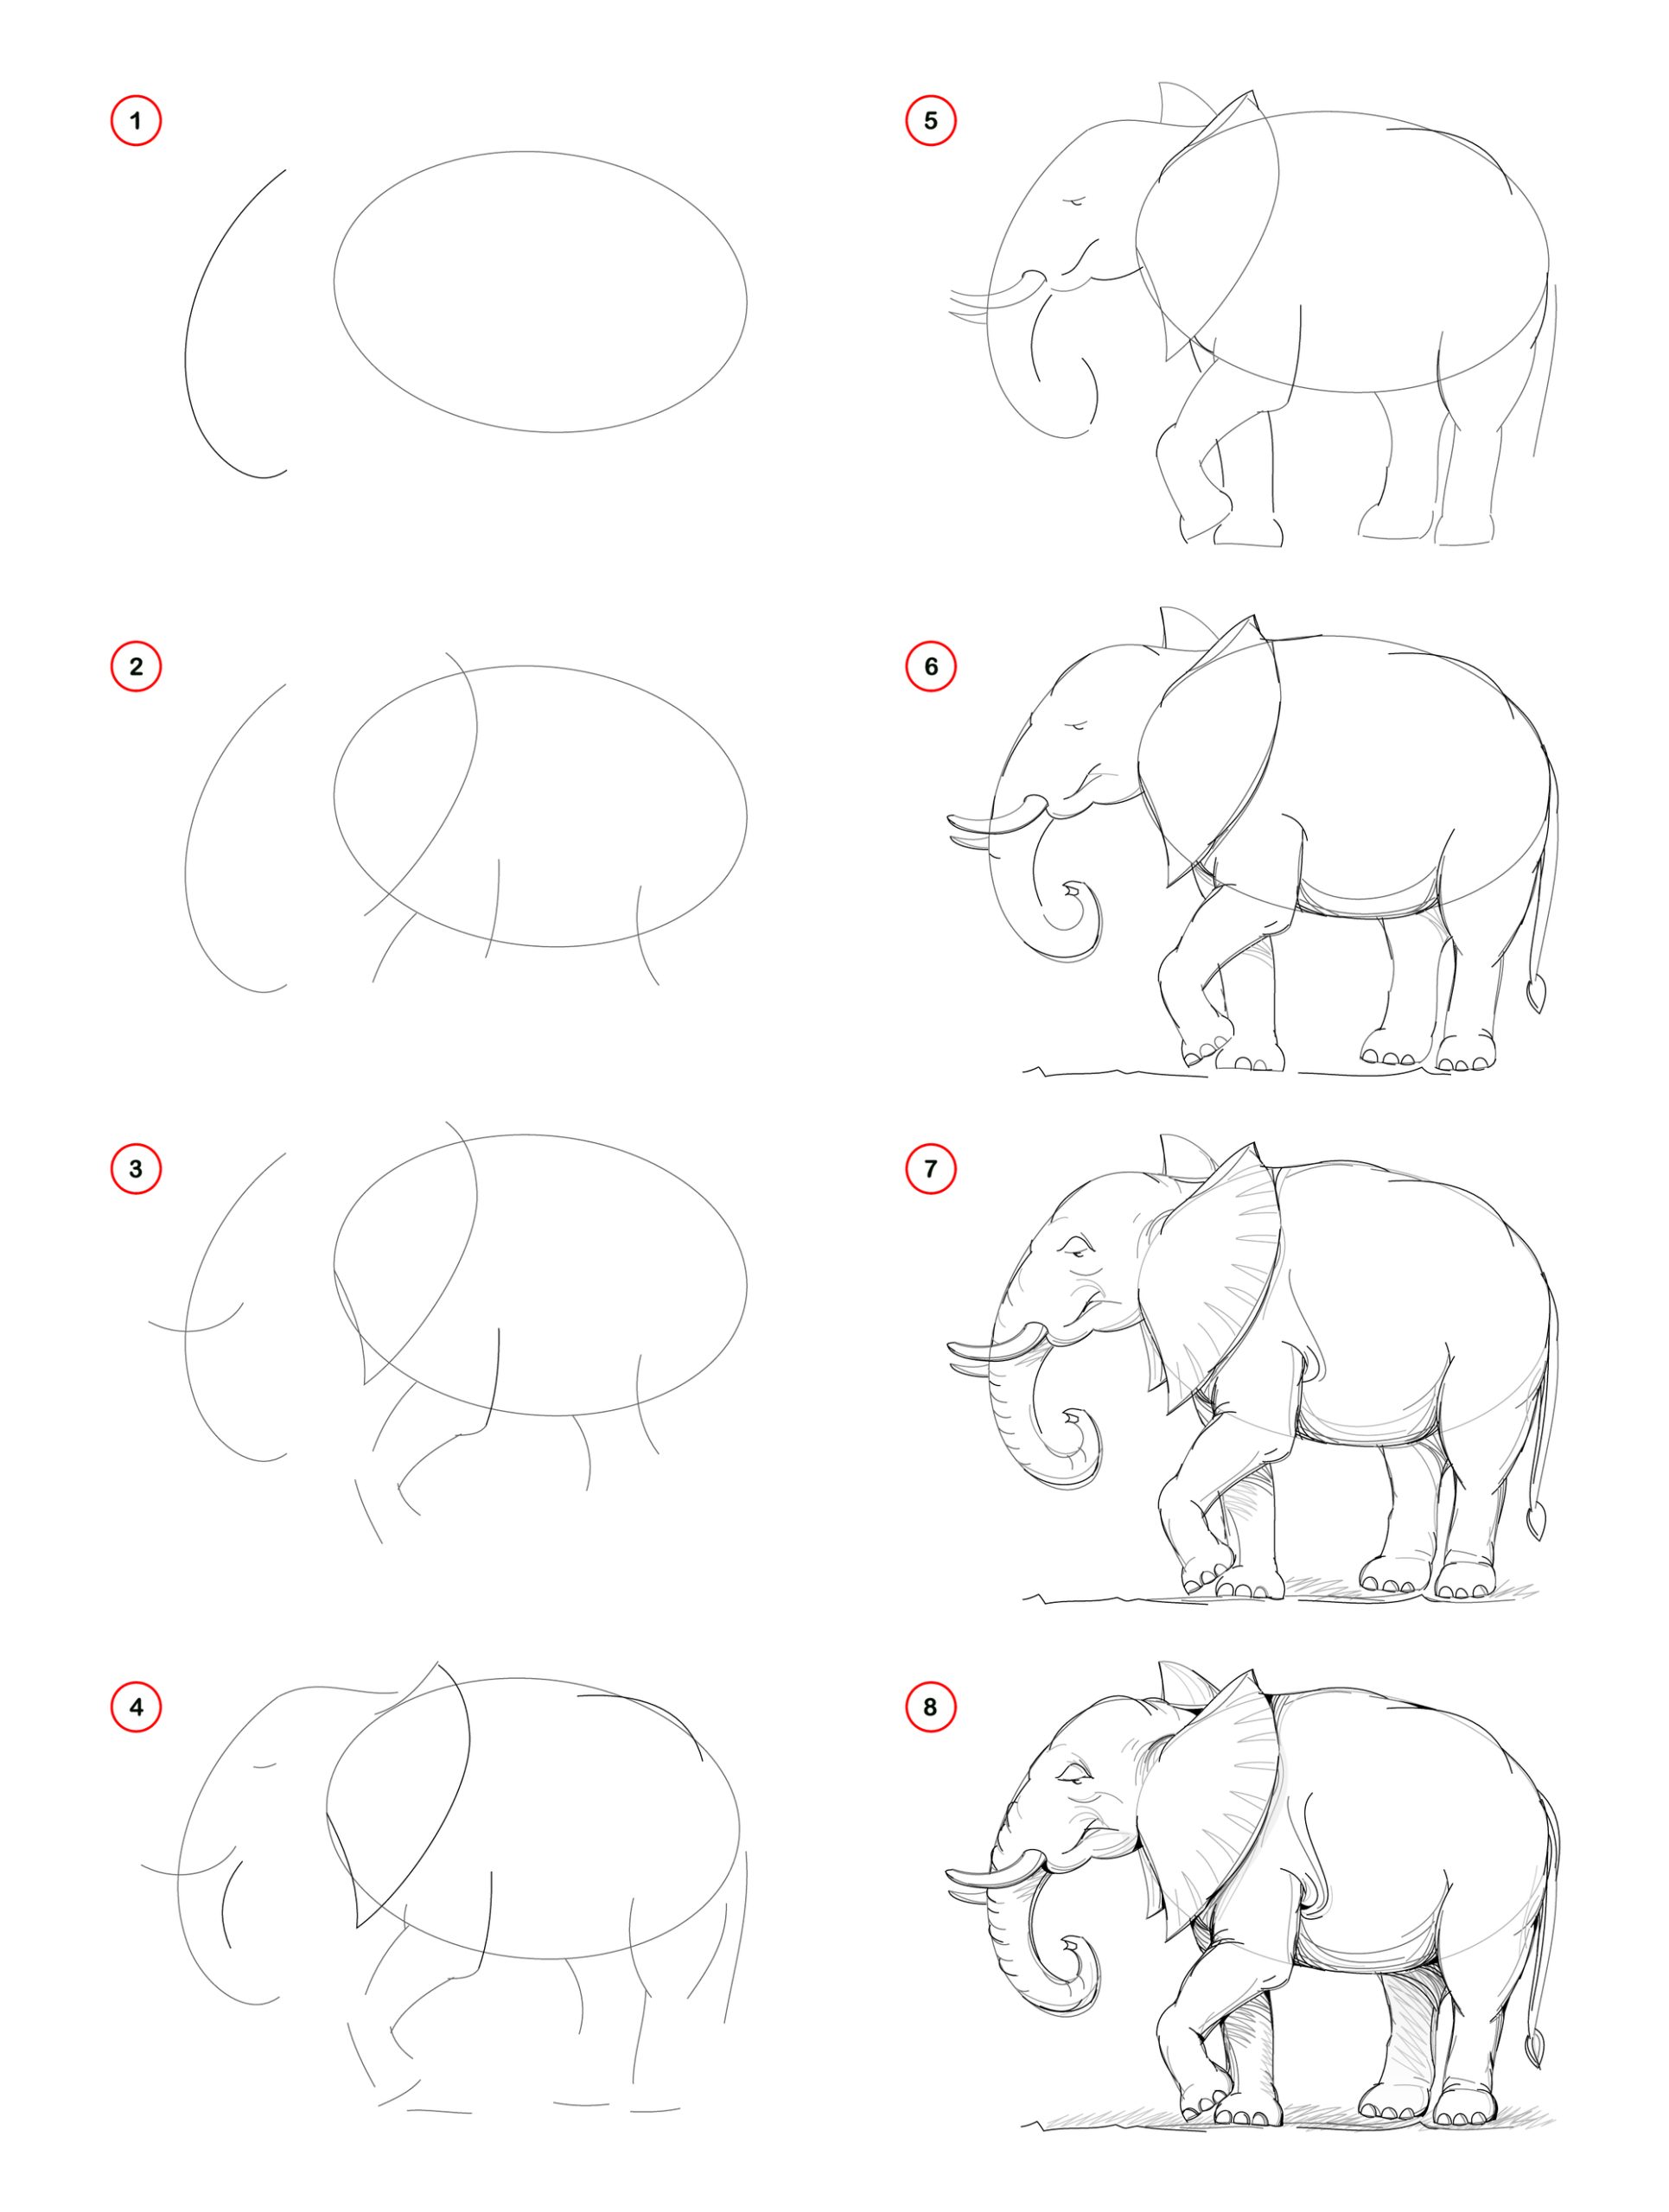
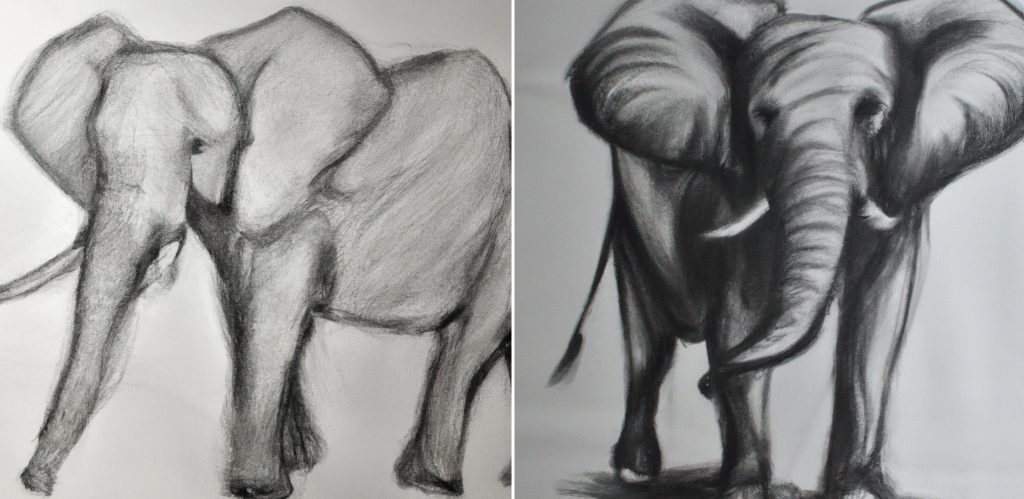
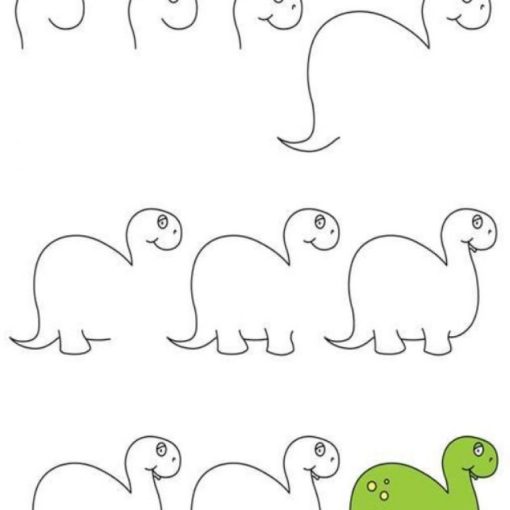
First, draw a sideways oval for the body and a rounded shape to the left of the oval for the trunk. Second, add lines for the outlines of the legs coming off the oval shape. Draw a rounded shape across the oval to start drawing the ear. Next, start drawing the rest of the trunk and add the husks towards the middle of your first rounded shape. The tusks should overlap the trunk. Next, draw the outlines of the legs, the elephant’s trunk, the elephant’s ears, the mouth, the head, and the feet. After that, draw the elephant’s tail and start removing lines with an eraser. Add shading and detail to the legs, trunk, tusks, and the ears.
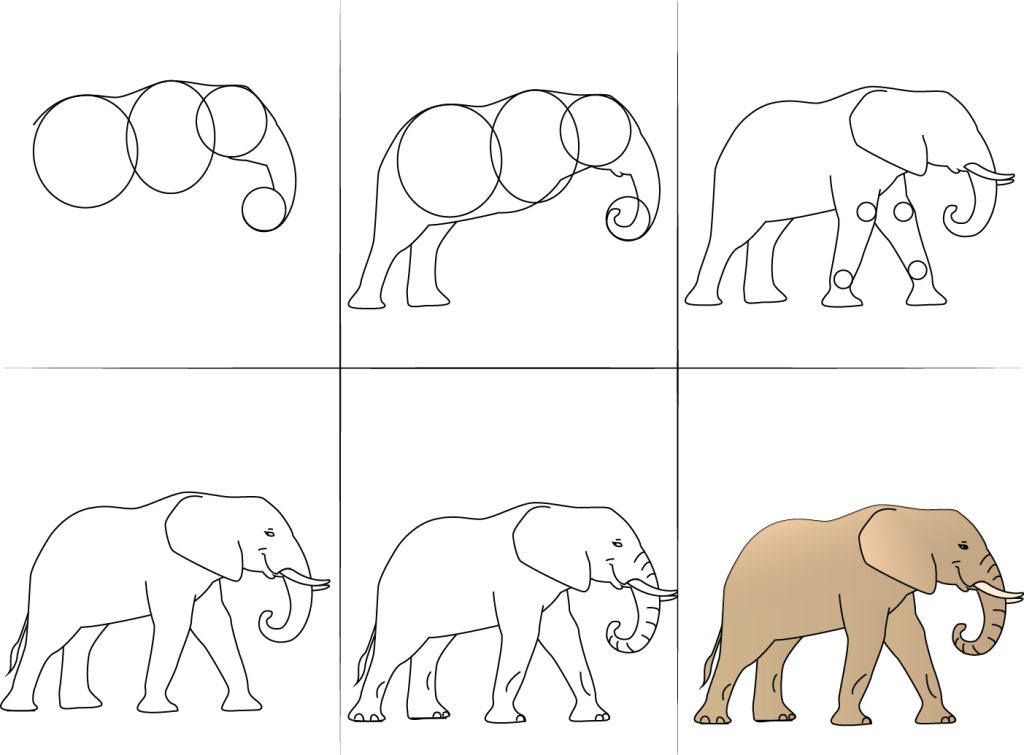
You can start by drawing several circular and oval shapes as well like the image below. Connect the circles with the trunk and draw legs coming off the body. Draw the other details of the elephant such as a large ear, tusks, the trunk, lines on the trunk, the legs, the feet, an eye, and a smile.
Step-By-Step Elephant Drawing Tutorial
It can be difficult for beginners to draw an elephant. They have a lot of details like the trunk, legs, ears, and wrinkles. However, if you follow our instructions you can have your own easy elephant drawing. In this step-by-step guide, we will teach you how to draw an elephant from scratch, starting from the body and working our way up to the details like the tusks and eyes. So, let’s get started!
Step 1 – Draw the Elephant’s Body
To start, draw a large oval for the elephant’s body, then add a smaller oval for the head at the top. Connect the two ovals with two curved lines for the neck. Draw a horizontal line across the body to indicate the elephant’s back. Then, draw two more lines to form the legs.
Step 2 – Draw the Elephant’s Shoulders
Draw the elephant’s shoulders by sketching two curved lines on either side of the body, just above the legs. These lines should form a V-shape, with the point facing towards the back of the elephant.
Step 3 – Draw the Elephant’s Legs
Draw the elephant’s legs by sketching long, curved lines that extend down from the body. At the bottom of each leg, add a small oval to form the foot.
Step 4 – Draw the Elephant’s Feet
To create the elephant’s feet, add two more ovals at the bottom of each foot, one for the front and one for the back. Then, draw a small line at the tip of each oval to indicate the toes.
Step 5 – Draw the Elephant’s Neck
To draw the elephant’s neck, add a curved line between the head and body, following the outline of the elephant’s back.
Step 6 – Draw the Elephant’s Head
Sketch the elephant’s head by adding two small circles for the ears on either side of the head. Draw two curved lines from the top of the head to form the trunk. Then, add a small oval for the mouth and a circle for the eye.
Step 7 – Draw the Elephant’s Trunk
To create the elephant’s trunk, follow the two curved lines from the head and draw them down towards the ground. Then, sketch a series of curved lines to create the trunk’s texture.
Step 8 – Draw the Elephant’s Tusks
Draw the elephant’s tusks by adding two long, curved lines at the base of the trunk. The tusks should be pointing upwards and slightly outwards.
Step 9 – Draw the Elephant’s Ears
To add the elephant’s ears, sketch two large triangles on either side of the head, just above the eyes.
Step 10 – Draw the Elephant’s Eyes
Finally, draw the elephant’s eyes by adding a small circle in the middle of the head. Add a smaller circle inside for the pupil, then shade in the rest of the eye to give it depth.
Step 11 – Add Shading and Detail to Your Elephant Drawing
Now that you have the basic outline of your elephant, it’s time to add shading and detail to bring it to life. Use a pencil to shade in the areas where shadows would naturally fall, like under the body and around the tusks. Add texture to the skin by sketching small lines and dots all over the elephant’s body.
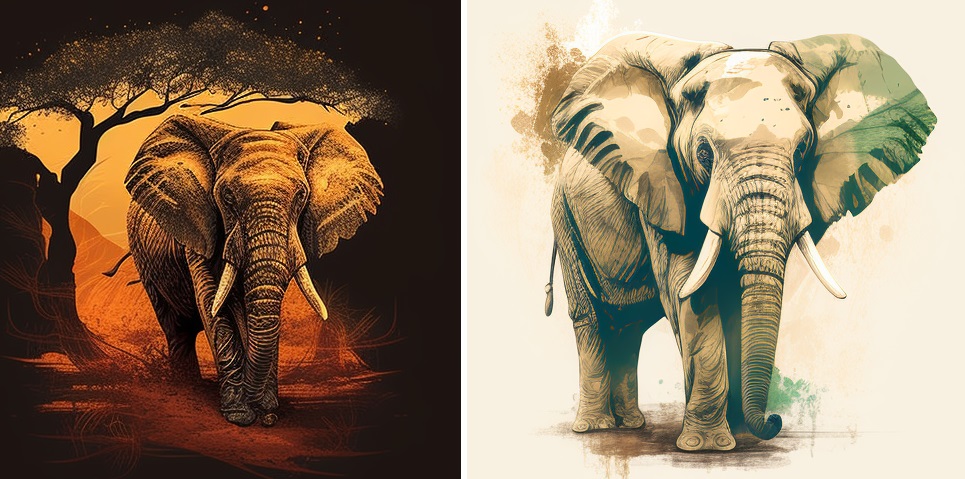
Step 12 – Color Your Elephant
For the final touch, add color to your elephant drawing. Elephants come in a range of colors, from grey to brown to even pink! Use your imagination to create a unique and beautiful elephant that is all your own.
Tips For Drawing a Realistic Elephant
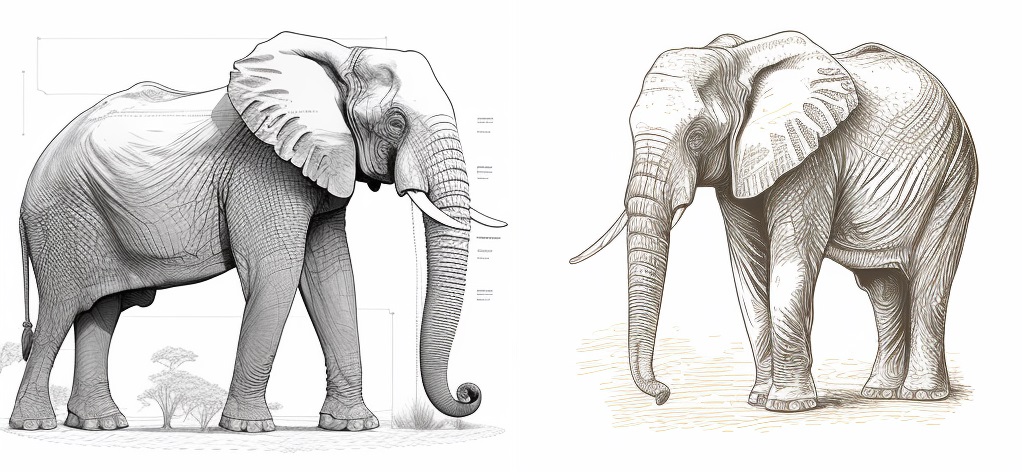
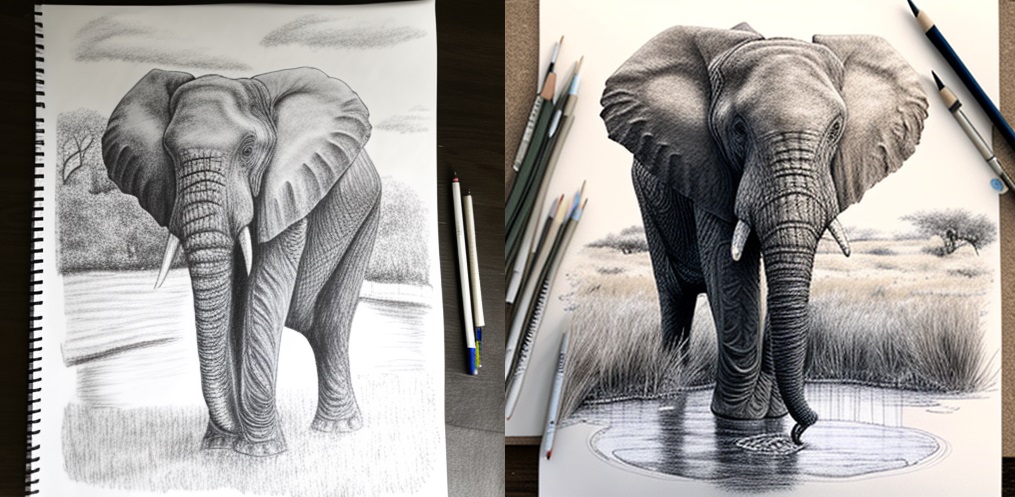
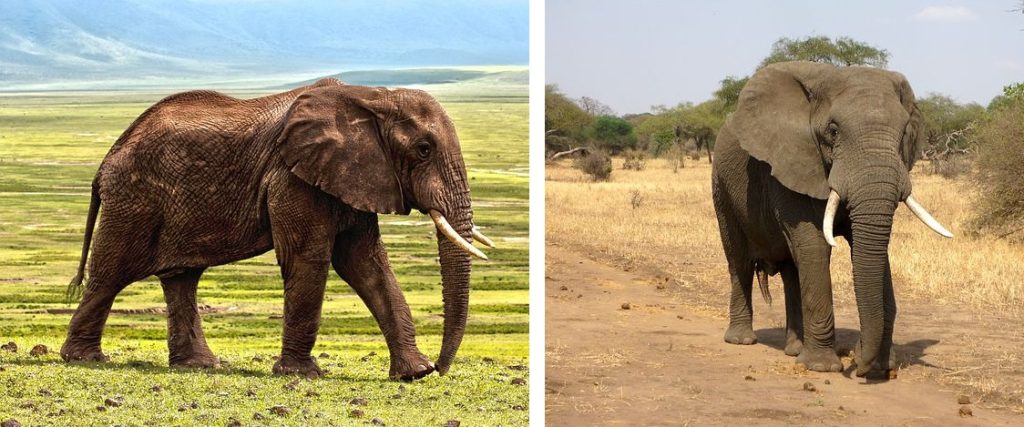
To draw a realistic elephant, it’s crucial to focus on the animal’s anatomy and distinctive features. The best approach is to study elephants up close, either in their natural habitats or through reference photos, and pay attention to their proportions, textures, and details. Starting with basic shapes, such as circles, rectangles, and ovals, can help create a framework for the drawing. When adding details, be sure to capture the elephant’s iconic features, including the large ears, long trunk, and wrinkled skin. Creating the illusion of texture and depth can be achieved through shading techniques, like cross-hatching or stippling. By following these tips, one can produce a realistic elephant drawing that accurately captures the animal’s unique characteristics.
In Summary
Drawing an elephant is a rewarding experience that can be enjoyed by anyone, regardless of skill level. Start by following our tutorials and you can have your own elephant drawing. The more you practice, the better your elephant drawings will look.