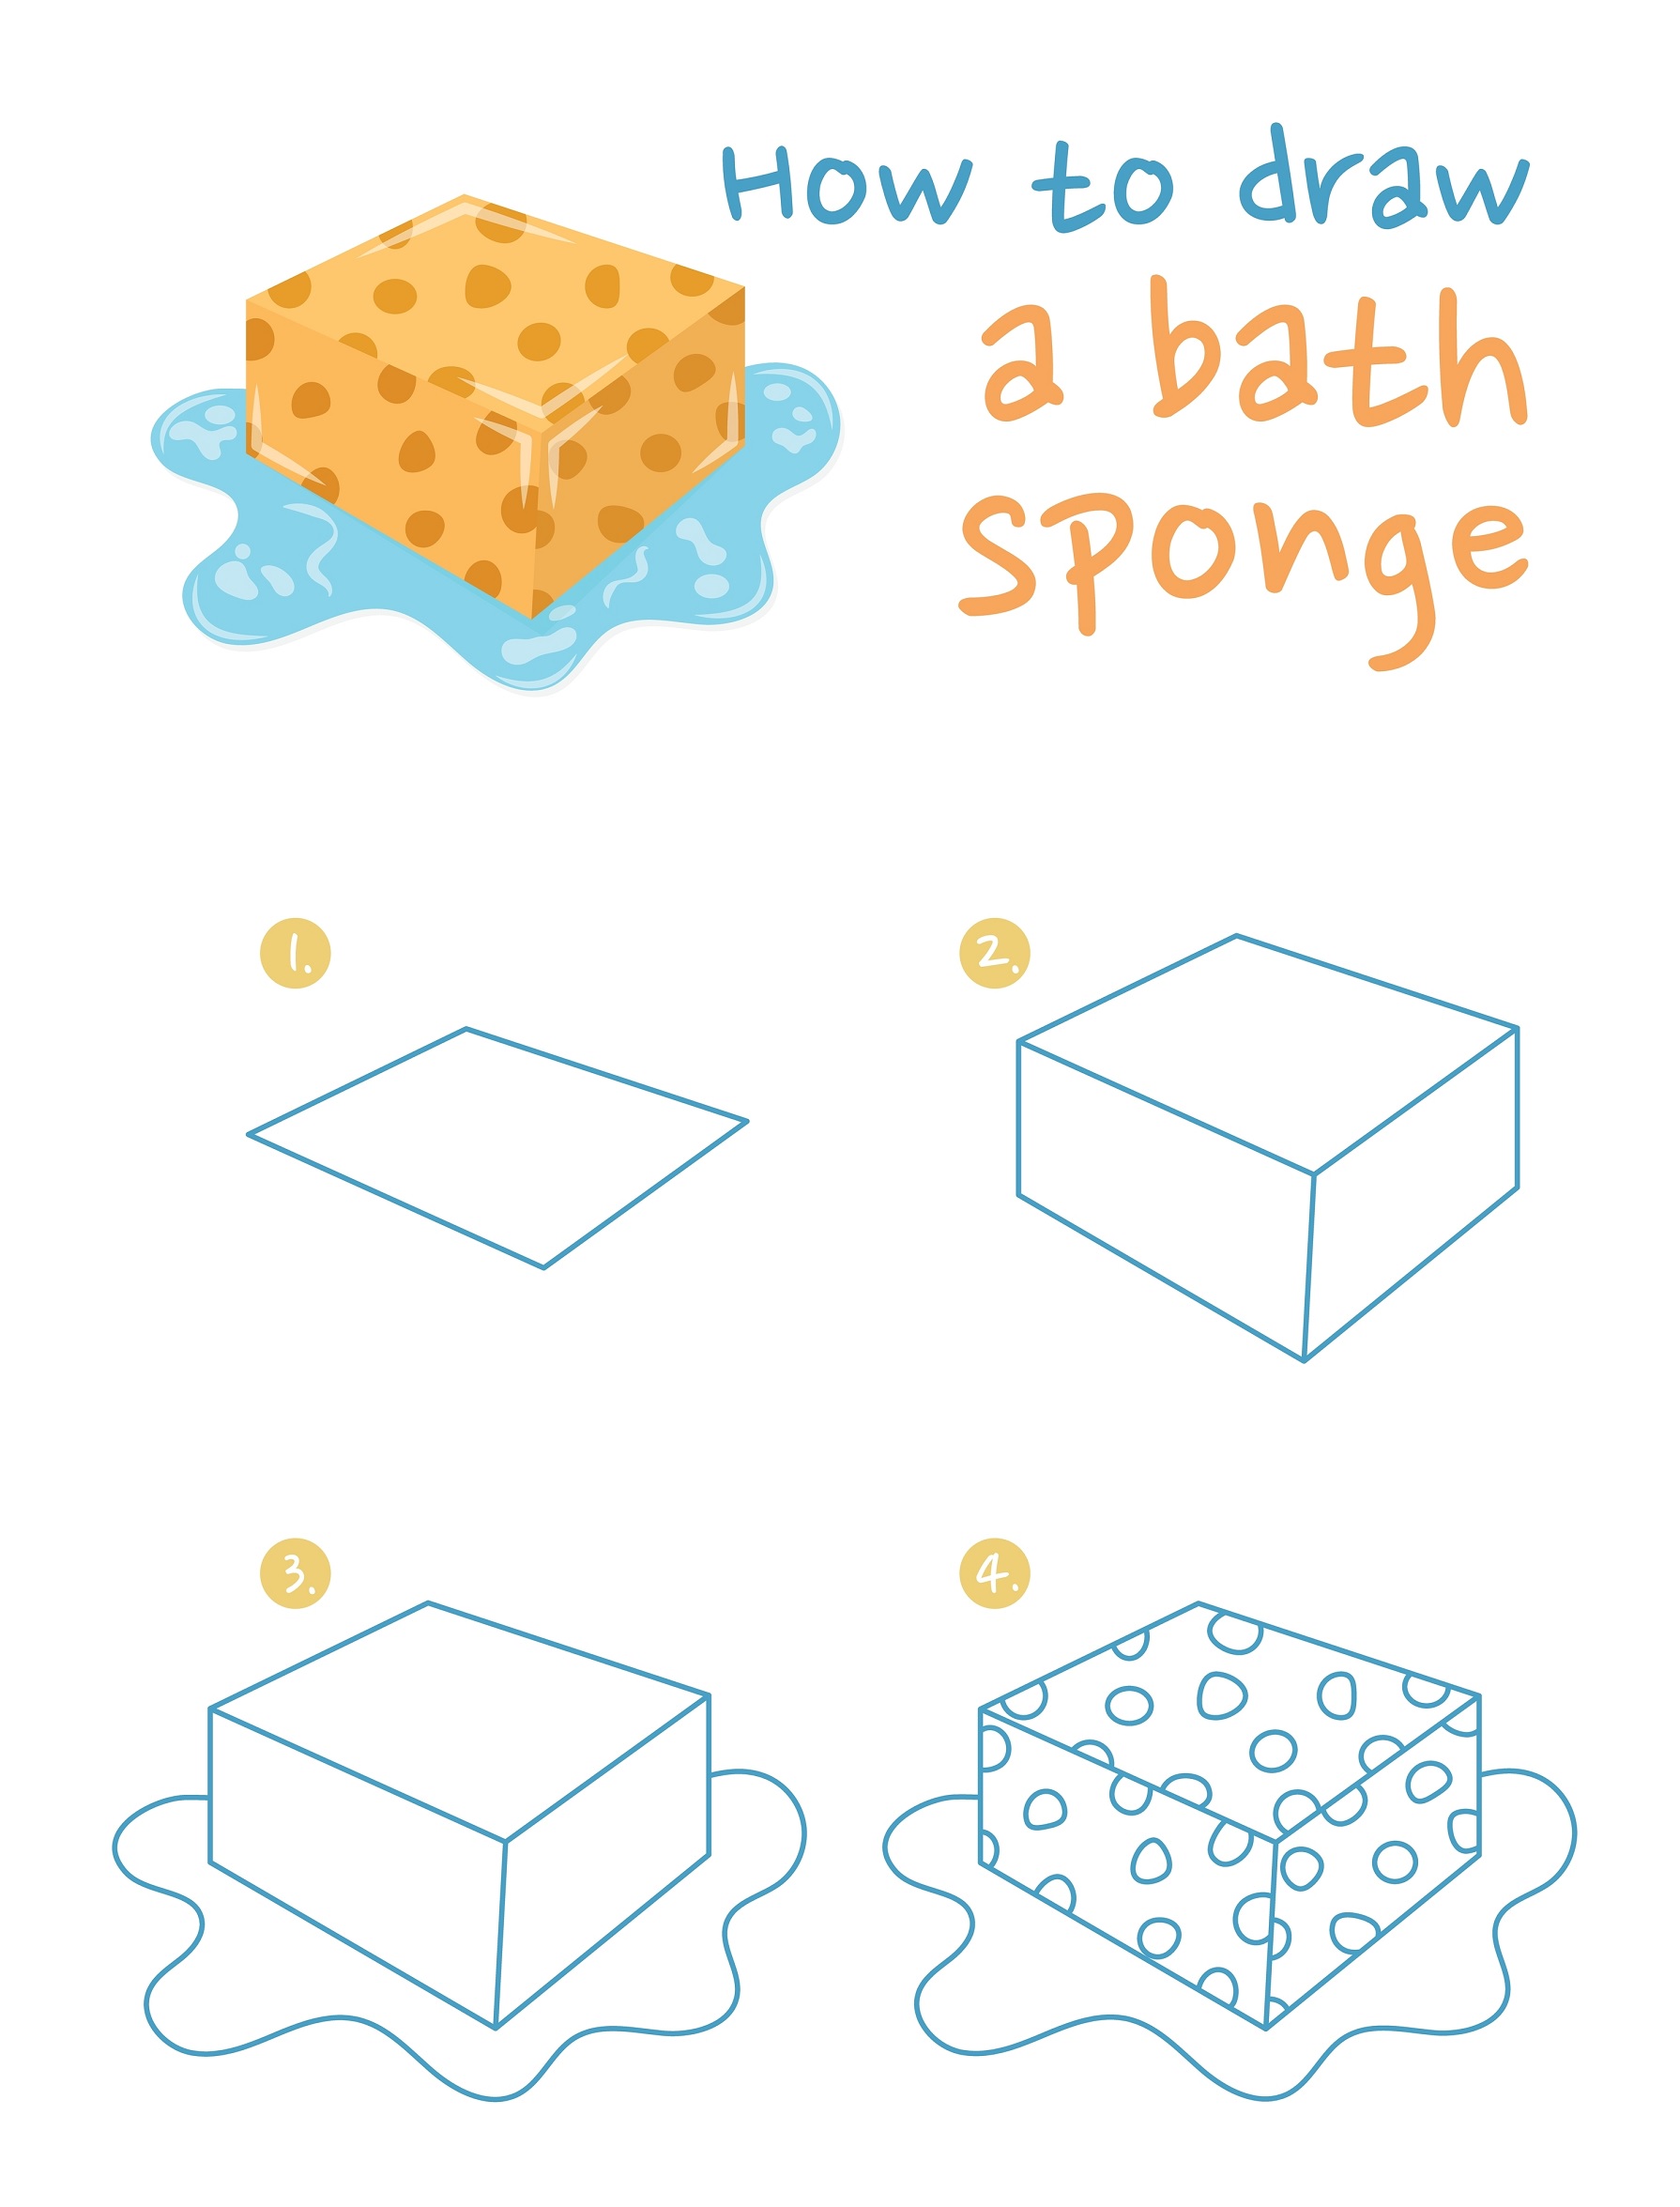
Are you looking for a fun drawing activity? How about learning to draw something we use every day, like a kitchen sponge? This guide is perfect for kids and beginners who want to learn how to draw a sponge step by step. Drawing a sponge may seem tricky because of its unique texture, but don’t worry! We’re here to break it down into easy steps that anyone can follow. Grab your drawing tools and get ready to create a detailed sponge drawing.
Step 1: Draw the Basic Shape of the Sponge
Start your drawing by creating the top of your sponge. Do this by drawing a long rectangle on your paper and you can draw it diagonally. Make sure the lines are straight and the corners are sharp. This rectangle will serve as the main body of your kitchen sponge.
Step 2: Make Your Sponge 3D
To give your sponge a three-dimensional appearance, draw a straight line down from the left corner, bottom corner, and right corner of the sponge. Then, draw two straight lines connecting to the three straight lines you just drew. Your two straight lines should be parallel to your original rectangle. This technique will make your sponge drawing look more realistic.

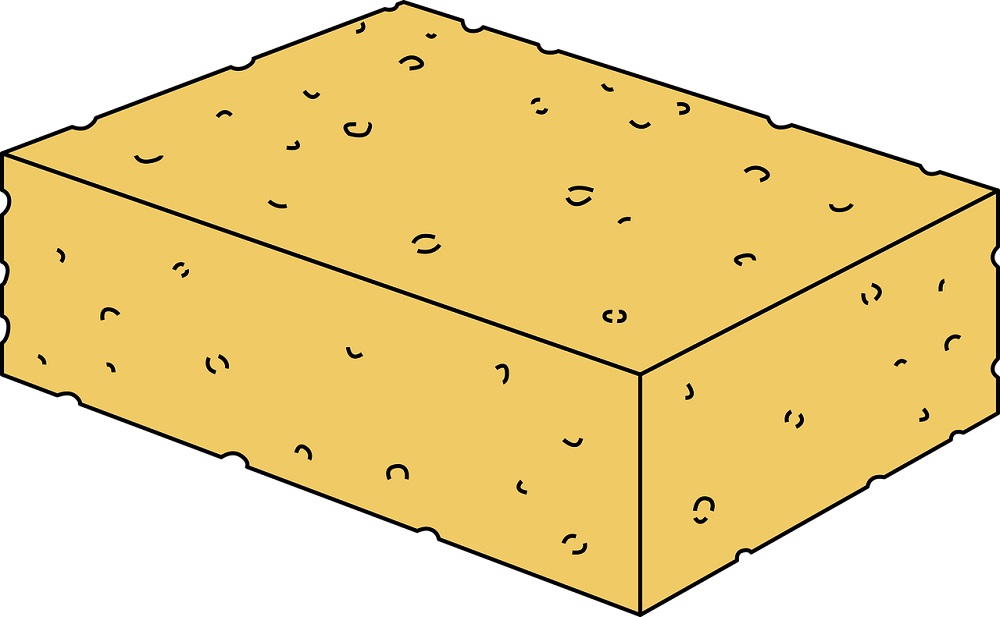
Step 3: Draw the Sponge’s Texture
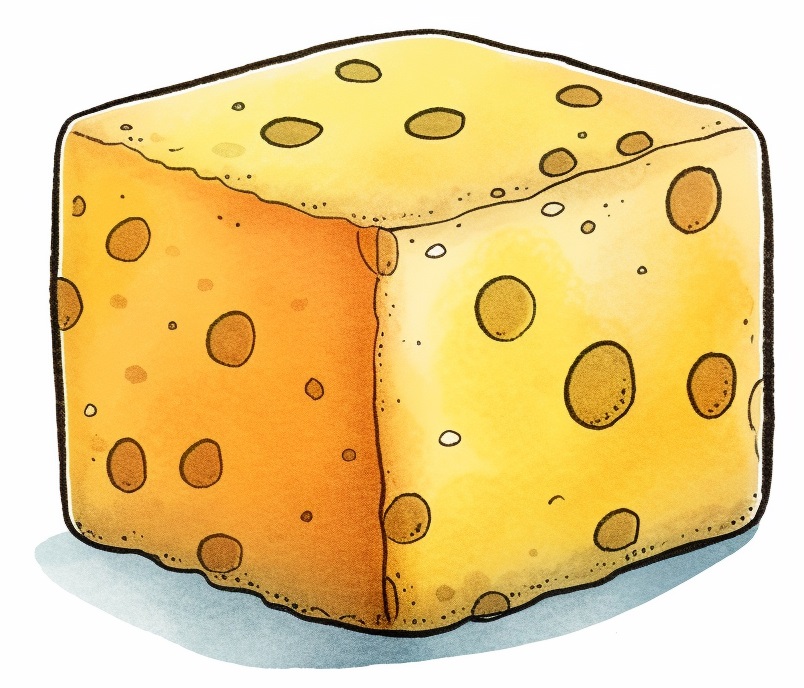
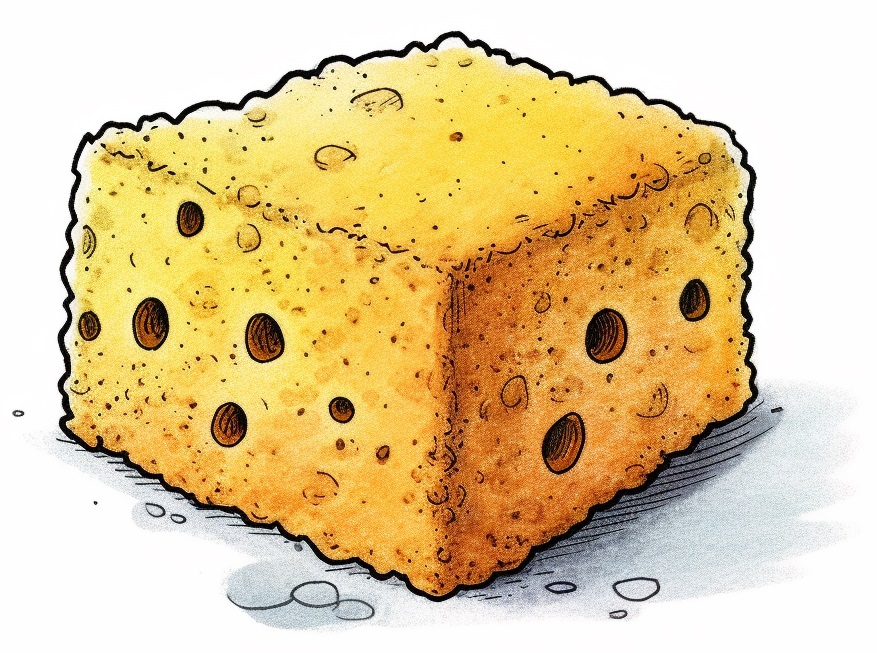
The next step is to create the texture of the sponge. Sponges are porous, so you’ll need to draw many small shapes like circles, ovals, and irregular blobs inside both rectangles. These shapes should vary in size and shape to mimic the random pattern of holes in a real sponge. Fill both rectangles with these shapes, but remember to leave some space in between for depth.
Step 4: Outline Your Sponge Drawing
Once you’re satisfied with the shape and texture of your sponge, it’s time to make the lines of your drawing more definite. Use a darker pencil or a pen to trace over your initial sketch lines. This will make your sponge drawing look clean and finished. After outlining, you can erase any original pencil lines that are no longer needed.
Step 5: Color the Sponge
Now comes the fun part – coloring your sponge. Take your yellow crayon or colored pencil and fill in both rectangles with color. However, keep in mind that the scrubbing side of a kitchen sponge often has a different color. So, you might want to color the top rectangle with a different color, like green or blue, to represent the scrubby part of the sponge.
Step 6: Add Depth and Shadows to Complete your Sponge Drawing
The final step is to add depth and shadows to your sponge drawing. This will make your sponge look even more realistic. To do this, use a darker shade of yellow and your chosen color for the scrubby part. Add shading along the edges of the sponge and within the texture holes. This will create an illusion of depth, making your sponge look three-dimensional.
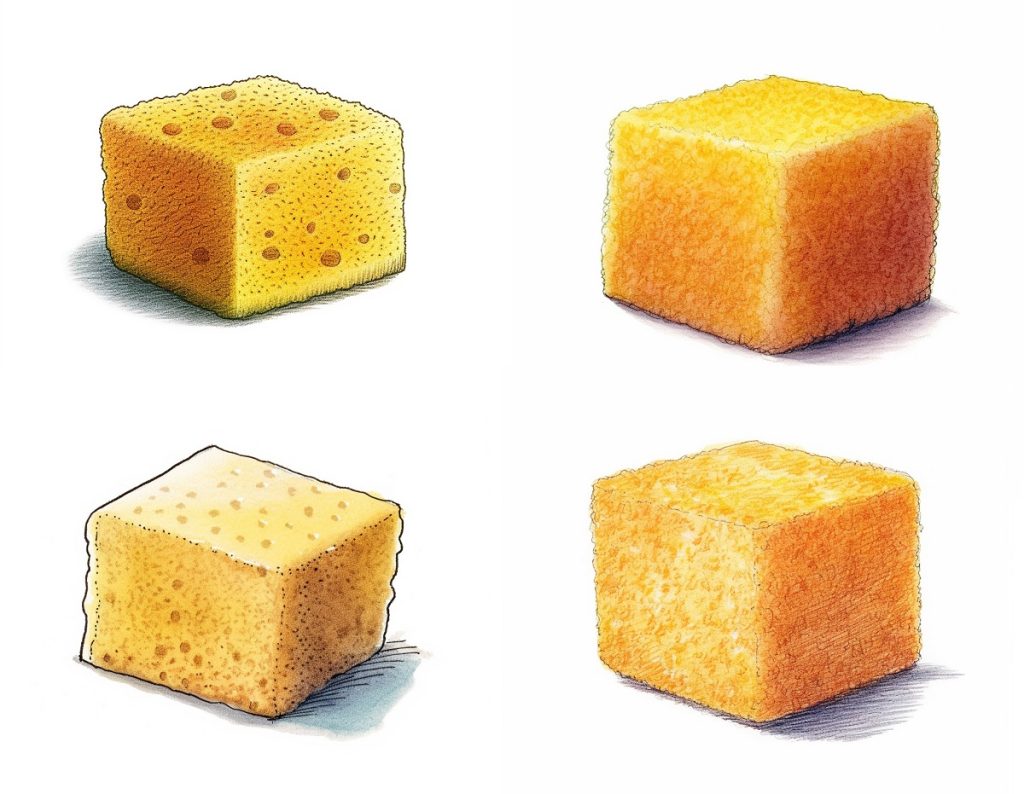
Trace a Sponge Picture
We have a photo below that you can print out and trace. Click on the photo to view it full size and then simply print it. Then, you can trace it and color in your own picture of a sponge and a soap dispenser.

Tips For How to Draw a Sponge Easy
You should focus on the following 3 things to make your drawing look more realistic:
1. Sponge Shape:
Start by accurately sketching the basic shape of a sponge. Sponges are typically rectangular, but they also have some depth, which can be represented by drawing a 3D rectangle or box shape.
2. Sponge Texture:
The unique feature of a sponge is its porous texture. You can depict this by drawing a variety of small, irregular shapes like circles and ovals inside the rectangle. Remember, these shapes should be different sizes and scattered randomly to give the sponge a realistic look.
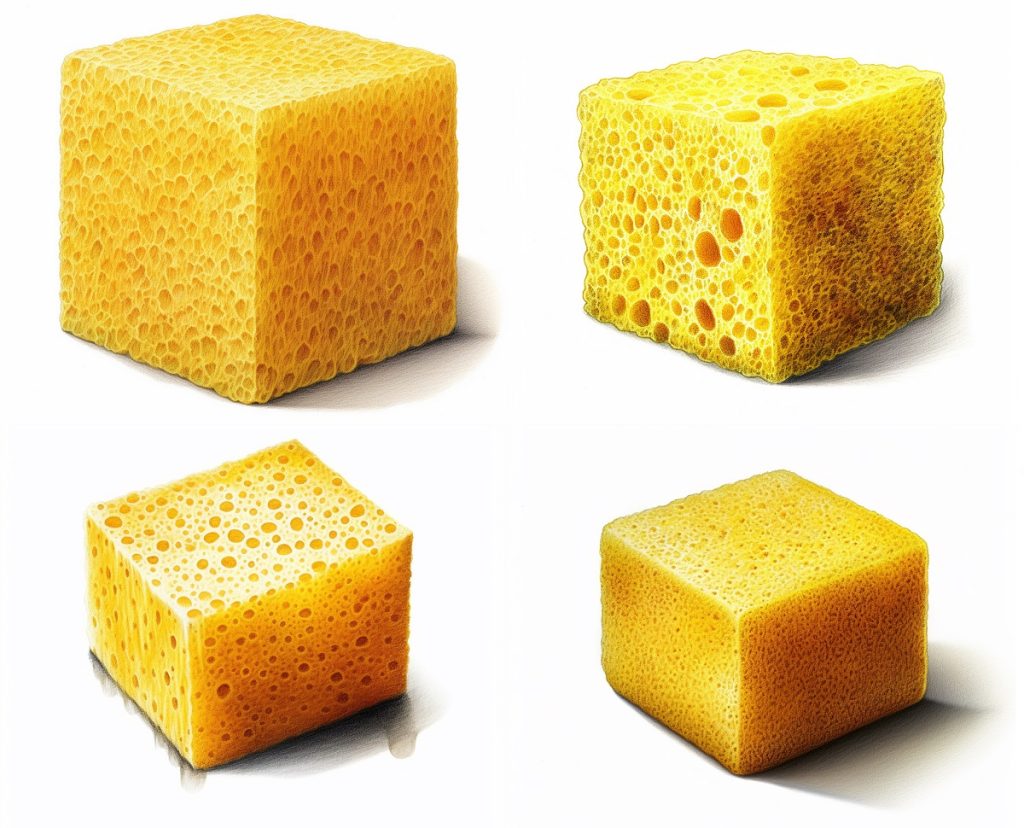
3. Sponge Color and Shading
Sponges are typically yellow, but they can come in other colors too. Use the right colors and add shading to give your sponge depth. Remember, the scrubbing side of a sponge is often a different color like green or blue, so color that part accordingly. Also, adding shadows on the edges and within the texture will help make the sponge look more 3D and realistic.
FAQs for Drawing a Sponge
What is a sponge?
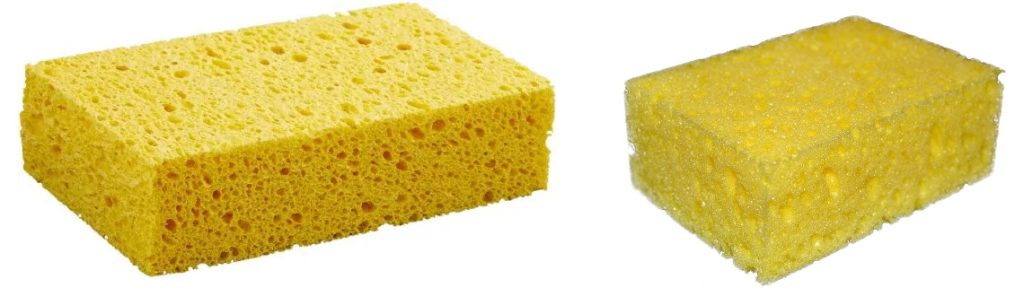
A sponge is a porous material used for cleaning, scrubbing, or soaking up liquids. They can be made from various materials, including synthetic foams or natural sea sponges.
How can kids draw a sponge easily?
Kids can draw a sponge easily by starting with a basic 3D rectangle shape and then adding smaller circles and ovals for texture. Drawing the sponge’s texture and depth lines, and then coloring it, will help them create a simple yet realistic sponge.
What color is a sponge?
Sponges can come in various colors, but a common kitchen sponge is often yellow. However, sponges can also be blue, pink, green, or other colors depending on their material and purpose.
What does a kitchen sponge look like?
A typical kitchen sponge is rectangular with a porous texture. It often has a softer yellow side for wiping and a rougher green side for scrubbing. The sponge’s texture is made up of many small holes or pockets.
Who should draw a sponge?
Anyone interested in practicing their drawing skills can draw a sponge. It’s a fun and straightforward subject that’s great for artists of all ages, especially kids. Drawing a sponge can help improve skills like drawing shapes, adding texture, and coloring.
How to Draw a Sponge Video
Video #1
Video #2
Conclusion
That’s it! You’ve just learned how to draw a sponge in a few simple steps. Remember, it’s okay if your sponge doesn’t look perfect the first time. The fun part is practicing and seeing your progress over time. Keep drawing, and before long, you’ll be able to draw a sponge without even needing this guide. Thanks for joining us on this drawing lesson, and we look forward to seeing your future art creations.