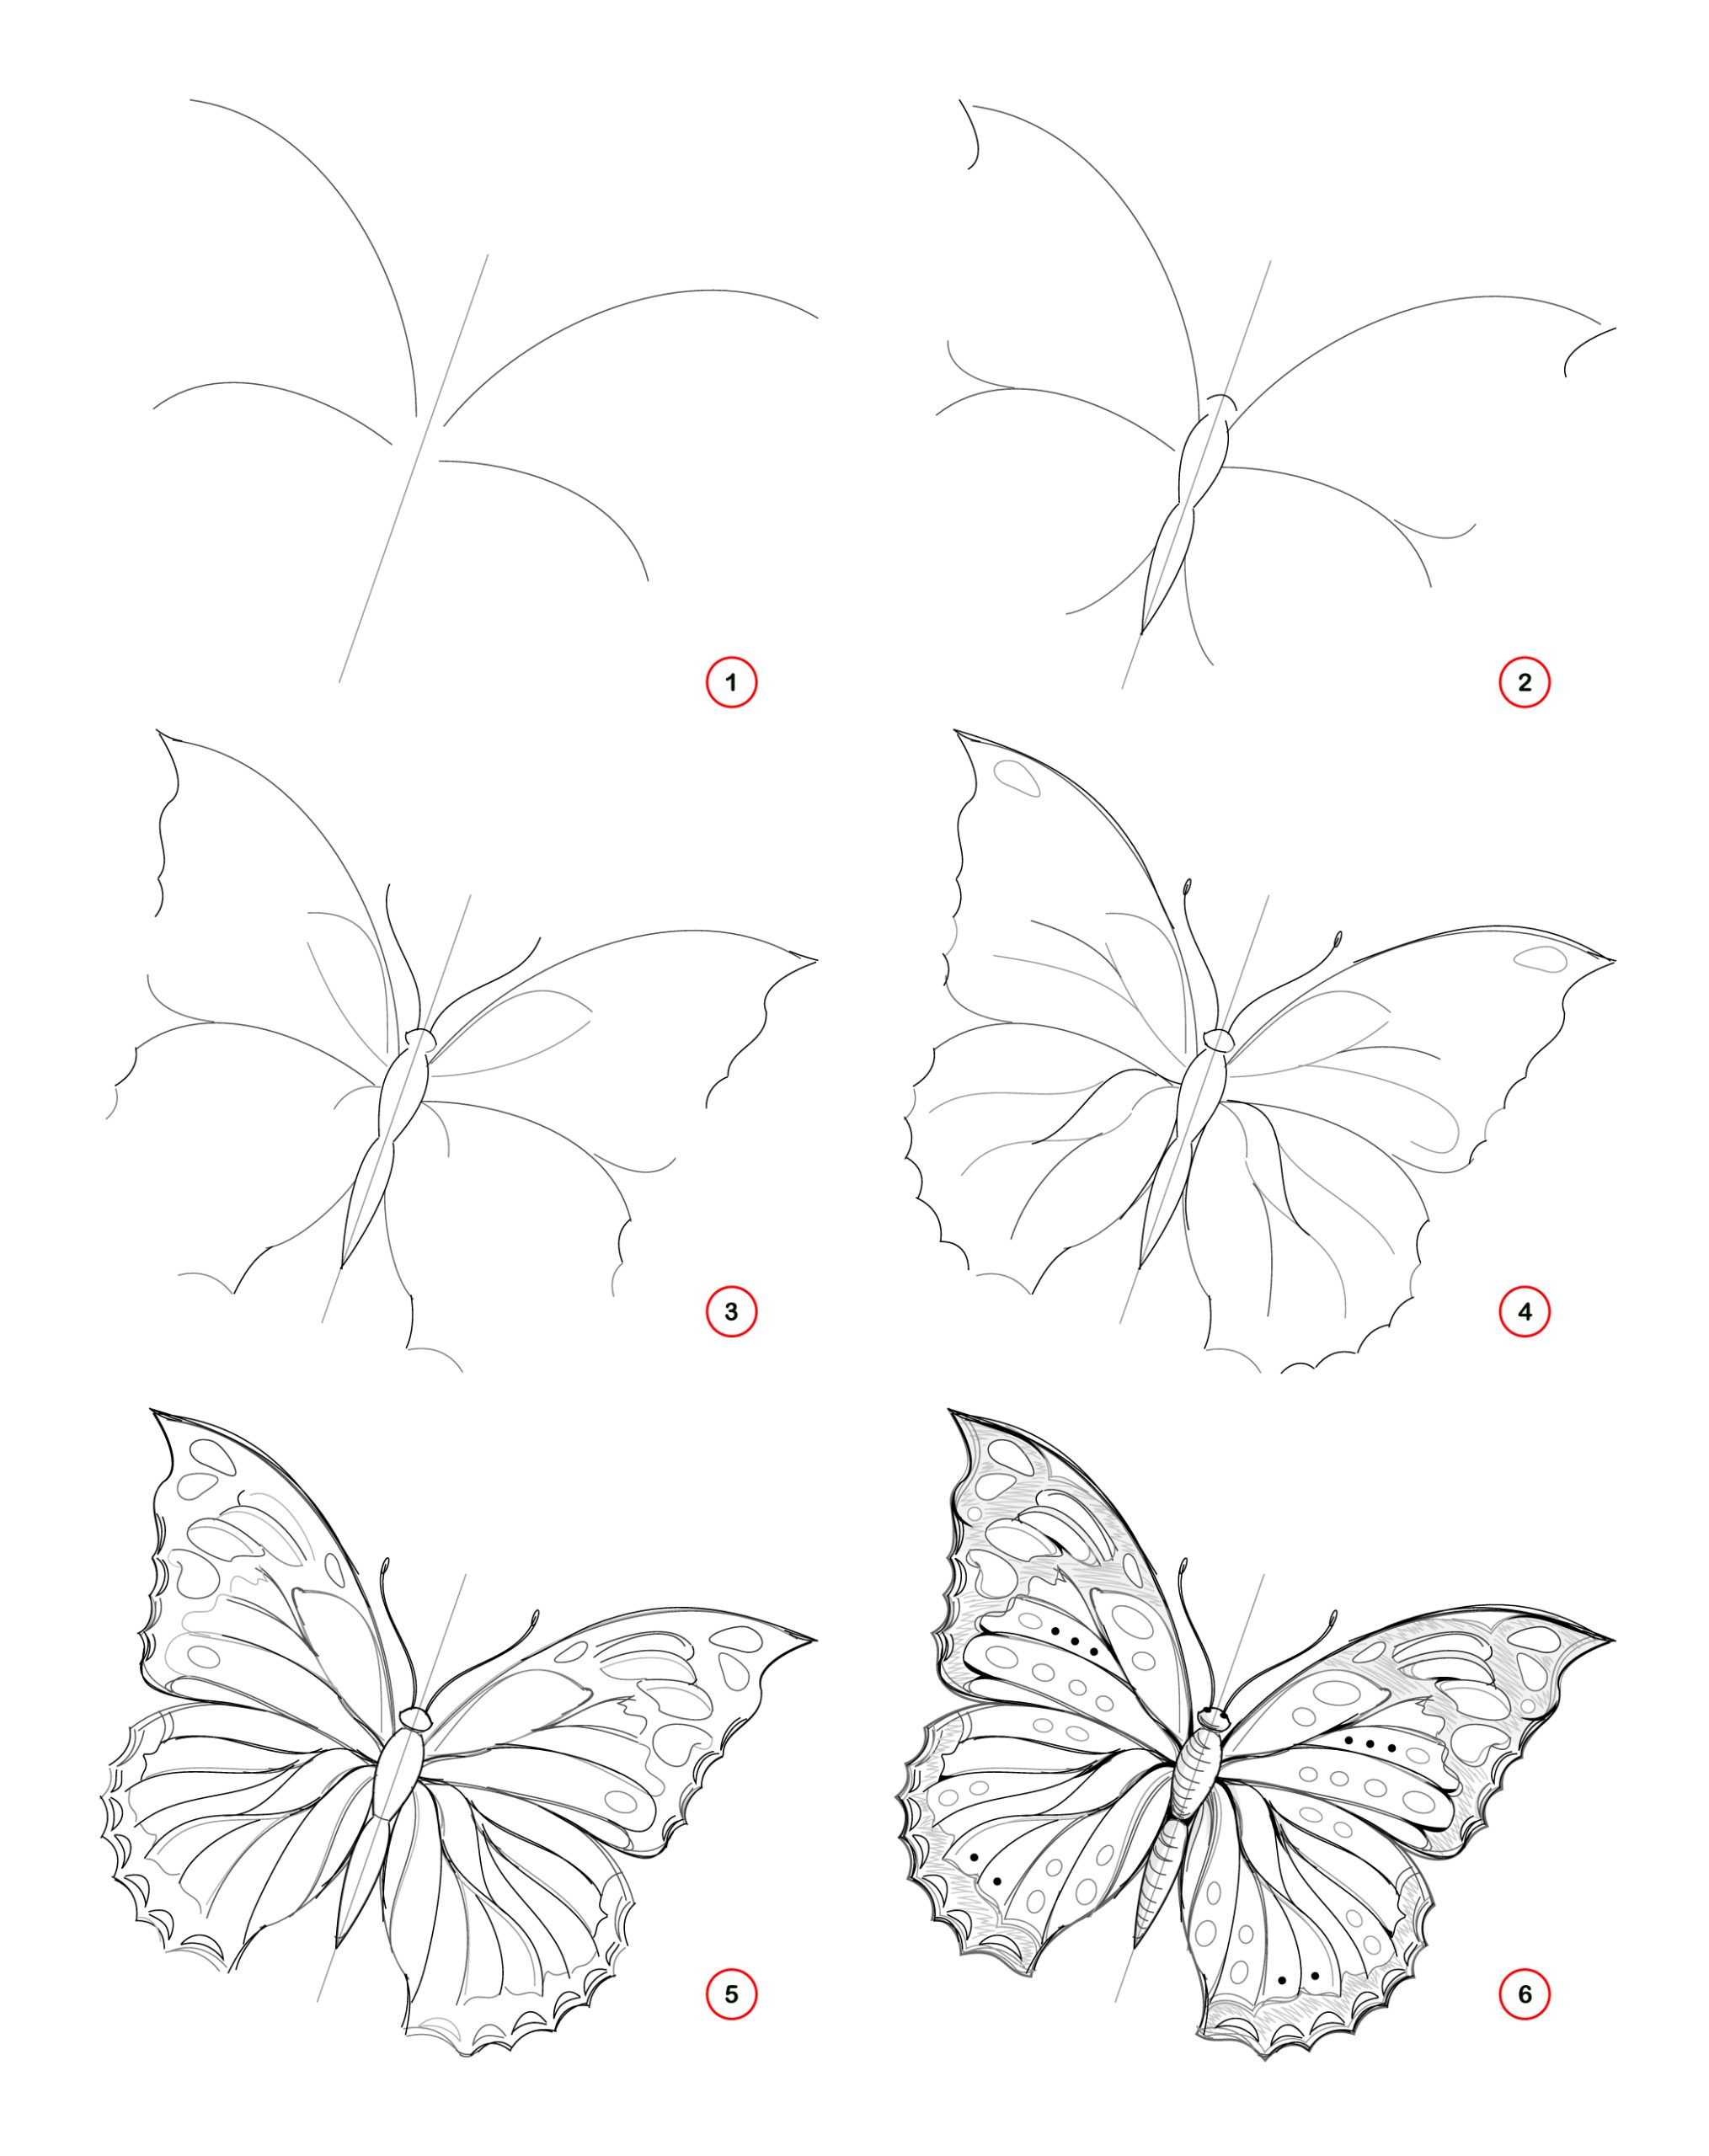
First, draw a straight diagonal line with four lines coming off the straight line. You will start by drawing the outline of the body and the wings. Second, start drawing the outlines of the wings by adding curved lines to your original line. Third, add the antennae and use jagged lines for the outside of the wings. Fourth, complete the outline of the butterfly and start adding details to the wings. Lastly, you need to add a lot of details to the wings and the lines with shading on the edges of the wings.
Step-By-Step Butterfly Drawing Tutorial
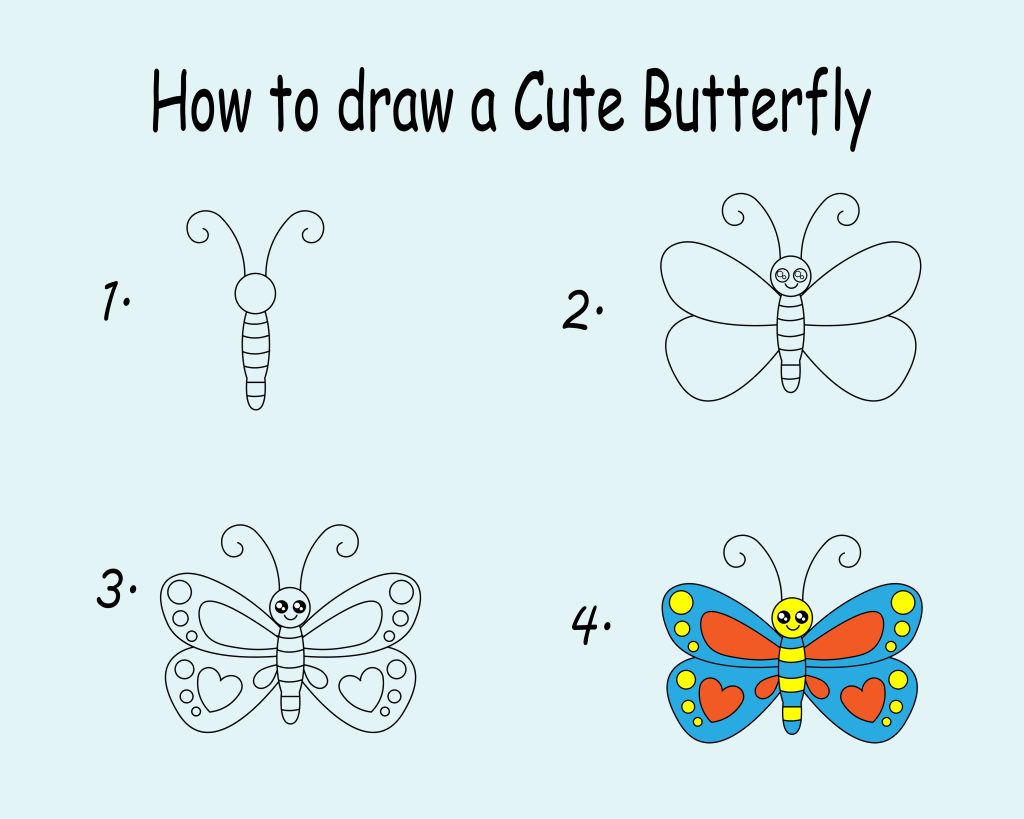
Are you ready to learn how to draw a butterfly? Drawing butterflies can be intimidating, but with this step-by-step tutorial, you can easily create a detailed butterfly drawing that you’ll be proud of. Follow each step, and you’ll be well on your way to creating a beautiful butterfly drawing.
Step 1: Draw the Outline of the Butterfly
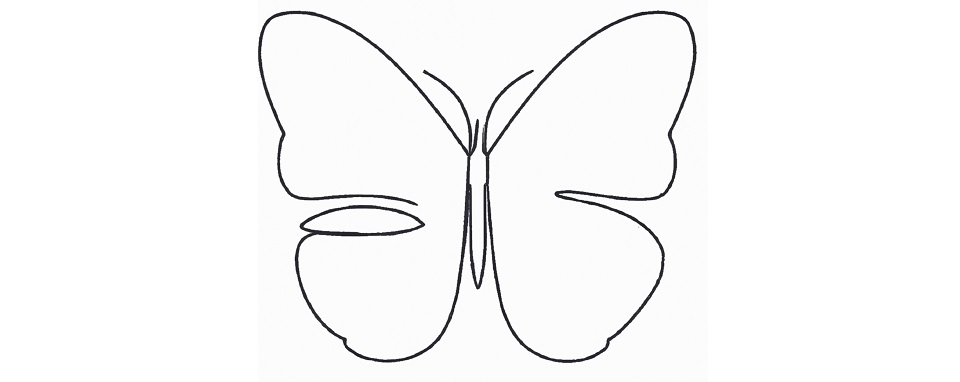
The first step is to draw the outline of the butterfly. Start by drawing a curved line from the top of the butterfly’s head down to its wing. From the wing, draw a jagged line that curves up and around to the other wing. Then, draw a curved line from the wing to the butterfly’s head. Finally, draw a straight line down the middle of the butterfly’s body.
You can make your butterfly as big or as small as you’d like. Just be sure to draw the outline lightly with a pencil so that you can easily erase any mistakes.
Step 2: Draw the Wings of the Butterfly
Now that you have the outline of the butterfly, it’s time to draw the wings. Start by drawing two curved lines that connect the top of the butterfly’s head to the two wings. Then, draw two curved lines that connect the bottom of the butterfly’s head to the two wings. Finally, draw two curved lines that connect the wings to the body.
Be sure to draw the wings lightly with a pencil so that you can easily make changes if needed.
Step 3: Draw the Details
Now that you have the outline and wings of the butterfly, it’s time to add some details. Start by drawing the antennae on the butterfly’s head. Then, draw small circles on the wings to create the spots. Finally, draw small lines on the wings to create the veins.
Be sure to draw the details lightly with a pencil so that you can easily make changes if needed.
Step 4: Color in the Butterfly
Now that you have the outline and details of the butterfly, it’s time to add some color. Start by using colored pencils or markers to color in the wings. You can make your butterfly any color you’d like. Just be sure to use light, even strokes to get the best results.
You can also add details with colored pencils or markers, such as adding dots or stripes to the wings. Have fun with it and let your creativity shine!
In Summary
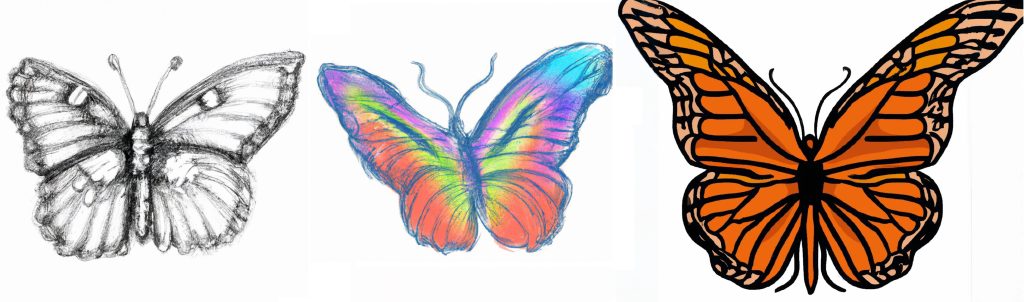
At first, drawing a butterfly may seem hard, but with patience, practice, and the right techniques, anyone can make a beautiful butterfly drawing. By breaking the butterfly down into simple shapes and paying attention to details like the wings, antennae, and body, you can make a beautiful piece of art that shows the delicate beauty of these amazing insects.
If you keep practicing, you’ll soon be able to draw butterflies that are as beautiful and unique as the real ones. Drawing a butterfly can be both relaxing and helpful, whether you’re doing it for fun or to get better at drawing. So get your pencils, paper, and a little bit of inspiration, and start making your own butterfly masterpiece today.